
Summary of Contents for Costco Arlington
- Page 1 Foosball Table Assembly and Instructions IMPORTANT, RETAIN FOR FUTURE REFERENCE: READ CAREFULLY 1398304 ITM./ART.
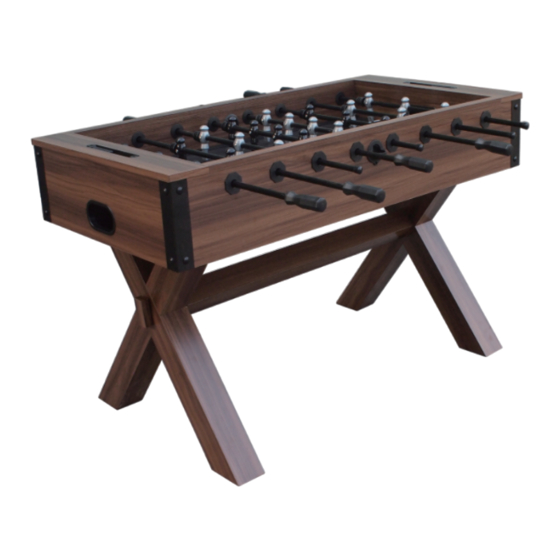
- Page 2 Congratulations! We hope you will have many hours of enjoyable use with your new AHB Foosball Table! PLEASE KEEP YOUR INSTRUCTIONS! • Your Model number is necessary should you need to contact us. • Please read through this instruction book to familiarize yourself with all the parts and assembly steps.
-
Page 3: Parts List
PARTS LIST Long iron Wood Block... - Page 5 Step 1: Screw #15 tenon into #3 Leg A, #4 Leg B, and #24 Wood blocks. Screw #23 iron rod into #4 Leg B Repeat these steps for both sets of legs Step 2: Attach #3 Leg A and #4 Leg B through #2 Long Leg using the iron rod as a guide and tightening with #20 washer and #22 nut.
- Page 6 Step 3: Attach #5 leg connector to both assembled legs using #20 washer and #19 bolt. Step 4: Insert #24 wood block on to leg, repeat on both sides.
- Page 7 Step 5: Attached the assembled leg set to the main cabinet using #20 washers and #21 bolts. Screw in #28 leg levelers Step 6: Using two strong adults turn the table right side up. Tear off the sticker from #25 trim and paste on both side edges of the playfield.
- Page 8 Step 7: Note: The player rods have a hole on the end where the rod handle will go in the next step. The players of each team should be right-side up, facing their opponent’s goal, follow the diagram below for proper rod placement Slide one end of the player rods (#6, #7, #8) through the main cabinet according to the diagram below to identify where the two, three, and five player rods go in the cabinet.
- Page 9 Step 8: Attach the #17 handle to the rods using #16 screw. Put the #18 rod end cap on the other end of the rod Attach the #27 ball entry cup to the main cabinet using #26 screw Assembly is complete, enjoy!
Need help?
Do you have a question about the Arlington and is the answer not in the manual?
Questions and answers