Table of Contents
Advertisement
Quick Links
Advertisement
Table of Contents

Subscribe to Our Youtube Channel
Related Manuals for Williams GN1200BT


Summary of Contents for Williams GN1200BT
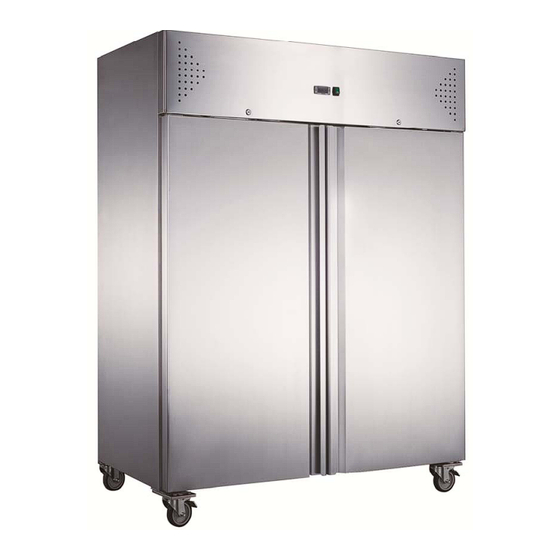
- Page 1 Stainless Steel Cabinet Installation,Operation & Maintenance Manual Page 1 ...
- Page 2 Safety Tips Position on a flat, stable surface. 2. Maintain a distance of 20cm (7 inches) between A service agent/qualified technician should carry out the unit and walls or other objects for ventilation. installation and any repairs if required. Do not remove Increase this distance if the obstacle is a heat source. any components or service panels on this product. Consult Local and National Standards to comply with Note: Before using the appliance for the first time, The following: clean the shelves and interior with soapy water. ·Health and Safety at Work Legislation ·BS EN Codes of Practice 3. Set the brakes on the castors to keep the appliance ·Fire Precautions in position OR level the appliance by adjusting the screw feet. ·IEE Wiring Regulations ·Building Regulations Removing the Compressor Safety Band DO NOT use jet/pressure washers to clean the appliance. DO NOT use the appliance outside. The compressor is located on the top of the appliance, ...
- Page 3 Fitting the Waste Water Tray The waste water tray comes ready to fit to the underside of the appliance. Slide the tray into the runners sited under the appliance. Fitting the Shelves 1. Place one set of shelf guides on either side of the cabinet at the desired height. 2. Slide the shelf into place. 3. Repeat for the remaining shelves. Note: This is vital for ensuring correct drainage of condensation. Operation Storing Food To get the best result from your appliance, follow these instructions: ·Only store foodstuffs in the appliance when it has reached the correct operating temperature. ·Do not place uncovered hot food or liquid inside the appliance. ·Warp or cover food where possible. ·Do not obstruct the fans inside the appliance. ·Avoid opening the doors for prolonged periods of time. Turn on 1. Close the door(s) of the appliance. 2. Ensure the power switch is set to [O] and turn on at the socket. 3. Switch on the power [l]. The current temperature within the appliance is displayed. Manual Defrost The appliance will automatically run a defrost cycle every six hours. Note: The cycle starts from the time the appliance is initially powered up. To manually defrost the appliance: 1. Press and hold the DEFROST button for 5 seconds. 2. The defrost cycle will start immediately and the Defrost LET illuminates. The defrost will last a maximum of 30 minutes. Note: Starting a manual defrost also resets the automatic defrost timer. The next automatic defrost will start six hours after the manual defrost has finished. ...
- Page 4 Troubleshooting If your appliance develops a fault, please check the following table before making a call to your retailer. Fault Probable Cause Action The unit is not switch on Check the unit is plugged in correctly and switched on Plug and lead are damaged Call your agent or qualified technician The appliance is not working Fuse in the plug has blown Replace the fuse Power supply Check power supply Internal wiring fault Call your agent or qualified technician The appliance turns on, but Too much ice on the evaporator Defrost the appliance the temperature is too Condenser blocked with dust Call your agent or qualified technician high/low Fault Probable Cause Action Doors are not shut properly ...
Need help?
Do you have a question about the GN1200BT and is the answer not in the manual?
Questions and answers