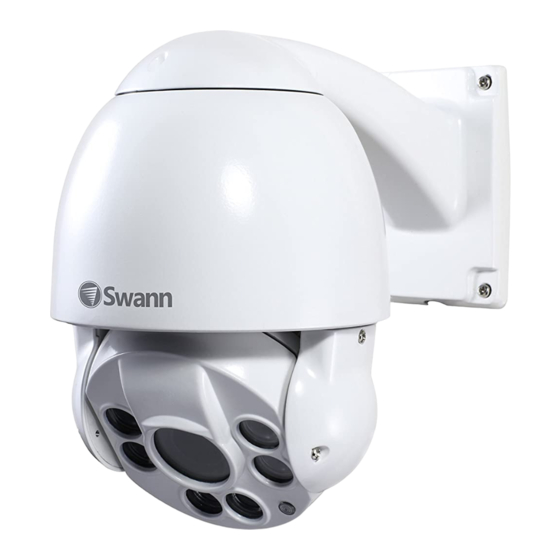
Summary of Contents for Swann NHD-817
- Page 1 Pan-Tilt-Zoom Super HD Dome Camera For use with Swann 7300 Series HD NVRs INSTRUCTION MANUAL...
- Page 2 20 seconds then release. Only use the supplied power adapter (48V). This camera can only be used with Swann’s Do not manually pan and tilt your camera when NVR-7300 Series HD Network Video Recorders.
- Page 3 Connecting your Dome Camera NVR-7300 eSATA Wall Mount AUDIO DC 48V HDMI Ethernet & Power Cable Camera Cable Earth Power Input Reset Audio Input Ethernet cable connects to the camera inputs on the NVR and the power Connect both of these input connects to the to the camera cable.
-
Page 4: Installing The Wall Mount
Installing the Wall Mount The wall mount can be mounted onto a flat ver- screwdriver to temporarily remove your dome tical surface and must be of sufficient strength camera from the wall mount. Be careful as the to hold your camera. camera cable is connected to your dome camera via one data and one power cable. - Page 5 Installing the Ceiling Mounting Kit The ceiling mounting kit consists of a ceil- the connections). Using the appropriate screws ing mount, cylinder pipe and a camera mount. for the surface you are mounting to, screw the To use this, you need to remove the wall mount ceiling mount in place (make sure the location is first.
- Page 6 Controlling your Dome Camera To control your camera, use the mouse and click The lower the number the slower your camera the channel the camera is connected to. Click the will move (this does not affect the speed when the “PTZ”...
- Page 7 Controlling your Dome Camera (cont.) Click this to select a different channel. cally move the camera according to the Preset po- sitions that have been created. Click this to access Click this to select a different Preset position. the Patrol menu, go to page 9 - Creating a Patrol.
-
Page 8: Creating A Preset
Creating a Preset Use the PTZ controls to move your camera to Repeat the above steps to create multiple Preset the desired focal position. Zoom and Focus can positions by changing the Preset slot for each Pre- also be used. set that you want to create. -
Page 9: Creating A Patrol
Creating a Patrol Click “Patrol” to access the Patrol menu. positions. Select a different Preset slot for each Preset that you want to add. Click the first Preset slot available. When finished, click “Add” to add each Preset Click “Set” then select from one of the available to the Patrol. -
Page 10: Limited Warranty - Terms & Conditions
Swann. The end this warranty. Where applicable by local laws, user is responsible for all freight charges incurred regulations and legal rights will take precedence. -
Page 11: Fcc Verification
FCC Verification This equipment has been tested and found to comply with the limits for Class B digital device, pursu- ant to part 15 of the FCC Rules. These limits are designed to provide reasonable protection against harmful interference in a residential installation. This equipment generates, uses and can radiate radio frequency energy and, if not installed and used in accordance with the instructions, may cause harmful interference to radio or television reception, which can be determined by turning the equipment off and on, the user is encouraged to try to correct the interference by one or more of the following measures:... -
Page 12: Helpdesk/Technical Support
Helpdesk/Technical Support Technical Support E-mail: tech@swann.com Telephone Helpdesk USA Toll Free 1-800-627-2799 USA Parts & Warranty 1-800-627-2799 (M-F, 9am-5pm US PT) AUSTRALIA 1800 788 210 NEW ZEALAND Toll Free 0800 479 266 0808 168 9031 M817PTZ171115E | © Swann 2015...


Need help?
Do you have a question about the NHD-817 and is the answer not in the manual?
Questions and answers