Advertisement
Quick Links
Advertisement

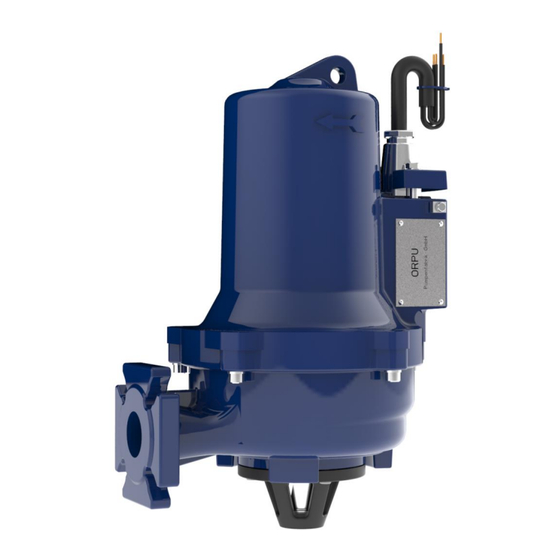
Summary of Contents for ORPU Orcut TES 148
- Page 1 Disassembly/ Assembly of cutting system with end-face seal at TES 148...
- Page 2 Disassembly of cutting system with end-face seal at TES 148 • Wear safety goggles and protective gloves • Clean the pump from heavy soiling • Place the pump with the intake upwards in a suitable device • Remove the fixing screws 4x M6x16 DIN 6912...
- Page 3 Disassembly of cutting system with end-face seal at TES 148 • Evenly screw in 2 opposite studs M8x12 DIN 913 • Thereby the knife is lifted out of the pump housing • Screw until the knife can be removed by hand •...
- Page 4 Disassembly of cutting system with end-face seal at TES 148 • Slide the lever with claw 14x14 length 390 into the discharge port, minimum 200 mm • Turn the cutter until the lever clamps in the rotary disk...
- Page 5 Disassembly of cutting system with end-face seal at TES 148 • Loose the cutter with an Allen key 8 mm • If necessary, hit the cutter with a hammer (wear protection goggles) • if the cutter can not yet be loosened, smooth separation can be caused by heating •...
- Page 6 Disassembly of cutting system with end-face seal at TES 148 • Disassembled cutting system • In the intake of the single-channel impeller the lever can be seen...
- Page 7 Disassembly of cutting system with end-face seal at TES 148 • After dismantling the cutting system the end- face seal can be dismantled if necessary • Disassembly of the impeller retaining washer by loosening the countersunk screw with a hexagon socket •...
- Page 8 Disassembly of cutting system with end-face seal at TES 148 • Remove the pump housing by dismantling the 5 hexagon socket screws M8x35 DIN 912...
- Page 9 Disassembly of cutting system with end-face seal at TES 148 • Pull of the impeller with dismantling tool ORPU order number 170002 • Insert the pressure piece in the hole M8 of the shaft • Screw the dismantling tool into the impeller •...
- Page 10 Disassembly of cutting system with end-face seal at TES 148 • The single-channel impeller is dissembled now • Now it is possible to control the oil • If the oil is mixed with water (turbidity of oil), the end-face seal must be replaced •...
- Page 11 Disassembly of cutting system with end-face seal at TES 148 • After the dismantling of the locking ring DIN 471 with a locking ring plier, the end-face seal can be pulled from the shaft • The use of 2 stable slot screwdrivers has proven to be successful •...
- Page 12 Assembly of cutting system with end-face seal at TES 148 • Replace the shaft seal 20x35x7 DIN 3760 NBR as well • Fill in the new oil before assembling the oil cover (Lubricating oil CL32 ISO VG32) • The correct level is reached when the oil comes up to the tapering on the end plate •...
- Page 13 Assembly of cutting system with end-face seal at TES 148 • Clean the sealing surface thoroughly with a suitable cleaner (brake cleaner has proven its reliability) • For an easier installation of the counter ring, moisten the O-ring with detergent •...
- Page 14 Assembly of cutting system with end-face seal at TES 148 • Slide the impeller onto the shaft • Consider the allignment of the parallel key • Moisten the countersunk screw with screw locking medium strength • Guide the countersunk screw through the impeller retaining washer and screw it in the shaft •...
- Page 15 Assembly of cutting system with end-face seal at TES 148 • Screw the cutter in the impeller and tighten it with an Allen key • Hold the impeller with the help of the lever • Place the knife with O-ring 80x3 in the housing cover and grease with graphite grease •...
- Page 16 Assembly of cutting system with end-face seal at TES 148 • Tighten the fastening screws M6x20 • By lifting the knife the cutting gap of 0,10-0,15 mm is adjusted • The knife is lifted by the studs M8x12 • Tighten the fastening screws after adjustment •...
- Page 17 Disassembly of cutting system with end-face seal at TES 148 If you have any questions or comments about this manual during disassembly, please contact: ORPU Pumpenfabrik GmbH Lehnitzschleuse 11 16515 Oranienburg +49 3301/858-0 info@orpu.de...
Need help?
Do you have a question about the Orcut TES 148 and is the answer not in the manual?
Questions and answers