Table of Contents
Advertisement
Quick Links
Fisher Engineering
50 Gordon Drive, Rockland, Maine 04841‑2139 • www.fisherplows.com
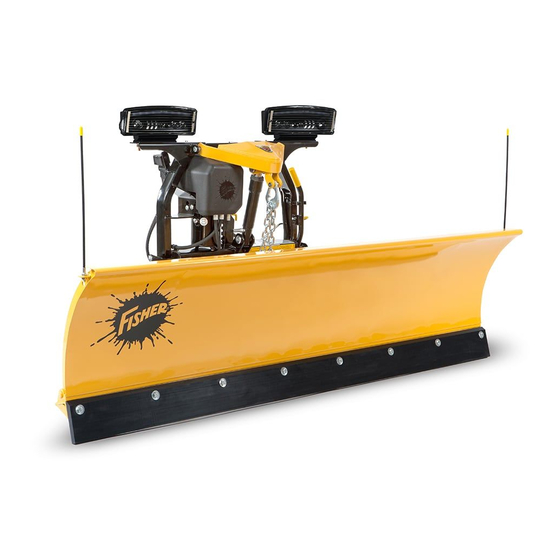
HS Compact Plow
Blade and Off‑Truck Kit
Installation Instructions
CAUTION
Read this document before installing the
snowplow.
CAUTION
See your FISHER
outlet/website for specific
®
vehicle application recommendations before
installation. The eMatch selection system has
specific vehicle and snowplow requirements.
A DIVISION OF FISHER, LLC
85280, 85285
85240, 85240‑3
July 15, 2020
Lit. No. 85309, Rev. 03
Advertisement
Table of Contents

Subscribe to Our Youtube Channel
Summary of Contents for Fisher HS
- Page 1 Blade and Off‑Truck Kit Installation Instructions CAUTION Read this document before installing the snowplow. CAUTION See your FISHER outlet/website for specific ® vehicle application recommendations before installation. The eMatch selection system has specific vehicle and snowplow requirements. A DIVISION OF FISHER, LLC...
-
Page 3: Safety Definitions
SAFETY SAFETY DEFINITIONS WARNING/CAUTION AND INSTRUCTION LABELS WARNING Become familiar with and inform users about the Indicates a potentially hazardous situation warning/caution, serial number, and instruction labels that, if not avoided, could result in death or on the back of the blade. serious personal injury. -
Page 4: Safety Precautions
SAFETY SAFETY PRECAUTIONS HYDRAULIC SAFETY Improper installation and operation could cause WARNING personal injury and/or equipment and property damage. Hydraulic fluid under pressure can cause skin Read and understand labels and the Owner's Manual injection injury. If you are injured by hydraulic before installing, operating, or making adjustments. -
Page 5: Battery Safety
SAFETY FIRE AND EXPLOSION NOISE Airborne noise emission during use is 70 dB(A) for the WARNING snowplow operator. Gasoline is highly flammable and gasoline vapor is explosive. Never smoke while VIBRATION working on vehicle. Keep all open flames away from gasoline tank and lines. Wipe up Operating snowplow vibration does not exceed any spilled gasoline immediately. - Page 6 INSTALLATION INSTRUCTIONS UNPACKING A‑FRAME TO BLADE ASSEMBLY 1. Set aside the blade guides, parts bag, and 1. Insert the nose of the A‑frame into the quadrant headlamp bag. and align the pivot bolt hole on the A‑frame with the pivot bolt hole on the quadrant. Loosen and 2.
- Page 7 INSTALLATION INSTRUCTIONS 3. Install the rubber bumpers using 5/16" x 5" cap 10. With the A‑frame parallel to the ground, secure screws, 5/16" flat washers, and 5/16" locknuts, as the stand by pulling the stand lock pin out and shown on facing page. Tighten the fasteners until letting the stand drop to the ground.
- Page 8 INSTALLATION INSTRUCTIONS HEADLAMPS From inside the headlamp channel, insert the cable tie anchors into the holes as shown. The anchor locking tabs should be horizontal. WARNING Your vehicle must be equipped with snowplow headlamps and directional lights. Headlamps, hardware, and instructions are found in Cable Tie Grommet the headlamp box.
-
Page 9: Hydraulic Unit
INSTALLATION INSTRUCTIONS HYDRAULIC UNIT WARNING WARNING To prevent accidental movement of the blade, always turn the control OFF whenever the Keep 8' clear of the blade when it is being snowplow is not in use. The power indicator raised, lowered, or angled. Do not stand light will turn OFF. -
Page 10: Blade Drop Speed Adjustment
INSTALLATION INSTRUCTIONS BLADE DROP SPEED ADJUSTMENT FINAL INSPECTION AND ADJUSTMENT WARNING WARNING Keep 8' clear of the blade when it is being Keep 8' clear of the blade when it is being raised, lowered, or angled. Do not stand raised, lowered, or angled. Do not stand between vehicle and blade or directly in front between vehicle and blade or directly in front of the blade. - Page 11 OPERATIONAL TEST AND FINAL ADJUSTMENTS PLUG COVERS CAUTION Plug covers shall be used whenever snowplow is disconnected. Vehicle battery cable is 12V unfused source. When the snowplow is removed from the vehicle, install plug covers on the vehicle battery cable. Insert the snowplow battery cable into the cable boot on the snowplow.
- Page 12 Fisher Engineering or the vehicle manufacturer may require or recommend optional equipment for snow removal. Do not exceed vehicle ratings with a snowplow. Fisher Engineering offers a limited warranty for all snowplows and accessories. See separately printed page for this important information. The following is a registered ( ) trademark of ®...
Need help?
Do you have a question about the HS and is the answer not in the manual?
Questions and answers