Table of Contents
Advertisement
Quick Links
Advertisement
Table of Contents

Summary of Contents for Nitgen FRD
- Page 1 DC1-0011A Rev D...
-
Page 2: Table Of Contents
Features and specifications are subject to change without notice. No part of this guide may be Chapter 4 Troubleshooting copied or reproduced for any purpose without the prior written authorization from NITGEN. USB FRD Problems NITGEN holds the copyright on the brands NITGEN Any other brands are the registered trademarks of owners. -
Page 3: Chapter 1 Before You Begin
Chapter 1 Before You Begin Features Typical Applications System Requirements Package Contents Product Types... -
Page 4: Features
CD-ROM drive The FRD is equipped with high-performance and compact NITGEN fingerprint recognition USB port (If you are connecting the FRD Fingkey Mouse into a hub, you must use a self powered USB hub) module, which can transfer data to computers to reject any unauthorized user's access. -
Page 5: Package Contents
Package Contents FRD Kits include the following ; Please check the contents of your package. USB Type Fingerprint Recognition Fingkey Mouse (MFDU01) Parallel Type Fingerprint Recognition Fingkey Mouse (MFDP02) MFDU01 Installation CD Installation Guide Installation Guide Installation CD MFDP02 USB Type Fingerprint Recognition Fingkey Hamster (HFDU01) -
Page 6: Product Types
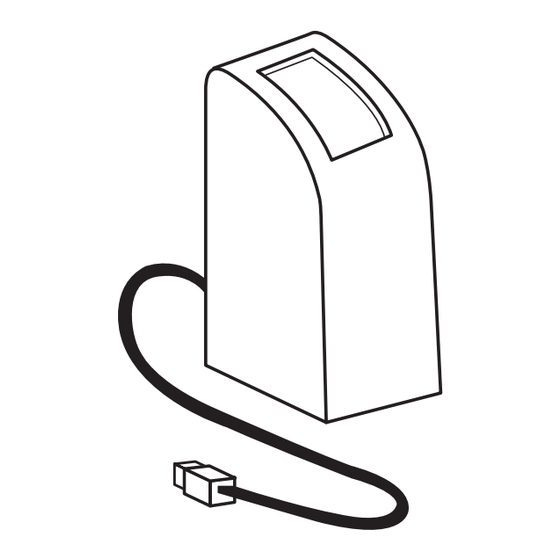
Product Types It is important to know the type of FRD you are installing prior to beginning the installation process in order to ensure that the device is configured correctly on your system. If you are not certain, please refer to the diagrams below or locate the model number on the bottom of the fingerprint device. -
Page 7: Chapter 2 Driver Installation
Chapter 2 Driver Installation USB Driver Installation Parallel Driver Installation... -
Page 8: Usb Driver Installation
1. Prior to beginning the installation, please close all applications that are running. 2. Do not plug in the USB FRD until after the drivers have been installed on your system. 3. Insert the Installation CD in your CD-ROM drive. The installation program will start automatically. - Page 9 8. The New Hardware Installation Wizard will automatically show you the process of that it was installed correctly. You will be prompted to connect the USB FRD as shown in installing USB Composite, HID and FRD drivers. If you are installing a USB Fingkey the diagram below : Hamster, only the FRD driver will be installed.
-
Page 10: Parallel Driver Installation
To connect Parallel type FRD automatically. If you are installing a parallel port FRD, you must connect the FRD to your computer before powering up the computer. 1. Turn off the computer. - Page 11 Refer to Chapter 3 'How to use the Device Diagnostic Tool' for more information on using device diagnostic tool to ensure that the FRD is successfully installed. This guide is based on the selection of the Parallel Fingkey Mouse (MFDP02) as an example.
- Page 12 Chapter 3 How To Use The Device Diagnostic Tool Running the Diagnostic Tool Checking the System Status Capturing Fingerprint Images Adjusting the Brightness and Contrast Others...
-
Page 13: Running The Diagnostic Tool
Checking The System Status Running the Diagnostic Tool 1. Click Start-Run to run the testing program. Select the "General" tab to view device status 1. Driver Installed status. When the "Parallel" check box is selected, the parallel type device driver is installed When the 'USB' check box is selected, the USB type device driver is installed When both check boxes are selected, both drivers are... -
Page 14: Capturing Fingerprint Images
Capturing Fingerprint Images Select the "Image" tab to capture 3. Click "Capture" to capture fingerprint images. fingerprint images. The fingerprint sensor will begin flashing 'Red' 1. Select the device you are going to use from the indicating that it is waiting for a fingerprint. Place 'Select a Fingerprint Device' list box. -
Page 15: Adjusting The Brightness And Contrast
Brightness, Contrast and Gain values. images are still too bright, you can adjust the Gain setting by degrees. Parallel type FRD (FDP02) doesn't support the Gain adjustment. 3. Click "Cancel" to revert to the previous settings. Click "OK" to apply the new settings. -
Page 16: Others
Others Select the 'Support' Tab to see the version of the Chapter 4 diagnostic utility. Troubleshooting USB FRD Problems Parallel FRD Problems Driver Installation without Installshield wizard Chapter 3 How To Use The Device Diagnostic Tool... -
Page 17: Usb Frd Problems
FRD. 3. If you are using the FRD connected to a USB port in a USB keyboard or Hub, verify that the USB keyboard or Hub has it's own power-supply. The USB FRD uses almost 110mA of electric power, so it should only be connected to hubs that are self powered. -
Page 18: Parallel Frd Problems
EasyInstall\FDU01\Driver, Install it by using FPUSB.inf in the folder or sub folder of device. When you are to use Parallel type FRD, the parallel port mode should be set to ECP/EPP/SPP. If using EPP mode, do not use a Base Address of 0x3BC. - Page 19 Safety Information FCC Part 15 : This Equipment has been tested and found to comply with the limits for a Class B digital device, pursuant to Part 15 of the FCC Rules. These limits are designed to provide reasonable protection against harmful interference in a residential installation.
Need help?
Do you have a question about the FRD and is the answer not in the manual?
Questions and answers