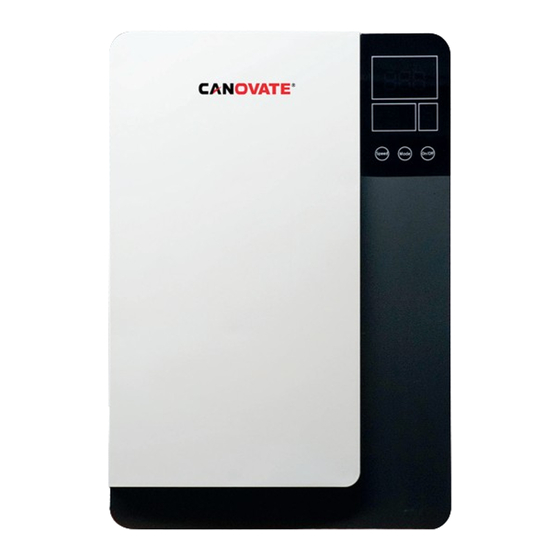
Summary of Contents for Canovate Icera ERVQ-B150-1A1F
- Page 1 Canovate Icera Hepa W Wall Mount Type Heat Recovery Hepa Filter Fan www.canovate.com info@canovate.com...
-
Page 2: Table Of Contents
Contents Accessories List................................... Safety Attentions..................................Product Introductions................................Specifications and Operation Instructions..........................Operation Instructions................................07-08 Installation Instructions................................09-11 Maintenance..................................... 12-13 Failure Diagnose..................................www.canovate.com info@canovate.com... -
Page 3: Accessories List
Air vent flange 2 pcs Air inlet grille 1 pc Air outlet grille 1 pc Back seal ring 2 pcs Side sealing ring 2 pcs M3 nut 8 pcs Knock-on anchor bolt Plug adapter M3x12 bolt 8 pcs 5 sets www.canovate.com info@canovate.com... -
Page 4: Safety Attentions
Safety Attentions Please read the following safety instructions before installation. And ensure that the unit is installed correctly. Please ob- serve all instruction in order to avoid any injury or damage to equipment or property. www.canovate.com info@canovate.com... -
Page 5: Product Introductions
In order to avoid this situation, our ERVs are all equipped with heat exchanger, which can recover the energy of EA and then recycle to OA, this function will greatly decrease the loss of energy. Dimensions (mm) www.canovate.com info@canovate.com... -
Page 6: Specifications And Operation Instructions
5. The right side in the center of the screen is the current operation speed of the device. 6. At the bottom of the screen are three device adjustment buttons. 7. ”Auto” “Manual” “Timing” “Sleep” “PURE-L” “PURE-M” and “PURE-H” are mode indication. www.canovate.com info@canovate.com... -
Page 7: Operation Instructions
4. Under “Sleep” mode, the unit runs in speed 1, after 30s the screen luminance will get half as normal. 5. Mode “PURE L”, “PURE M”, “PURE H” are to improve indoor air quality rapidly; The purification performance is enhanced progressively for the 3 modes. www.canovate.com info@canovate.com... - Page 8 To cancel timer function, set the time to 00:00. 10. The function of “PURE L”, “PURE M”, “PURE H” is similar to that on the ventilator. www.canovate.com info@canovate.com...
-
Page 9: Installation Instructions
4. According to the wall thickness, cut the suitable length of the PVC pipes, connect the PVC pipes to the flanges and also the OA inlet grille and EA outlet grille , please pay attention that the eave of the cover is at the top www.canovate.com info@canovate.com... - Page 10 8. Hang the ventilator on the installation panel, user can adjust the 4 pieces hanging screws on the back of the ventilator to suit the installation panel. 9. After the installation is completed, power on the ventilator www.canovate.com info@canovate.com...
- Page 11 Attention; It is recommended to use the flexible ducts for side installation, flexible ducts prepared by installer. 5. Hang the ventilator on the installation panel, user can adjust the 4 pieces hanging screws on the back of the ventilator to suit the installation panel. www.canovate.com info@canovate.com...
- Page 12 2.5μm in the air - Open the covers according to the marks on the ventilator, take out the HEPA filters and change to be the new one - Recommended exchange period of the HEPA filter is 10 to 12 months www.canovate.com info@canovate.com...
-
Page 13: Maintenance
- Clean the dust and dirt on the exchanger by vacuum cleaner - It is recommended maintain or clean the exchanger every 3 years, for further help can contact manufacturer. Maintenance of motor and controller Notice: Not for Non-professional, if any questions please contact manufacturer www.canovate.com info@canovate.com... -
Page 14: Failure Diagnose
User can make self trouble shooting following below chart in case of any failure. Special declaration The following situations are not included in the warranty. 1. Obvious man-made sabotage during usage. 2. Usage, maintenance and repair not following the instructions of this manual. 3. Damages caused from any force-major. www.canovate.com info@canovate.com... - Page 15 info@canovate.com...


Need help?
Do you have a question about the Icera ERVQ-B150-1A1F and is the answer not in the manual?
Questions and answers