Table of Contents
Advertisement
Quick Links
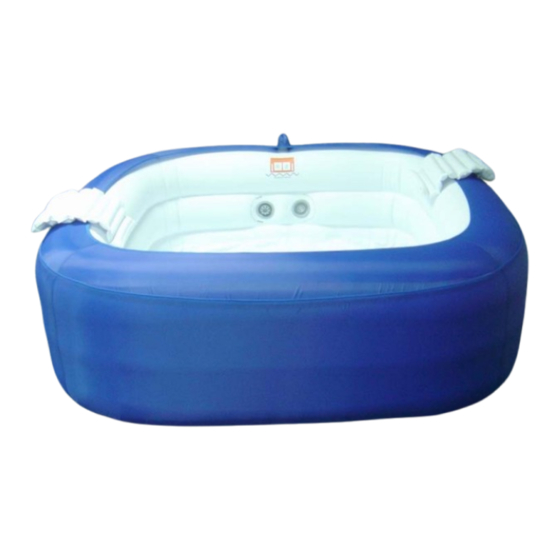
DELUXE PORTABLE SPA
OWNER'S MANUAL
Important information is enclosed in this manual. Please read these materials prior to
assembling and using this product. Keep for future references.
For questions on assembly, parts or warranty, contact us at our TOLL FREE number.
DO NOT RETURN this product to the store!
Contact us TOLL FREE: 1-866-430-1876 (USA) (9am – 5pm, Eastern, Monday – Friday)
Congratulations on your new purchase! Your high performance inflatable spa is designed
to provide a refreshing and relaxing experience for the whole family.
1
Advertisement
Table of Contents
Troubleshooting

Summary of Contents for SOFINA DELUXE PORTABLE SPA
- Page 1 DELUXE PORTABLE SPA OWNER’S MANUAL Important information is enclosed in this manual. Please read these materials prior to assembling and using this product. Keep for future references. For questions on assembly, parts or warranty, contact us at our TOLL FREE number.
- Page 2 • WARNING - Always use a cover when the spa is not in use and keep young children away from spa or hot tubs unless there is constant adult supervision. • WARNING - Make sure the spa has the drain covers required by current safety standards.
- Page 3 • WARNING - Always attach a spa cover after each use. • WARNING - Never use an extension cord to plug the pump and filter system in to a power source. Doing so could cause damage to the pump and filter system. •...
-
Page 4: Important Safety Instructions
IMPORTANT SAFETY INSTRUCTIONS The following instructions contain important safety information, and we strongly encourage you to read and apply them. When installing and using this electrical equipment, basic safety precautions should always be followed, including the following: READ AND FOLLOW ALL INSTRUCTIONS WARNING - To reduce the risk of injury, do not permit children to use this product unless they are closely supervised at all times. - Page 5 DANGER – Risk of Electric Shock. Install at least 5 feet (1.5m) from all metal surfaces. As an alternative, a spa may be installed within 5 feet of metal surfaces if each metal surface is permanently connected by a minimum of 8AWG (8.4 ) or (6AWG in Canada) solid copper conductor to the wire connector on the terminal box that is provided for this purpose.
- Page 6 19. CAUTION – Maintain water chemistry in accordance with manufacturer’s instruction. 20. A green-colored terminal or a terminal marked G, GR, Ground, Grounding, or the symbol is located inside the supply terminal box or compartment. To reduce the risk of electric shock, this terminal must be connected to the grounding means provided in the electric supply service panel with a continuous copper wire equivalent in size to the circuit conductors supplying this equipment.
-
Page 7: Release Of Liability
SOFINA and / or any party participating in the design and / or manufacture of this product. The terms of this release shall be effective and binding upon you, your heirs, next of kin, executors, administrators, assigns and representatives. -
Page 8: Product Contents
PRODUCT CONTENTS Description of Part Top Safety Cover (zippered) Spa Pool with Speed Safety Valve Main Power Unit - Pump, Filter and Heater Inflator Hose with Nozzle at one end Hose Fitting Wrench Water Drain Plug and Cover Pump / Filter Cover Filter Cartridge GFCI Plug Spa Pool and Pool Cover... -
Page 9: Indoor Installation
INDOOR INSTALLATION: Take special consideration to the following issues when installing your spa indoors. 1. Make sure the floor can support the total spa filled weight of 1500lbs (682 Kgs) and combined user weight. 2. Install your spa on a water resistant, non-slip floor. The floor should have a drain to remove water splashed from the spa. - Page 10 SPA ASSEMBLY: 1. Unfold the spa to lay flat and make sure the spa is right side up. 2. Plug in the Main Power Unit to a grounded outlet. 3. Connect the inflation hose to the center hose connection on the Main Power Unit. WARNING –...
- Page 11 10. Attach the hoses from the large fittings on the back of the pump to the corresponding fitting on the spa, being careful not to cross-thread the fitting. Hand tighten the nut. Step 1 Step 2 Step 3 11. IMPORTANT - Make sure that the filter pump inlet and outlet, located on the inner side wall of the spa, are opened by turning the nozzles counter- clockwise (the nozzle cap does not come off, it stays loose when it is in the ‘OPEN’...
-
Page 12: Filling The Spa
FILLING THE SPA: 1. Locate the floor drain valve and make sure that it is closed and the cap is installed. Drain valve location Turn clockwise to close drain valve Hold base and tighten drain valve cap Tighten pump / filter cover Tighten air purge valve IMPORTANT –... - Page 13 4. Bleed the air from the filter tank by turning the small knob on the top of the filter tank counter-clockwise. Allow the filter tank to bleed air for approximately one minute, or until water drips from the fitting. Turn the fitting clockwise to close the bleed valve.
-
Page 14: Draining The Spa
young children in and around water. You may lock the cover by using the pad locks provided in the repair kit. DRAINING THE SPA: 1. Turn off the Main Power Unit and unplug the cord from the outlet. 2. Close the water inlet and outlet valve located on the inside wall of the spa by turning both valves clockwise, and on some models, install the outlet valve cover as well . - Page 15 5. Open the floor drain valve and allow water to drain. Turn “A” counter-clockwise to allow water flow 6. Once the water has drained, tilt the spa on its side to drain the remaining water.
- Page 16 MAIN POWER UNIT OPERATION TESTING THE GFCI PLUG: WARNING – RISK OF ELECTRIC SHOCK. The GFCI plug must be tested before each use. WARNING – If the GFCI plug does not function properly, do not use your spa. Call the dealer or factory immediately for instructions. Do not bypass the GFCI plug.
-
Page 17: Control Panel Operation
CONTROL PANEL OPERATION: 1. FILTER ON / OFF – Turns unit on / off. Circulates and filters water. 2. HEAT ON / LEVEL – Turns heat on, as well as regulates heat level. (Low = 86˚F / 30˚C, Medium = 95˚F / 35˚C, High = 104˚F / 40˚C) Note: Filter must be turned on for heat to function. -
Page 18: Maintenance
MAINTENANCE CLEANING THE FILTER: 1. Unplug the Main Power Unit from the electrical outlet. 2. Close the water inlet and outlet valve located on the inside wall of the spa by turning both valves clockwise, and on some models, install the outlet valve cover as well . -
Page 19: Service And Troubleshooting
Vinyl Care - Interior 1. While the spa is empty, clean the spa interior with a mild soap solution to remove any soil or stains on the vinyl. Rinse thoroughly before refilling the spa. Do not use cleaning aids such as steel wool, metal brushes, or abrasive cleansers such as Comet or Ajax. - Page 20 NO HEAT 1. Dirty filter: Clean the filter per the instructions provided in the Maintenance section of this manual. If the filter is more than two months old, replace it. After cleaning or replacing the filter, cover the spa, turn the temperature set point to ‘High’, and leave the spa for 24 hours.
-
Page 21: Troubleshooting Summary
TROUBLESHOOTING SUMMARY Problems Probable Causes Remedies Spa leakage - Spa is torn or punctured - Use provided Repair Patch Pump does not operate - Power failure - Check power source - GFCI tripped - Plug into a grounded or - GFCI is not plugged into a grounding type power source grounded electrical outlet - Reset GFCI... -
Page 22: Warranty Policy
Monday through Friday. Do not return to your dealer. The warranty is only valid in the USA. If you have any questions about any SOFINA product, replacement parts or locating a dealer in your area, contact us at: Customer Service Department...
Need help?
Do you have a question about the DELUXE PORTABLE SPA and is the answer not in the manual?
Questions and answers