Table of Contents
Advertisement
Quick Links
Advertisement
Table of Contents

Subscribe to Our Youtube Channel
Summary of Contents for chinavasion CVADY-I544
- Page 1 Wireless kit QUICK INSTALLATION GUIDE...
- Page 2 Electrical safety codes. We assume no liability or responsibility for any fires or electrical shock caused by improper handling or installation. Transportation security transportation, storage and installation. Installation R before completing installation. Qualified engineers needed engineers. tions or attempted repair. Environment The NVR should be installed in a cool, dry place away from direct sunlight and inflammable or explosive substances, etc.
-
Page 3: Product Introduction
1 Declaration Please prevail in kind. The manual is for reference only. This manual may contain inaccurate data or printing error. The products described in this manual may be updated at any time. Screenshots of the manual is not in a machine and only for display. If in doubt, obtaining a copy of the latest procedure or the additional document, please contact with the company's after-sales department. -
Page 4: Panel Description
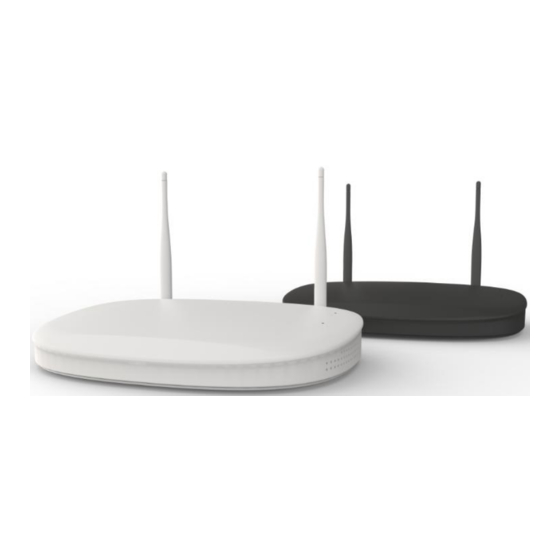
center of the round circle, signal of surrounding is much stronger, but much weaker if antenna endpoints backoff direction. And in order to guarantee the video quality, IPC antenna should try to keep in parallel or tangent with NVR antenna. 2.3 Panel Description 3 Hard Disk Installation Before you start:... -
Page 5: Power Off (Shutdown)
Step 3: Connect the power cable to the HDD. Step 4: Place the HDD on the bottom of the device and then fasten the screws on the bottom to fix the HDD. The form is for reference. Available time of HDD is based on access channels and actual streams. -
Page 6: Power Recovery
Note: Only change or attempt to reconnect the hard disk drive after shutting down the NVR. 4.3 Restart Right mouse click -[Exit System]-[Reboot]. 4.4 Power recovery Reboot after an outage or forceful shutdown, NVR will save the record before outage and return to the normal operation mode. 4.5 Setup Wizard Right mouse click - [Setup Wizard]. - Page 7 [Enable Boot Wizard]: If check, boot wizard after reboot. [Next]: Enter the next configuration wizard. [Cancel]: Quit the wizard . 4.5.2 Language and Region [Time Zone]: Select the right Time Zone [System Time]: Set the right Date and Time [Sync Time]: Enable Sync Time to update the time when connecting to the Internet [Date Format]: Select the Date Format [Language]: Select the language...
-
Page 8: Add Camera
[Net Diagnose]: Diagnose whether the network is normal. [Network Status]: Indicate whether the network is normal. 4.5.4 HDD Setup [Format]: Format the disk. 4.6 Add camera Steps: Right mouse click - [Video Manage]. The cameras offered in the kit have been matched by factory. Power on the IP cameras and NVR, the cameras will connect to the NVR automatically. -
Page 9: Video Detection
4.7 Video detection Right mouse click - [System setup] - [Record setup] - Choose [Motion] - Click [Copy to] - Click [Apply] to save setting. 4.8 Video playback Step: Right click mouse in main menu -Video playback 1: Choose playback time - Choose channel NO. 2: Choose [Manual Search] - Click search, recording will come out, drag time bar - Click [Playback] to start. - Page 11 4.9 Generate IP-PRO ID Precondition to generate IP-PRO ID is that make sure video recorder is connected with network, and IP address is available right mouse click - [System setup] - [Network setup] If user is familiar with LAN, then no need to choose DHCP which help to get IP address automatically.
- Page 13 5.2 Access in WAN Step 1: Right mouse click - [System setup] - [Network setup] - Check Cloud(P2P) ID . Step 2: Access by computer in WAN, input www.e-seenet.com in IE browser or any other browser. Then it will access log in web page, input ID, user name and password, click log in .
- Page 14 6 Mobile Client Access a. Search "IP-PRO" in Google Play Store or APP Store, or scan the "Android client link/IOS client link" QR Code on the Setup Wizard b. Download and Install the "IP-PRO" c. Open the APP and add the device (shown as below) Step 1: Tap "+"...

Need help?
Do you have a question about the CVADY-I544 and is the answer not in the manual?
Questions and answers