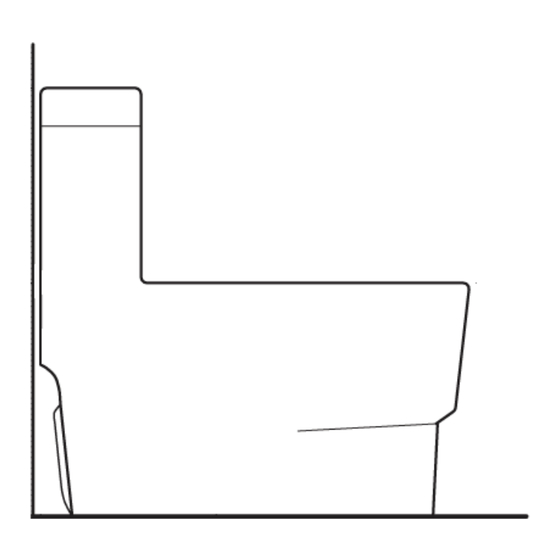
Summary of Contents for Blu Bathworks LF1062
- Page 1 Installation Guide Freestanding Toilet LF1062 LF1235 LF1269 LF8004 2011-08 1 604 299 0122 1 866 907 0122 blubathworks.com...
-
Page 2: Installation Requirements
Should inspection reveal any damage or defect in the finish, contact your distributor. The warranty does not cover damages or defects in the finish once it has been installed. Blu Bathworks’ responsibility for shipping damages ceases upon delivery of the product in good order to the carrier. All complaints regarding damage due to transport must be made directly to the carrier. -
Page 3: Installation Notes
Technical Support Assistance If further assistance is required, please contact: Product Support at 1.866.907.0122 (09:00 – 17:00hrs PST) or email technical@blubathworks.com North America Blu Bathworks Inc. 3614 East 1st Ave,Vancouver, BC, Canada, V5M 1C3 T +1.604.299.0122 F +1.604.299.0125... -
Page 4: Installation Procedure
LF1062, LF1235, LF1269, LF8004—Before Installation TOOLS NEEDED: – 12” Pipe Wrench – 10” Adjustable Wrench – Carpenter’s Level – Tape Measure – Pliers – Screwdriver – Putty Knife – Drill – 1 ⁄ ” drill bit for wood floor installation –... - Page 5 2. REMOVING EXISTING TOILET (IF NECESSARY) Turn off water supply. Flush the toilet, remove any remaining water from tank and bowl. Disconnect water connector. Remove tank and bowl. Remove old wax seal and mounting bolts. 3. INSTALLING TOILET MOUNTING BOLTS Clean any debris out of the closet flange and then install new mounting bolts (not supplied) into the slots of the closet flange (see Fig.
-
Page 6: Installation
6. INSTALL THE TOILET Install the toilet tank lid onto the toilet tank top. 7. INSTALL THE TOILET SEAT Install the toilet seat onto the toilet bowl (see Fig 5). (Top Mount Bolt Set is included with the bowl). Insert the rubber bushing nuts into the bowl seat holes. -
Page 7: Maintenance
Lid Installation (LF8004 & LF1235) – Carefully place lid on top of tank making sure that the push rod colours match the flush valve buttons (blue to blue and white to white). – To replace or readjust the push rod height, push down on one button while pulling the opposite button up with your finger to remove. - Page 8 Installation Instructions of Different Hinges (PLEASE CHOOSE THE CORRECT ILLUSTRATION) HS01 HS05...
-
Page 9: Troubleshooting Guide
Trouble Shooting Guide 1. PROBLEM: Fill valve turns on/off without toilet being flushed CAUSE: Flush valve seal gasket is dirty SOLUTION: Inspect and clean flush valve seal gasket 2. PROBLEM: Fill valve continuously running CAUSE: Dirty fill valve seal SOLUTION: Shut off water supply. Open fill valve cap and clean valve seal CAUSE: Flush valve seal gasket is dirty SOLUTION: Inspect and clean flush valve seal gasket 3. -
Page 10: Warranty
Limited Ceramics Residential Warranty Blu Bathworks (“Blu”) ceramic products are warranted to the original purchaser to be free from defects in all material and workmanship during normal residential use for a period of one (1) year from the date of purchase. Blu will, at its election, repair, provide a replacement part or product, or make appropriate adjustment, subject to the terms and conditions set forth in this warranty.

Need help?
Do you have a question about the LF1062 and is the answer not in the manual?
Questions and answers