Advertisement
Table of Contents
- 1 DH9116 Transmitter - Signal Code Bind
- 2 DH9116 Transmitter - Original Factory Program Menu Settings
- 3 DH9116 Initial Basic Swashplate Leveling Procedure
- 4 Adjustment of the Servo Arms & Linkages
- 5 Adjusting the Position of the Servo Arms
- 6 Servo Arm to Swashplate Link Adjustments
- 7 DH9116 Transmitter – Physically Change from Mode 1 to Mode 2
- 8 DH9116 Servo Move Modification
- Download this manual
Advertisement
Table of Contents

Related Manuals for Double Horse 9116


Summary of Contents for Double Horse 9116
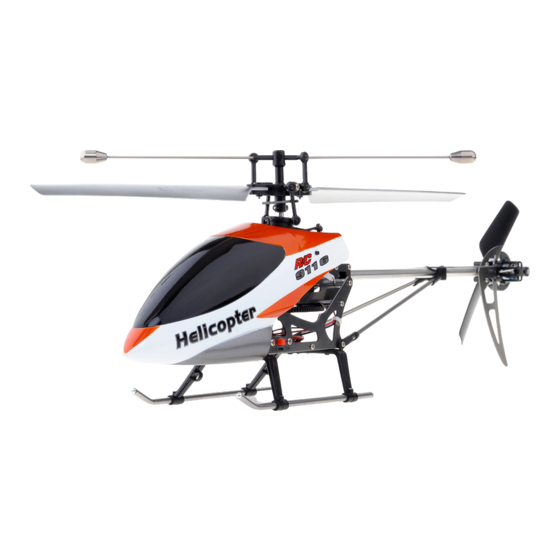
- Page 1 Double Horse 9116 Technical Manual Compiled from contributions by owners of the DH9116 RC helicopter and members of RC Groups Discussion Forums via the “Double horse 9116 Heli” Thread at http://www.rcgroups.com/forums/showthread.php?t=1540154...
- Page 2 DH9116 Transmitter - Signal Code Bind To re-establish the signal link between the helicopter and the transmitter by gaining access to the transmitters automatic signal code synchronization mode (transmitter bind). Make sure you plug in the battery to the helicopter first, but leave the switch off, make sure you keep the heli within very easy reach.
- Page 3 DH9116 Transmitter - Original Factory Program Menu Settings. Terms used within the transmitter and this blog. TX = Transmitter ELEV = Elevator (cyclic movement forward or backward) AILE = Aileron (cyclic movement side to side, slide left & right) RUDD = Rudder (to increase or decrease tail rotor thrust, spin the tail left or right) THRO = Throttle (increase or decrease motor rpm, to raise or lower the helicopter in altitude) D/R = Dual Rate (increase or decrease servo maximum throw) EPA = End Point Adjustment (increase or decrease to match the servo arm movements with transmitter control...
- Page 4 DH9116 Swashplate to Servo Arm Adjustable Linkage - Original Factory Lengths Factory lengths for both servo linkages. To increase in length, turn clockwise (left). To decrease in length, turn anti or counter-clockwise (right). The longest linkage with the outside (O.D) points of a digital vernier caliper should be 36mm (exactly 36.61mm), and with the inside (I.D) points of a digital vernier caliper the total overall length is 42mm (exactly 41.59mm) The shortest linkage with the outside (O.D) points of a digital vernier caliper should be 26mm (exactly...
- Page 5 DH9116 Initial Basic Swashplate Leveling Procedure & Mechanical Trimming / Adjustment of the Servo Arms & Linkages Remove the canopy and find the plugs to the tail motor and main motor on the pcb and pull them out (making note of where they go), therefore disconnecting both the motors from the helicopter's battery power source. Connect the battery to the helicopter, turn on your transmitter and switch on / power up the helicopter and allow the helicopter to bind or sync with the transmitter, the servo's should flutter when it is bound.
- Page 6 At this stage, we want to focus on the forward / backward drift, so focus on getting that as close to perfect as possible, DO NOT WORRY ABOUT ANY SIDE DRIFT. You should have an ever so slight forward bias as it takes off, not unlike a forward drift.
- Page 7 DH9116 Servo Move Modification To fix the servo arm link touching the canopy, when the servo is at full throw forward, and also, in my opinion, to fix the excessive outward flexing of the servo arm. The servo is usually removed by unplugging it from the pcb, then unscrewing the two retaining screws, and simply pulling it out, but for this mod, I needed to move the servo inside between the two metal side plates by 5mm, so the servo screw tabs would have to be on the inside, not the outside.
- Page 8 The image below left is of the servo at rest before the mod, then compare this image to the next image (below right) of the servo at rest after the mod. Once I checked everything was ok, I then switched the TX and the helicopter on and checked to see if the servo arm no longer outwardly flexed and the linkage "dog leg"...
Need help?
Do you have a question about the 9116 and is the answer not in the manual?
Questions and answers