Table of Contents
Advertisement
Quick Links
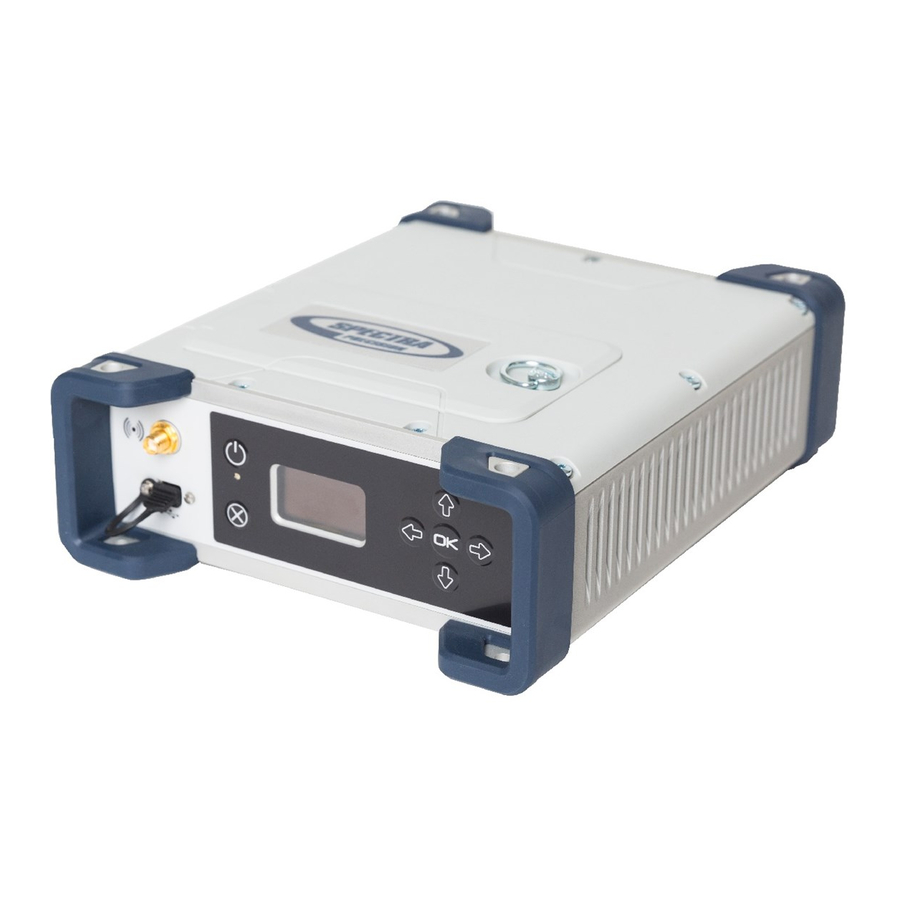
SP90m
Getting Started Guide
Four Simple Steps to Get Started
This guide provides an overview of the important features and instruc-
tions for how to set up and operate the Spectra SP90m GNSS receiver.
1. Unpack and check the contents.
2. Get the receiver ready for use.
3. Turn on the receiver.
4. Run the built-in Web Server or Spectra Survey Pro field software to
use and control the receiver.
Additional Information
For further details regarding the features and operation of the receiver,
and to access the latest information, including the Spectra SP90m
GNSS Receiver User Guide and Release Notes, go to:
https://spectrageospatial.com/sp90m-gnss-receiver/
Spectra SP90m Support
For Spectra SP90m support, go to:
https://spectrageospatial.com/sp90m-gnss-receiver/
For safety information, refer to the SP90m GNSS Receiver User Guide.
P/N 113837, Rev B
©2017-2019 Trimble Inc.
All rights reserved.
1
Advertisement
Table of Contents

Subscribe to Our Youtube Channel
Related Manuals for Spectra Geospatial SP90m

Summary of Contents for Spectra Geospatial SP90m
- Page 1 Four Simple Steps to Get Started This guide provides an overview of the important features and instruc- tions for how to set up and operate the Spectra SP90m GNSS receiver. 1. Unpack and check the contents. 2. Get the receiver ready for use.
- Page 2 Step 1: Unpacking and Checking Contents [11] [5]* [10] Number Description Number Description SP90m GNSS receiver Li-Ion battery Transport case Helical SMA 2.4 Bluetooth/WiFi antenna GNSS antenna+coaxial OTG Cable, USB A to Mini USB B cable Dual Li-Ion battery charger SAE-to-DC adapter cable, 0.15 m...
- Page 3 Front Panel [6] [7] Number Description Number Description External Bluetooth/WiFi antenna Power LED Power button USB OTG mini connector Display screen Escape button Keypad including four direction keys Bumpers and a central OK key Rear Panel [10] [11] [12] [13] [14] [15] [16]...
- Page 4 Step 2: Get the Receiver Ready for Use Charging the Lithium-Ion battery : The rechargeable Lithium-ion battery is supplied partially charged. Before using the battery for the first time, charge it completely using the dual-battery charger pro- vided. The battery comes with charge battery indicator LEDs. Push the button on the battery to check the battery charge status.
- Page 5 The battery may be used as power source when the receiver is used in field operations, or as backup to the external DC source when used indoors. Inserting the SIM Card and Battery : Open the battery door by releasing the quarter-turn wing nut (turn anti-clockwise) and then by lifting the battery door.
- Page 6 Step 3: Turning on the Receiver • To turn on the receiver, press the Power button for about two sec- onds until the power LED (item [5] on front panel; see page 3) turns solid green, then release the button. The receiver will automatically complete its initialization phase before it starts operating.
- Page 7 Using the Front Panel Screen : See flowchart below. : Used to scroll through the different screens. Also used to switch from a digit to another when you are editing a numerical value. : When a function is displayed, used to scroll through the pos- sible options, if any.
- Page 8 Use any WiFi-capable device (computer, field controller, smart phone) on which you can run a web browser. • Browse through the different functions on the SP90m front panel until you access the WiFi screen. • Turn on WiFi, choose Access Point as the operating mode. Back to the root WiFi screen, you will see the static (and fixed) IP address of 192.168.130.1...
Need help?
Do you have a question about the SP90m and is the answer not in the manual?
Questions and answers