Sign In
Upload
Download
Table of Contents
Contents
Add to my manuals
Delete from my manuals
Share
URL of this page:
HTML Link:
Bookmark this page
Add
Manual will be automatically added to "My Manuals"
Print this page
×
Bookmark added
×
Added to my manuals
Manuals
Brands
eSSL Manuals
Security System
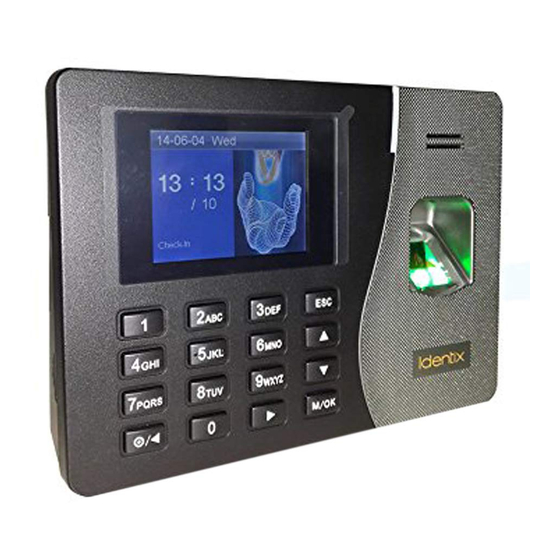
K20
User manual
eSSL K20 User Manual
Security at fingertips
Hide thumbs
1
Table Of Contents
2
3
4
5
6
7
8
9
10
11
12
13
14
15
16
17
18
19
20
21
22
23
24
25
26
27
28
29
30
31
32
33
34
35
36
37
38
39
40
41
42
43
44
45
46
47
48
49
50
51
52
53
54
55
56
57
58
59
60
61
62
63
64
65
66
67
68
69
70
71
72
73
74
75
76
77
78
79
80
81
82
83
84
85
86
87
88
89
90
91
92
93
page
of
93
Go
/
93
Contents
Table of Contents
Bookmarks
Table of Contents
Table of Contents
1 Before Start
2 Menu Tree
3 Basic Concepts
User Enrollment
User Identification/Verification
Threshold
User ID Numbers
Privilege (Status) Levels
Start-Up Window
4 Getting Start
Enrolling Users
Fingerprint Enrollment
Password Enrollment
Fingerprint & Password
Enroll ID
Enroll HID Card
Enroll Mifare Card
Testing an Enrollment
Enrolling a Auxiliary Fingerprint of User
Authentication Type
Fingerprint Authentication
Password Authentication
RF/ MIFARE Card Authentication
MIFARE Card Authentication
Hints for Successful Enrollments
Enroll Administrator
Delete Enrolled Data
System Option
Set Current Date Time
Changing the Date Time Format
Changing the Language
Lock
Unlock
About Daylight Save Time
Advance Option
Power Manager
1Power Option
Time State Selection
Communication Option
Log Options
Access Control Option
Brief Introduction to Access Options
Verification Flow of Access Options
Function Description
Dress Options
How to Set the Number of Failure to Verify
Group Verification
Auto Test
6 How to Manage USB Flash Disk
Download the Attendance Data
Download Staff Data
Upload Staff Data
Download SMS
Upload SMS
7 System Information
8 Relieve Alarm
Advertisement
Quick Links
1
Before Start
2
User Enrollment
3
Communication Option
4
Download the Attendance Data
5
System Information
Download this manual
Security at Fingertips
User Manual
K20,21,30
www.esslsecurity.com
Table of
Contents
Previous
Page
Next
Page
1
2
3
4
5
Advertisement
Table of Contents
Need help?
Do you have a question about the K20 and is the answer not in the manual?
Ask a question
Questions and answers
Related Manuals for eSSL K20
Security System eSSL K21 User Manual
Security at fingertips (93 pages)
Security System eSSL K31 User Manual
Security at fingertips (93 pages)
Security System eSSL AiFace-Venus User Manual
(74 pages)
This manual is also suitable for:
K21
K31
Table of Contents
Save PDF
Print
Rename the bookmark
Delete bookmark?
Delete from my manuals?
Login
Sign In
OR
Sign in with Facebook
Sign in with Google
Upload manual
Upload from disk
Upload from URL


Need help?
Do you have a question about the K20 and is the answer not in the manual?
Questions and answers