
Related Manuals for Nostalgia LIVING EWC008BLK


Summary of Contents for Nostalgia LIVING EWC008BLK
- Page 1 All products are trademarks of Nostalgia Products Group, LLC. Worldwide design & utility patented or patents pending. © 2012 Nostalgia Products Group, LLC. 2013 www.nostalgia electrics.com (rev. 05/30/13)
- Page 2 8-Bottle Electric Wine Cooler Instructions...
-
Page 4: Table Of Contents
Visit www.nostalgiaelectrics.com for more products. CONTENTS IMPORTANT PRECAUTIONS ......3 IMPORTANT SAFEGUARDS ......3 INTRODUCTION . -
Page 5: Important Precautions
IMPORTANT PRECAUTIONS NEVER immerse motor in water. NEVER use an abrasive sponge or cloth on the exterior of the unit, as this will ruin the finish. Unplug unit from outlet when not in use and during cleaning. DO NOT operate this appliance with a damaged cord or plug, nor if the appliance ever malfunctions. - Page 6 16. NEVER put anything living into the wine cooler for risk of severe injury or death. 17. DO NOT cover or block any ventilation openings on the appliance. 18. Keep the internal temperature as high as you can, which will reduce energy consumption and save you money.
-
Page 7: Introduction
INTRODUCTION Thank you for purchasing the LIVING BY NOSTALGIA 8-BOTTLE ELECTRIC WINE COOLER. This sleek, modern appliance keeps your bottles cool and on display, yet is discreet enough in look and in sound to be a classic addition to any interior. -
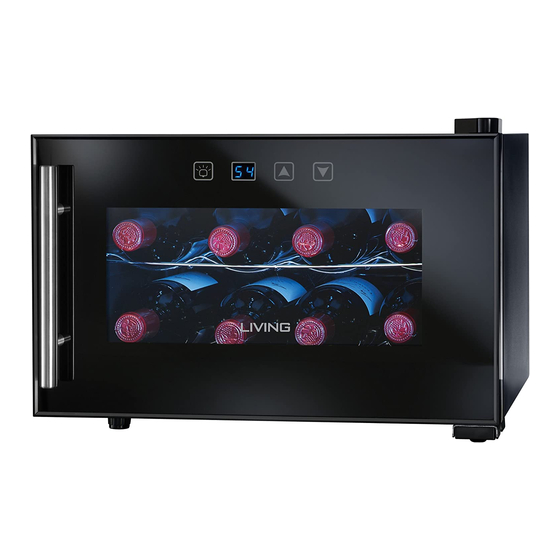
Page 8: Parts & Assembly
PARTS & ASSEMBLY Your ELECTRIC WINE COOLER comes mostly assembled. Simply attach the included door handle with the two included screws. Light Temperature Temperature up key down key Water tray... -
Page 9: Helpful Tips
HELPFUL TIPS • To ensure functioning at full potential, place this unit on a flat floor, with 2cm of space at each side and 10cm of space on the backside • To prevent unit from overheating, avoid placing it in direct sunlight or in high temperatures •... -
Page 10: Returns & Warranty
In order to obtain service under this warranty, please contact Nostalgia Products Group, LLC at the telephone number listed above or by filling out the Customer Service Inquiry Form located at www.nostalgiaelectrics.com.
Need help?
Do you have a question about the LIVING EWC008BLK and is the answer not in the manual?
Questions and answers