Subscribe to Our Youtube Channel
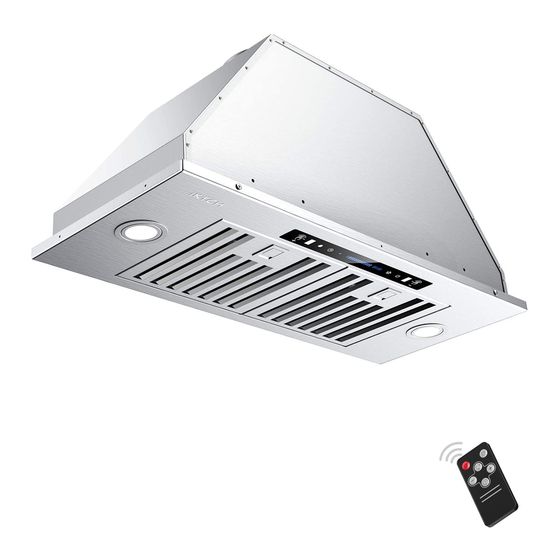
Summary of Contents for IKTCH IKB01 Series
- Page 1 Version: IKB01/ IKB02 SERIES Built-In/Inserted Series Mount Range Hood 6" Diameter Round Top Vent Only www.iktch.com www.iktch.com www.iktch.com iktch.com...
- Page 2 ·1· ·2·...
- Page 3 IKTCH IKTCH IKTCH ·3· ·4·...
- Page 4 IKTCH Important: Peel protective film off the hood, if any. Use duct tape to seal joints between pipe sections. CAUTION: If moving the cooking range is necessary to install the hood, turn off the power in an electric range at the main electrical box. SHUT OFF THE GAS BEFORE MOVING A GAS RANGE.
- Page 5 4.Cut out the opening where the insert will be installed. Refer to Figure 3 IKB01 SERIES INSTALLATION 5.Slide the hood to the opening. 1.The hood has to be installed inside the cabinet. It is recommended to 6.The hood could be installed a front and rear stud support, it also could be install a front and rear stud support.
- Page 6 Ductwork IKB02 SERIES INSTALLATION 1.Attach the vent adapter to the exhaust opening 2.Connect the pipe to the vent adapter and seal the joint with duct tape. Make sure it is completely air tight. Electrical Wire 1.Connect the range hood to an outlet. 2.If hardwired is desired, cut off the plug and connect three wires (black, white, green) to the outlet wires and cap with wire connectors.
- Page 7 Hood Installation 3.Position the insert inside the custom wood frame, refer to figture 5, Secure the insert to the left and right stud support ( Refer to Figure 5) by using the left and NOTE: USE HAND TOOLS ONLY. DO NOT OVER TIGHTEN SCREWS. IT MIGHT right mounting holes (Screws included, 2 holes each side ).
- Page 8 Final Assembly IKB01/IKB02 SERIES 1.Install the oil tunnel into recess support near rear of hood, and assemble the handle to stainless steel baffle filters Refer to Figure 7. 2.Install baffle filters. Angle baffle filter toward back of hood 1 . Push baffle filter up until almost level 2.
- Page 9 IKB01-30" IKB01-36" IKB02-30" IKB02-36" 4 Speeds Electronic Switch ·15· ·16·...
- Page 10 MEASUREMENTS & DIAGRAMS EXPLODED VIEW IKB01 SERIES IKB01 SERIES IKB02 SERIES ·17· ·18·...
- Page 11 Range Hood IKB02 SERIES Model No: IKB01 Suction Capacity:900CFM Intertek 5006321 CONFORMS TO UL STD.507 CERTIFIED TO CSA STD.C22.2 NO.113 Range Hood Model No: IKB02 Suction Capacity:900CFM Intertek 5006321 CONFORMS TO UL STD.507 CERTIFIED TO CSA STD.C22.2 NO.113 ·19· ·20·...
- Page 12 WARRANTY SPARE PARTS WARRANTY 5 Years warranty for LED lights and switch conntrol 10 Years warranty for motor and blowers If any problem, please kind send mail to us with your amazon order ID, We would like to send you spare parts immediately with free of cost Email: info@ekonkitchen.com ·21·...


Need help?
Do you have a question about the IKB01 Series and is the answer not in the manual?
Questions and answers
how does the hand wave feature work on IKBO 1/2 series
The hand wave feature on the IKTCH IKB01 Series works through gesture control. Move your hand from left to right across the two signal ports to increase the fan speed step by step from the 1st to the 4th level. To reduce the speed, move your hand from right to left across the signal ports. Make sure your hand passes completely over both signal ports for the system to detect the gesture.
This answer is automatically generated