
Related Manuals for Garrick Machine Tools DP25

Summary of Contents for Garrick Machine Tools DP25
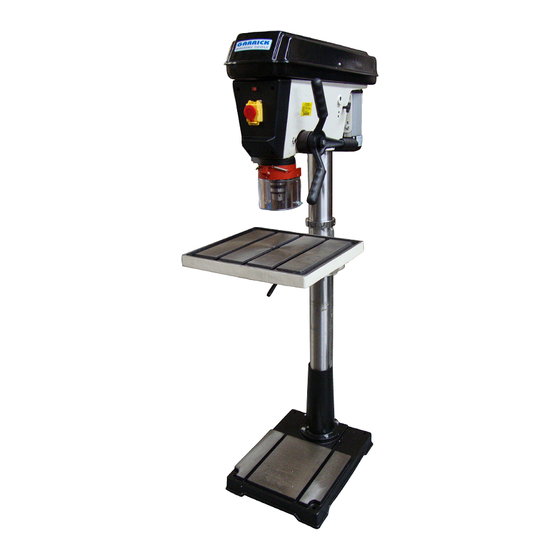
- Page 1 INDUSTRIAL PEDESTAL DRILL PRESS Model’s DP25 & DP32 INSTRUCTION MANUAL For your safety, read all instructions carefully. ISO-9001:2008 Certified...
- Page 2 DRILL PRESS MANUAL WARNING Some dust created by power sanding, sawing, grinding, drilling, and other construction activities contains chemicals known to the State of California to cause cancer, birth defects or other reproductive harm. Some examples of these chemicals are: •...
-
Page 3: Table Of Contents
DRILL PRESS MANUAL Table Of Contents PAGE 1. SAFETY ......……........… SAFETY RULES FOR ALL TOOLS. ADDITIONAL SAFETY INSTRUCTIONS FOR DRILL PRESS …………......….5 2. INTRODUCTION UNPACKING ..........…............…………... 7 PIECE INVENTORY ......…..............7 CLEAN UP..........………….............8 SITE CONSIDERATIONS ....…..……..….............8 3. ASSEMBLY BEGINNING ASSEMBLY ....………..............9 COLUMN/BASE.........……..............9 TABLE SUPPORT......…………..............9 HEADSTOCK ........……………..............11... -
Page 4: Safety
DRILL PRESS MANUAL 1: SAFETY Safety Instructions For Power Tools For Your Own Safety Read Instruction Manual Before Operating This Equipment Keep work area clear. Cluttered areas and benches invite injuries. Consider work area environment . Do not expose tools to rain. Do not use tools in damp or wet location. -
Page 5: Additional Safety Instructions For Drill Press
DRILL PRESS MANUAL alignment of moving parts, breakage of parts , mounting and any other condition that may affect its operation . A guard or other part that is damaged should be properly repaired or replaced by an authorised service centre unless otherwise indicated in this instruction manual .Have defective switches replaced by an authorised service center. -
Page 6: Introduction
DRILL PRESS MANUAL 2: INTRODUCTION Unpacking If moving this machine up or down stairs, the machine must be dismantled and moved in smaller pieces. Make sure floor and stair structures are capable of supporting the combined weight of the machine parts and the people moving them The Drill Press is shipped from the manufacturer in a carefully packed carton. -
Page 7: Clean Up
DRILL PRESS MANUAL Figure 2B Figure 2C Attention: Use a hoist to handle the main frame of the machine. shown in Figure 2B & Figure 2C Clean Up The unpainted surfaces are coated with a waxy oil to protect them from corrosion during shipment. -
Page 8: Assembly
DRILL PRESS MANUAL WORKING CLEARANCES Working clearances can be thought of as the distances between machines and obstacles that allow safe operation of every machine without limitation. Consider existing and anticipated machine needs, size of material to be processed through each machine, and space for auxiliary stands and/or work tables. -
Page 9: Headstock
DRILL PRESS MANUAL 4. Slide the table support bracket onto the column while holding the rack in place. Allow the bracket to go down until the bottom of the rack contacts the shoulder on the column support as shown in Figure 4. Secure the table support bracket with the lock handle. Figure 3 Figure 4 5. -
Page 10: Handles
DRILL PRESS MANUAL column. Figure 7 Handles Three handles are supplied with the drill press. Thread them into the handle hub. Installing Light Bulb The drill press has a light socket that utilizes standard sized 40watt bulbs. Before installing a light bulb, unplug the drill press. Secure bulb in opening behind the spindle. Use only bulbs that are “safety coated”... -
Page 11: Arbor Removal
DRILL PRESS MANUAL The drill chuck attaches to the drill spindle by means of a drill chuck arbor. Matched tapers on the arbor and back of the chuck create an almost permanent assembly when properly joined. Figure8 To assemble the drill chuck and mount it to the spindle, carefully follow the instructions below: 1. -
Page 12: Speed Changes
DRILL PRESS MANUAL Figure 11 Figure 12 4: ADJUSTMENTS Speed Changes Unplug the drill press before changing speeds. The drill press has 12 speeds. There is a speed chart located under the belt guard. Refer to the chart while reading these instructions. -
Page 13: Depth Stop
DRILL PRESS MANUAL Figure 14 Figure 15. Depth Stop Your drill press comes with a depth stop adjustment for use when drilling. This is a combination of a cast angle bracket & cover, which fits in a housing machined in the drillhead, (it mounts the bearing pocket for the end of the splined feed shaft and the return spring), the ‘angle arm’... -
Page 14: Operations
DRILL PRESS MANUAL 1. Turn the nut indicated by the arrow in Figure 16, in a clockwise direction. This will draw the location pin out of the casting. Once loose, pull the pin and nut out, and set it in a safe place until needed. -
Page 15: Tables
DRILL PRESS MANUAL 2. Open the chuck wide enough to accept a new bit. 3. Install the bit so the chuck jaws will grab as much of the bit shank as it can. Do not allow the chuck to grab the fluted body of the drill bit. Make sure small drill bits do not get trapped between the edges of two jaws. - Page 16 DRILL PRESS MANUAL WIRING DIAGRAM 230V WIRING DIAGRAM 400V We reserve the right of the amendment addition and deletion of the specifications, explanatory wording, etc. printed in this manual PDF 文件使用 "pdfFactory Pro" 试用版本创建 www.fineprint.cn...
- Page 18 DRILL PRESS MANUAL PARTS LIST: DESCRIPTION Q’TY DESCRIPTION Q’TY BASE C-CLIP COLUMN SHOULDER BALL BEARING RACK CENTER PULLEY COLUMN C-CLIP HEX BOLT SCREW SCREW KNOB MARK WASHER TABLE BRACKET SPEED CHART LABEL CLAMP BOLT SCREW WORM GEAR WASHER SHAFT HEX BOLT HANDLE SHIFTER GEAR...
- Page 19 NOTES...
- Page 20 Distributed by: Garrick Herbert Pty Ltd KIRRAWEE NSW Australia. www.garrickherbert.com.au...
Need help?
Do you have a question about the DP25 and is the answer not in the manual?
Questions and answers