Table of Contents
Advertisement
Quick Links
Advertisement
Table of Contents

Summary of Contents for SnapAV WattBox WB-250-IPW-2
- Page 1 ™ WB-250-IPW-2 QUICK START GUIDE...
- Page 2 ANATOMY WB-250-IPW-2 POWER...
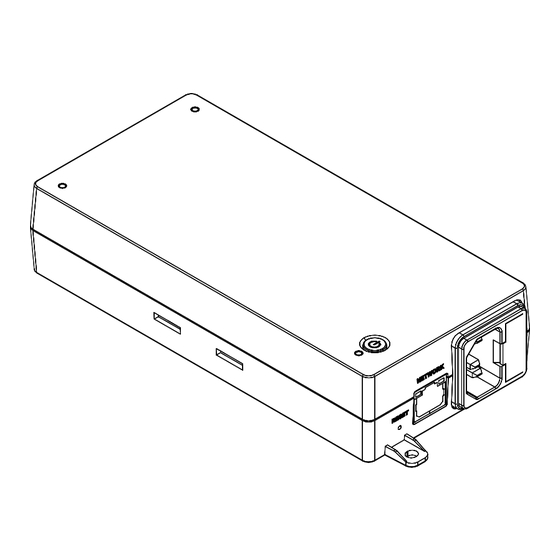
- Page 3 A. Outlet LEDs: These illuminate when power to the matching outlet is on. The outlets are switchable (IP controlled). B. Power/Network LED: See page 4. C. AC Power Button: Press to manually toggle the outlets on or off. D. Mounting Eyelets. E.
-
Page 4: Led Indicators
LED INDICATORS Flickering Green: Send/Receive Activity. Link/ Off: No data is passing. Activity Solid Green: All host pings successful. Internet Blinking Green: At least one host ping successful. Off: All host pings timed out. Solid Amber: Unit has AC power, and a wired network connection. Power/ Solid Green: Unit has AC power, and Wi-Fi is connected. -
Page 5: Mounting Instructions
MOUNTING INSTRUCTIONS This unit can be mounted on any flat surface, either vertically or horizontally. Use the screws and anchors provided to install the unit on a wall as pictured to the right. Use double-sided tape or hook and loop closures (not provided) to attach the unit to a flat surface. -
Page 6: Installation
INSTALLATION NOTE: This device always connects via the wired connection while it is physically connected to an active network switch port. The Wi-Fi capabilities are only activated when the device is not hardwired to a network. 1. Ensure the WB-250 is connected by ethernet cable to the internet. 2. -
Page 7: Troubleshooting
TROUBLESHOOTING Symptom Possible Cause Remedy A device won’t The WB outlet is Log in to the WattBox interface to turn power up when switched off. the outlet on. the WattBox is The device is not Turn the device’s power switch on. turned on. -
Page 8: Important Safety Instructions
IMPORTANT SAFETY INSTRUCTIONS Read and observe the following safety points at all times. NOTICE For indoor use only. Internal components are not sealed from the environment. The device can only be used in a fixed location. When you install the device, ensure that the protective earthing connection of the socket-outlet is verified by a skilled person. - Page 9 WARNING – Power Cord Safety Do not place the power cord near areas with heavy foot traffic (e.g., hallways). Do not create a trip hazard with the power cord. If the power cord’s protective jacket rips or frays, exposing the internal wiring or shielding, disconnect it from the power source and replace the power cord immediately.
-
Page 10: Industry Canada Statement
• Reorient or relocate the receiving antenna. • Increase the separation between the equipment and receiver. • Connect the equipment into an outlet on a circuit different from that to which the re- ceiver is connected. • Consult the dealer or an experienced radio/TV technician for help. FCC Radiation Exposure Statement: This equipment complies with FCC radiation exposure limits set forth for an uncontrolled environment. -
Page 11: Warranty
The RA number must also be clearly marked on the outside of the carton. Ship the unit to SnapAV. Please note that you are responsible for any and all charges related to shipping the unit to SnapAV. - Page 12 Retain this label for your records LOGGING IN TO THE WEB INTERFACE You need to enter the username and password to access the web interface. The default entries are below; change these to maintain proper security (and log them below). Username default: wattbox New Username: Password default: wattbox...

Need help?
Do you have a question about the WattBox WB-250-IPW-2 and is the answer not in the manual?
Questions and answers