
Related Manuals for HealthyAir Source Capture HA-SCV-G1-WS


Summary of Contents for HealthyAir Source Capture HA-SCV-G1-WS
- Page 1 ® Source Capture Vent Single Inlet Owner’s Manual: HA-SCV-G1-WS Patent Pending Healthy Air Inc. 800-259-2535 www.HealthyAir.com...
-
Page 2: Table Of Contents
® HealthyAir Model HA-SCV-G1-WS ® Source Capture Vent Single Inlet Patent Pending Table of Contents Installation Notice Technical Specifications Packaging Reference Component Reference 4-12 Installation Instructions Operation Guidelines Maintenance 1-Yeart Limited Warranty Product Registration Form www.HealthyAir.com... -
Page 3: Installation Notice
I. Installation Notice Read the Owner's Manual and Installation Instructions carefully. Failure to follow these instructions could cause a malfunction of the vent or unsatisfactory performance. Follow a regular service and maintenance schedule for efficient operation. For safety reasons, unplug the power cord from the electric outlet socket under the following conditions: ... -
Page 4: Packaging Reference
III. Packaging Reference The Source Capture Vent is shipped in one (1) package that contains the following contents: Source Capture Vent – Single Unit Power Adapter Cover Plate (optional) Flange (optional) -
Page 5: Component Reference
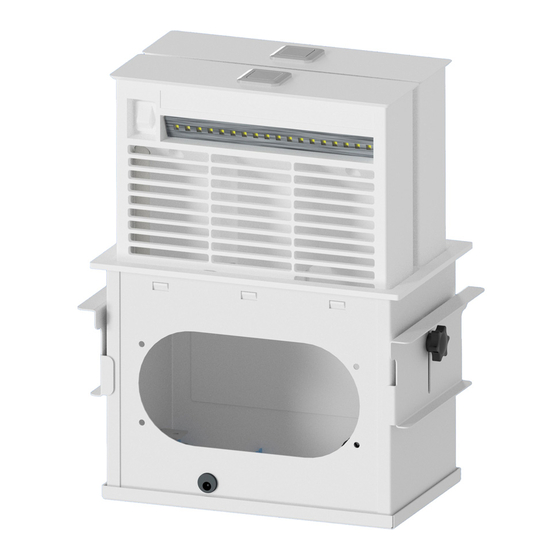
IV. Component Reference 1. Inlet Vent 2. Light Switch 3. Pop-Up Knob 4. LED Light 5. Outlet Port 6. Power Socket 7. Access Cover 8. Mounting Bracket 9. Housing... -
Page 6: Installation Instructions
V. Installation Instructions ® 5.1 To mount the Source Capture Vent, cut an opening in table-top or preferred mounting surface. The dimensions of the cut-out are 8-3/8” x 2-1/2”, as shown in Fig. 1. Fig. 1 - Cut-Out Dimensions To flush-mount the vent, such that the top of the unit is flush with the table top or surface, produce a 3/16”... - Page 7 V. Installation Instructions 5.3 Unscrew the two (2) Thumb Screws to remove the two (2) Mounting Brackets from the unit, as shown in Fig. 3. Fig. 3 – Remove Mounting Brackets ® 5.4 Remove the Access Cover from bottom of the Source Capture Vent, as shown in Fig.
- Page 8 V. Installation Instructions ® 5.5 Install the Source Capture Vent in the table by inserting it into the cut-out, as shown in Fig. 5. ® Fig. 5 – Install Source Capture Vent 5.6 Reattach the two (2) Mounting Brackets to the unit by screwing in the Thumb Screws, as shown in Fig.
- Page 9 V. Installation Instructions 5.7 Slide the Mounting Brackets up against the bottom of the table. Then tighten the Thumb Screws to secure the Mounting Brackets, as shown in Fig. 7. Fig. 7 – Secure Mounting Brackets ® 5.8 The Source Capture Vent should now be firmly installed in the table or mounting surface ®...
- Page 10 V. Installation Instructions 5.9 Push the Pop-Up Knob down to release it, as shown in Fig. 9. Fig. 9 – Release Pop-up Knob 5.10 Grab the Pop-Up Knob and pull it straight up to pull the Inlet Vent from the Housing component. Pull the Inlet Vent up as far as it goes, such that it is in the active position as shown in Fig.
- Page 11 Housing. Generally, one shall be blanked-off and the other used for connection with a duct to ® the HealthyAir Air Purification System. Install the Blank-Off Plate on one side and the Outlet Flange on the other side, by passing them thru the opening at the bottom of the Housing, as shown in Fig.
- Page 12 Outlet Flange utilized and the required duct length. ® Fig. 12 – Duct Connection to HealthyAir Unit...
- Page 13 HealthyAir System, as shown in Fig. 13.2, the LED Cord located in the Housing can be directly plugged into the LED ® Cord located in the inlet of the HealthyAir System. ® Installation with HealthyAir Ceiling Mount System: Note that, the ®...
- Page 14 V. Installation Instructions ® Fig. 13.2 –Connect LED Cord to LED Cord in HealthyAir System ® Fig 14 – Connection to HealthyAir Ceiling Mount System...
-
Page 15: Operation Guidelines
Inlet Vent from the Housing Component. 6.3 Turn the LED light on by pressing the On/Off Switch located on the face on the Inlet Vent. ® 6.4 Power on the HealthyAir Air Purification System to generate ® airflow and activate the Source Capture... -
Page 16: Maintenance
VII. Maintenance ® Cleaning Source Capture Vent Housing Once a month inspect the Housing for particulate accumulation. To do so, first unplug the Power Adaptor from the power socket and then place a waste container below the Access Cover to catch any dust that drops down after the Access Cover is removed. -
Page 17: 1-Yeart Limited Warranty
Warranty") to the original retail purchaser who submits the enclosed Warranty Registration Card within 10 days of purchase by email to Sales@HealthyAir.com. This Limited Warranty applies only to the repair or replacement of any manufactured or supplied part of this product which, upon inspection by Healthy Air Inc. -
Page 18: Product Registration Form
Sales@HealthyAir.com. Note that, the Model Number and Serial Number are written on the sticker located at the bottom of the side panel of the unit. Please contact us at (800) 259-2535 or visit www.HealthyAir.com for Customer Service and Orders. Name:...
Need help?
Do you have a question about the Source Capture HA-SCV-G1-WS and is the answer not in the manual?
Questions and answers