Advertisement
Quick Links
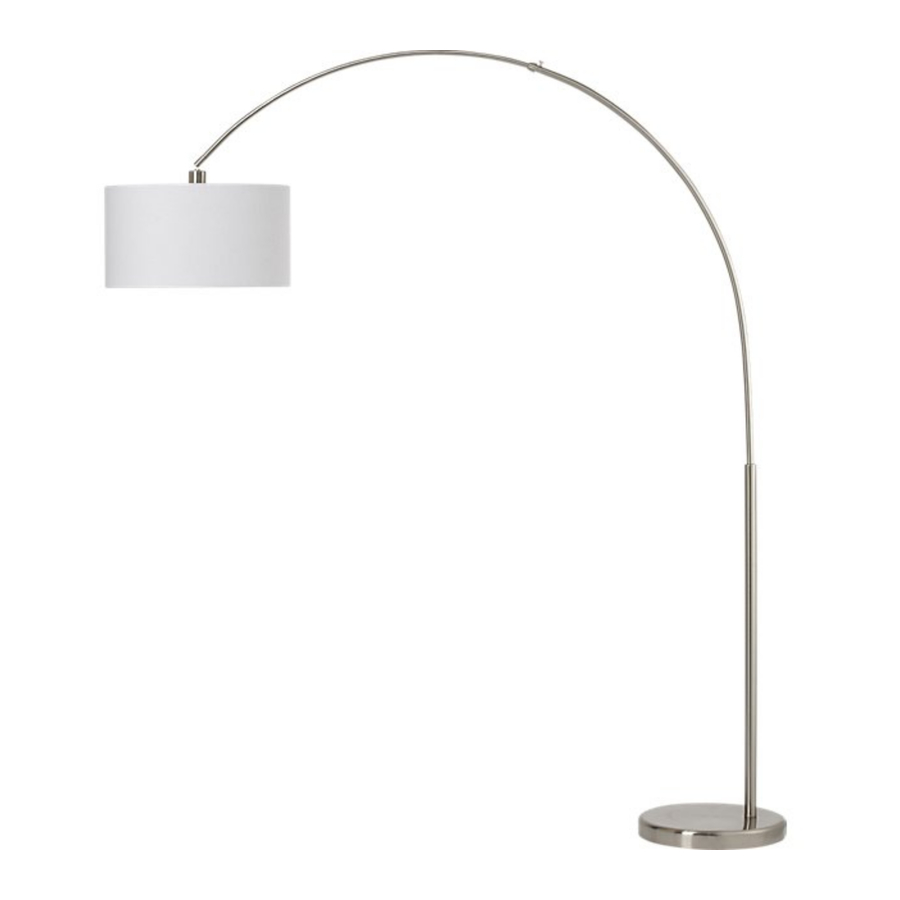
big dipper
This page lists the contents included in the box. Please take
time to identify the hardware as well as the individual
components of the product. As you unpack and prepare for
assembly, place the contents on a carpeted or padded area to
protect them from damage. Please follow the assembly
instructions closely. Improper assembly can result in personal
or property damage.
!
hardware & components
?
800.606.6387
1 - shade
1 - socket ring
1 - allen wrench
1 - hex wrench
Made in China - r06
FLOOR LAMP
1 - base
1 - lock washer
2 - set
screws
1 - washer
1 - hex nut
1 - 23 watt max CFL dimmable
bulb (INCLUDED)
OR
1 - 150 watt max type A stan-
dard bulb (NOT INCLUDED)
800.606.6252 | cb2.com
1 - lamp
assembly
cleaning & care
Dust surfaces with a dry soft cloth.
Do not use cleaners or polishes on
the lamp.
important safety
instructions
This portable lamp has a polarized
plug (one blade is wider than the
other) as a safety feature to
reduce the risk of electric shock.
This plug will fit in a polarized
outlet only one way. If the plug
does not fit fully in the outlet,
reverse the plug. If it still does not
fit, contact a qualified electrician.
Never use with an extension cord
unless plug can be fully inserted.
Do not attempt to override this
safety feature.
1/3
Advertisement

Related Manuals for CB2 Big dipper

Summary of Contents for CB2 Big dipper
- Page 1 FLOOR LAMP This page lists the contents included in the box. Please take time to identify the hardware as well as the individual components of the product. As you unpack and prepare for assembly, place the contents on a carpeted or padded area to protect them from damage.
- Page 2 FLOOR LAMP Remove pre-installed tube from With assistance, fit threaded stud base as shown and discard. of lamp assembly into base as shown. Secure from below with 1 lock washer, 1 washer and 1 hex nut. Secure the assembly with the hex wrench.
- Page 3 FLOOR LAMP A. Fit shade onto socket of lamp assembly and secure with the socket ring. B. Insert 1 bulb into socket. DO NOT EXCEED SPECIFIED WATTAGE. With assistance, loosen thumb screw and adjust arm to desired length. As the arm is adjusted, adjust the cord length as well.
Need help?
Do you have a question about the Big dipper and is the answer not in the manual?
Questions and answers