Advertisement
Quick Links
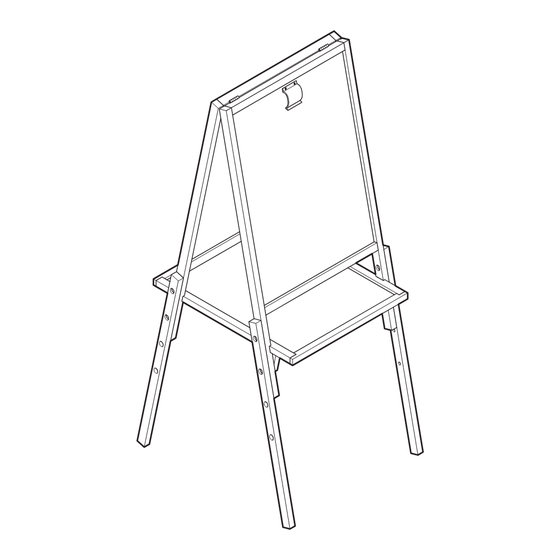
Wooden easel
Assembly Guide
IMPORTANT: RETAIN FOR FUTURE REFERENCE
WARNINGS:
• IMPORTANT SAFETY INSTRUCTIONS
• PLEASE READ ALL INSTRUCTIONS CAREFULLY
BEFORE USE AND RETAIN FOR FUTURE
REFERENCE.
• Adult assembly required.
• The hardware contains small screws with sharp points.
Keep unassembled parts out of the reach of small
children.
• WARNING! Not suitable for children under the age of 36
months. Components of this product may break off into
small parts presenting a choking hazard.
• Choking hazard: Unassembled parts may be a choking
hazard to children 3 years and younger.
• To avoid the danger of suffocation, keep any bags
or packaging away from babies and children. Any
packaging or bags are not part of the toy and must be
disposed of immediately before assembling the toy.
You will need...
Cross head / Philips
screwdriver suitable
for use with the screws
provided.
Getting started...
1. Unpack the
2. Place the
components
components
and check
on a clean
against the list
surface to
below.
prevent them
from being
damaged.
You will have...
A x2
E x2
B x4
F x2
C x8
G x8
H x1
D x8
Step 1
Attach the four legs (B) to the two easel top sections (A) by
inserting the eight bolt sleeves (C) into the holes in the top
sections. Align the holes in the legs with the protruding
bolt sleeves. Note: The easel legs can be fitted at three
different heights. Screw eight bolts (D) into the bolt sleeves
using the two allen keys (E).
3. After you have
assembled
your toy,
dispose of all
packaging.
B
E
C
Note: For clarity the assembly of only one section of the
easel top and legs is shown in the diagram above.
A
B
E
D
Advertisement

Summary of Contents for George Home Wooden easel
- Page 1 You will have... Wooden easel Assembly Guide A x2 E x2 IMPORTANT: RETAIN FOR FUTURE REFERENCE WARNINGS: • IMPORTANT SAFETY INSTRUCTIONS B x4 F x2 • PLEASE READ ALL INSTRUCTIONS CAREFULLY...
- Page 2 Step 4 Slide the tray (H) into the After completing grooves in the easels legs. the assembly of your wooden easel, Slide the tray along the check all of the grooves in the legs until the screws & bolts are legs slot into the recesses in fully tightened.
Need help?
Do you have a question about the Wooden easel and is the answer not in the manual?
Questions and answers