Advertisement
Quick Links
SUBWOOFER CONNECTION
Wire the subwoofer terminal per the wiring diagram. Use minimum of 16 ga. wire
(14 gauge is preferable) between the enclosure terminal and the amplifier. When
wiring the subwoofer up to your system pay close attention to the polarity of the
terminals on the enclosure. Make certain they correspond to the polarity of the
subwoofer amplifier used
4
SUBWOOFER PLACEMENT
Placement is important as you need to develop "wavelength" to get the most bass output
from your NEW Cerwin Vega Mobile - loaded subwoofer enclosure. See drawing above.
NOTE: Make sure to secure the subwoofer enclosure as these woofers move a LOT of air and
the enclosure will bounce around under high output settings.
SUBWOOFER CONNECTIONS
4
AMPLIFIER
250-500 WRMS
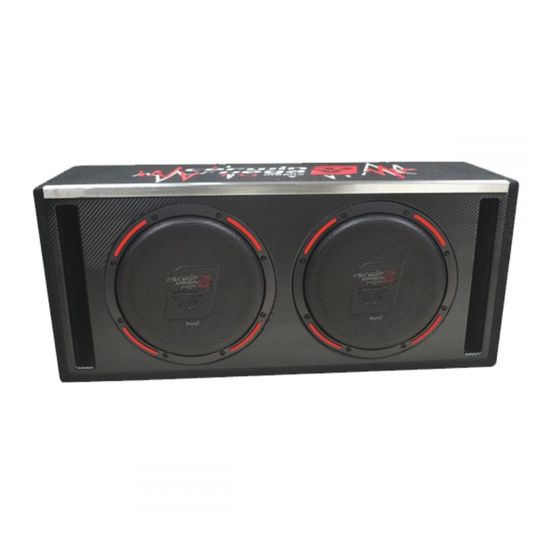
H6E10Sv / H6E10DV
H6E12Sv / H6E12DV
ENCLOSURE TERMINAL
INSIDE
ENCLOSURE
ENCLOSURE MOUNTING BRACKETS
(mounting hardware included)
Advertisement

Summary of Contents for Cerwin-Vega hed Series
- Page 1 H6E10SV / H6E10DV H6E12SV / H6E12DV SUBWOOFER CONNECTION Wire the subwoofer terminal per the wiring diagram. Use minimum of 16 ga. wire (14 gauge is preferable) between the enclosure terminal and the amplifier. When wiring the subwoofer up to your system pay close attention to the polarity of the terminals on the enclosure.
- Page 2 H6E10SV / H6E10DV H6E12SV / H6E12DV 9” / 229mm 20” / 508mm H6E10SV H6E10SV Single 10" inch Subwoofer Nominal Impedance (Ohms) 2 Ω Power Handling (Watts) 250 RMS / 1000 Max Overall Dimensions (HxWxD) 13” x 20” x 12” (330mm x 508mm x 305mm) 12”...


