
Related Manuals for Master-force 260-9508


Summary of Contents for Master-force 260-9508
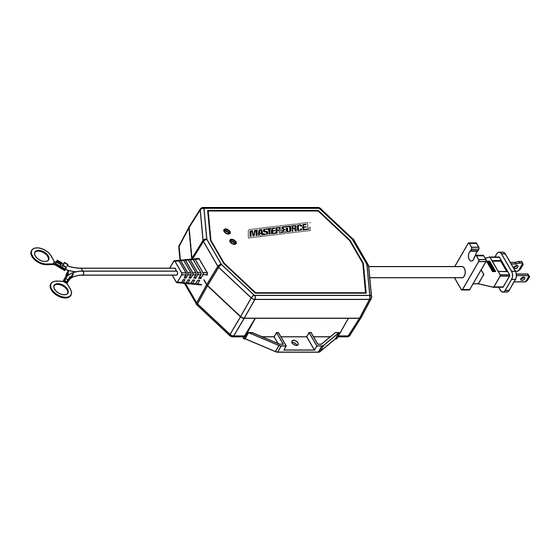
- Page 1 1.5A Automatic Battery Charger/Maintainer 260-9508 To Reduce The Risk Of Injury, User Must Read And Understand Operator’s Manual. Save These Instructions For Future Reference. 0099002186-00...
-
Page 2: Table Of Contents
TABLE OF CONTENTS Safety Symbols ............... Page 3 Safety Information ..............Page 4 Important Safety Instructions ..........Page 5 Personal Safety Precautions ..........Page 6 Preparing to Charge..............Page 7 Charger Location ..............Page 8 DC Connection Precautions ........... Page 8 Follow These Steps When Battery is Installed in Vehicle.. -
Page 3: Safety Symbols
SAFETY SYMBOLS Some of the following symbols may be used on your charger. Please study them and learn their meaning. Proper interpretation of these symbols will allow better and safer operation of the charger. Symbol Name Designation/Explanation Volts Voltage Amperes Current Hertz Frequency... -
Page 4: Safety Information
SAFETY INFORMATION The purpose of safety symbols is to attract our attention to possible dangers. The safety symbols, and the explanations with them, deserve your careful attention and understanding. The symbol warnings do not by themselves eliminate any danger. The instructions and warnings they give are no substitutes for proper accident prevention measures. -
Page 5: Important Safety Instructions
IMPORTANT SAFETY INSTRUCTIONS 1.1 SAVE THESE INSTRUCTIONS – This manual contains important safety and operating instructions. 1.2 Keep out of reach of children. 1.3 Do not expose the charger to rain or snow. 1.4 Use of an attachment not recommended or sold by the battery charger manufacturer may result in a risk of fire, electric shock or injury to persons. -
Page 6: Personal Safety Precautions
RISK OF EXPLOSIVE GASES. 1.11 a. WORKING IN VICINITY OF A LEAD-ACID BATTERY IS DAN- GEROUS. BATTERIES GENERATE EXPLOSIVE GASES DURING NORMAL BATTERY OPERATION. FOR THIS REASON, IT IS OF UTMOST IMPORTANCE THAT YOU FOLLOW THE INSTRUC- TIONS EACH TIME YOU USE THE CHARGER. b. -
Page 7: Preparing To Charge
2.8 Use the charger for charging only 6V and 12V LEAD-ACID (STD, AGM or GEL) rechargeable batteries. It is not intended to supply power to a low voltage electrical system other than in a start- er-motor application. Do not use battery charger for charging dry-cell batteries that are commonly used with home appliances. -
Page 8: Charger Location
CHARGER LOCATION 4.1 Locate charger as far away from battery as DC cables permit. 4.2 Never place charger directly above battery being charged; gases from battery will corrode and damage charger. 4.3 Never allow battery acid to drip on charger when reading electro- lyte specific gravity or filling battery. -
Page 9: Follow These Steps When Battery Is Outside Vehicle
6.5 For negative-grounded vehicle, connect POSITIVE (RED) termi- nal from battery charger to POSITIVE (POS, P, +) ungrounded post of battery. Connect NEGATIVE (BLACK) terminal to vehicle chassis or engine block away from battery. Do not connect termi- nal to carburetor, fuel lines, or sheet-metal body parts. Connect to a heavy gauge metal part of the frame or engine block. -
Page 10: Grounding And Ac Power Cord Connections
7.6 When disconnecting charger, always do so in reverse sequence of connecting procedure and break first connection while as far away from battery as practical. 7.7 A marine (boat) battery must be removed and charged on shore. To charge it on board requires equipment specially designed for marine use. -
Page 11: Mounting Instructions
10. MOUNTING INSTRUCTIONS MOUNTING THE CHARGER TO THE FENDER WELL: The charger can be mounted directly to the fender well of your vehicle, as shown, using the double-sided adhesive and cable tie (included). Fig. 1 MOUNTING THE CHARGER ALONGSIDE THE BATTERY: The charger can also be mounted alongside your vehicle’s battery, using the bracket (sold separately). -
Page 12: Led Indicators
ELECTRICAL INSTALLATION: The output leads of the charger are terminated with 3/8˝ dia. ring lugs. Route and secure the AC cord and the output wiring away from the gas line, carburetor or other hot, sharp, moving or pinch parts to avoid damage to the insulation. -
Page 13: Operating Instructions
12. OPERATING INSTRUCTIONS IMPORTANT: Do not start the vehicle with the charger connected to the AC outlet, or it may damage the charger and your vehicle. NOTE: This charger is equipped with an auto-start feature. Current will not be supplied to the ring terminals until a battery is properly connected. - Page 14 CHARGING A BATTERY OUTSIDE OF THE VEHICLE 1. Place battery in a well-ventilated area. 2. Clean the battery terminals. 3. Connect a 24-inch long, 6-gauge (AWG) insulated battery cable to the NEGATIVE (NEG, N, -) battery post (i.e., jumper cable) (not provided). 4.
- Page 15 AUTOMATIC CHARGING MODE When an automatic charge is performed, the charger switches to the maintain mode automatically after the battery is charged. For a battery with a starting voltage under 1 volt, use a manual charger to pre-charge the battery for five minutes, to get additional voltage into the battery. BAD BATTERY If charging cannot be completed normally, the charger’s output is shut off and the red LED will flash.
-
Page 16: Troubleshooting
MAINTAINING A BATTERY This unit maintains both 6 and 12 volt batteries, keeping them at full charge. It is not recommended for industrial applications. NOTE: The maintain mode technology allows you to safely charge and maintain a healthy battery for extended periods of time. However, problems with the battery, electrical problems in the vehicle, improper connections or other unanticipated conditions could cause excessive current draws. -
Page 17: Specifications
PROBLEM POSSIBLE CAUSE SOLUTION The charger AC outlet is dead. Check for open fuse will not turn on or circuit breaker when properly supplying AC outlet. connected. Poor electrical Check power cord connection. and extension cord for loose fitting plug. Bad battery. -
Page 18: Warranty
1.5A Automatic Battery Charger/Maintainer WARRANTY 90-DAY MONEY BACK GUARANTEE This MASTERFORCE™ brand battery charger carries our 90-Day Money Back Guarantee. If you are not completely satisfied with your MASTERFORCE™ brand product for any reason within ninety (90) days from the date of purchase, return the item with your original receipt to any MENARDS retail store, and we will provide you a refund –... - Page 19 NOTES Page 19...
- Page 20 © 2020 Menard, Inc., Eau Claire, WI 54703 03/2020...
Need help?
Do you have a question about the 260-9508 and is the answer not in the manual?
Questions and answers