Table of Contents
Advertisement
Quick Links
PLEASE RETAIN YOUR RECEIPT. WARRANTY CLAIMS
WILL NOT BE RECOGNIZED WITHOUT A DATED RECEIPT.
Purchase Date
Questions, problems, missing parts? Before returning to your retailer, call our customer service
department at 1-844-230-9904 , 8 a.m. – 8 p.m., EST, Monday - Friday, or visit
www.myshadesource.com for more information.
welcoming
•
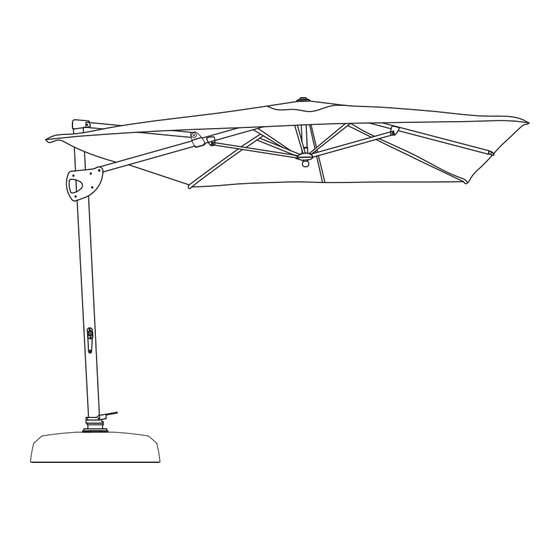
10x12FT CANTILEVER UMBRELLA
1
sophisticated
MODEL #AG35-3037R-LS-6
•
inspiring
ITEM #0774211
Advertisement
Table of Contents

Subscribe to Our Youtube Channel
Related Manuals for SimplyShade AG35-3037R-LS-6


Summary of Contents for SimplyShade AG35-3037R-LS-6
- Page 1 • inspiring ITEM #0774211 10x12FT CANTILEVER UMBRELLA MODEL #AG35-3037R-LS-6 PLEASE RETAIN YOUR RECEIPT. WARRANTY CLAIMS WILL NOT BE RECOGNIZED WITHOUT A DATED RECEIPT. Purchase Date Questions, problems, missing parts? Before returning to your retailer, call our customer service department at 1-844-230-9904 , 8 a.m. – 8 p.m., EST, Monday - Friday, or visit...
- Page 2 PACKAGE CONTENTS Thank you for purchasing the SimplyShade 10x12-ft Cantilever Umbrella. PART DESCRIPTION QUANTITY Umbrella Rotating Hub Plastic Base Inverted Base Stem Tube NOTE: There are total two cartons. Umbrella and plastic base are packed in separate carton.
- Page 3 HARDWARE CONTENTS (not shown to actual size) 1. Hardware for Umbrella: Large Wrench (x 1) Small Wrench (x 1) Crank Handle (x 1) 2. Hardware for Base: Allen Wrench (x 1) Screw (x 4) Bolts (x 4) Washer (x 4) SAFETY INFORMATION Please read and understand this entire manual before attempting to assemble, operate or install the product.
- Page 4 ASSEMBLY INSTRUCTIONS 1. Remove the Inverted Base Stem (HH) from the Tube (II). Then remove the Tube (II) by using the Steel Wrench (JJ) turning counter-clockwise direction Remove the base lid from the base shell. Steel Wrench 2. Re-install the Tube (II) to base shell to prevent sand getting into the threads.
- Page 5 ASSEMBLY INSTRUCTIONS 4. Set the base lid back onto the base shell and re- install the Tube (II) using the Steel Wrench (JJ) and turning clockwise Steel Wrench WARNING: DO NOT OVER TIGHTEN TUBE (II) OR PARTS MAY BE DAMAGED. 5.
- Page 6 ASSEMBLY INSTRUCTIONS 7. Fit the Crank Handle (CC) over the crank mechanism. Secure the Crank Handle (CC) onto the crank mechanism using the Small Wrench (BB) to tighten the setscrew. Small Wrench Crank Handle 8. Line up the two holes in the bottom of the Umbrella (A) pole with the Rotating Hub (B) and slide the Umbrella (A) pole down over the Rotating Hub (B).
- Page 7 ASSEMBLY INSTRUCTIONS 10. With the canopy fully opened, grip the lever on the vertical slide handle and raise or lower the canopy to desired angle. Release the slide handle to lock into place. To close the umbrella, turn the Crank Handle (CC) counter-clockwise CAUTION: When cranking the umbrella open, if you feel resistance and the canopy is not opening, do not force...
- Page 8 CARE AND MAINTENANCE . Before using, clean the product completely with a soft, dry towel. . Wash with a mild solution of soap and water; rinse dry completely. Do not use strong detergent or abrasive cleaners. . Store the product in a cool, dry location away from sunlight. .
Need help?
Do you have a question about the AG35-3037R-LS-6 and is the answer not in the manual?
Questions and answers