Table of Contents
Advertisement
Advertisement
Table of Contents

Related Manuals for Kenting KT16

Summary of Contents for Kenting KT16
- Page 2 Precautions 1. Please read this manual carefully before using, and keep it well for future reference. 2. Before cleaning the display please unplug the USB cable and wipe with a soft damp cloth, do not use any kind of detergents. 3.
-
Page 3: Table Of Contents
Contents 1. Product Overview .......................... 3 1.1 Display Introduction ......................3 1.2 Product and Accessories ....................3 1.3 Setting up Display ......................5 1.4 Installing the Driver ......................5 1.5 Pen Nib Replacement......................5 2. Product Basic Operation ......................6 2.1 OSD Setting .......................... -
Page 4: Product Overview
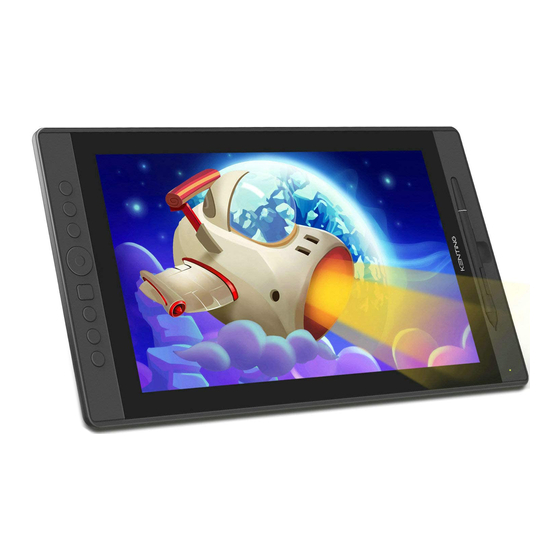
1.1 Display Introduction ® Thanks for choosing KenTing KT16 Pen display. This is a new generation of portable desktop-level professional drawing display, which can greatly improve your work efficiency of painting and creation, and full of fun. You can freely painting and writing, depicting different lines and colors, just as the pen writes on the paper, which brings you a real shock experience. - Page 5 1.2.2 Adjustable Stand We designed this ergonomic adjustable stand specially for your display, you can adjust the angle of the display according to your usage habit, and make you feel more comfortable when painting and creating. By dragging this switch to adjust the stand angle from 20°- 80°...
-
Page 6: Setting Up Display
1.3 Setting up Display As shown on the below, connect the pen display to your computer with attached power adapter, HDMI cable and USB Cable. Press the power button on the bottom of the display to power on the display 1.4 Installing the Driver 1.4.1 OS Support Windows 7 or later,macOS 10.12 or later... -
Page 7: Product Basic Operation
2. Product Basic Operation 2.1 OSD Setting 2.2.1 OSD Buttons POWER : Power on/off the display. MENU : Press to call up the menu, after entering menu, it’s function is confirm. : After entering menu, it’s function is to up/right/increase. : After entering menu, it’s function is to down/left/decrease. -
Page 8: Function Setting
2.Device connected: has been recognized by your computer successfully already. 3.2 Working Area Setting 3.2.1 Using Multiple Monitors When the KenTing Display and other monitors are used in the same system, the movement of the screen cursor on the standard display depends on the system configuration. - Page 9 3.2.2 Working Area Setting Define the display area that will be mapped to the screen area. 1. Full Area: the entire active area of the Display. This is the default setting. 2. Same Ratio with LCD. 3. Customized Area: 1.> Enter coordinate values. Or 2>. Drag the corners of the foreground graphic to select the screen area.
-
Page 10: Press Keys Function Setting
3.2.3 Rotate Working Area By changing the direction of the display to adapt to the left and right hand operation. We provide four directions of choice. 3.3 Press Keys Function Setting Default Setting: Place the cursor on the button or click the button icon to see the default values for the press keys Customizable Press Keys: Select the function to be achieved on the pop-up dialog box, then click APPLY or OK to take effect. -
Page 11: Pen Button Setting
3.4 Pen Button Setting Select the function to be achieved on the pop-up dialog box, then click APPLY or OK to take effect. 3.5 Pressure Sensitivity Setting The pressure sensitivity will be changed by dragging the slider up and down, the smaller the value, the more sensitive the pressure. -
Page 12: Pen Pressure Testing
3.6 Pen Pressure Testing You can gradually apply pressure to the stylus on the screen to test the pressure level. 3.7 Enable the Windows Ink feature Microsoft Windows provides extensive support for pen input. Pen features are supported in such as Microsoft Office、Windows Journal、Adobe Photoshop CC、 SketchBook 6 and so on. -
Page 13: Calibration
3.8 Calibration Screen Calibration: Click the red point of the cross center appearing on the screen to complete the calibration. Restore Factory Settings: Click "Restore Default" to restore to the factory settings. Cancel Calibration: Click"Cancel calibration”or press ESC on the keyboard to cancel the calibration. - Page 14 13 / 15...
-
Page 15: Specifications
4. Specifications Model KT16 Panel Size 15.6 inch Resolution 1920 x 1080(16:9) LCD Type TFT LCD IPS Active Area 344.16 (H)x193.59 (V) mm Brightness 250cd/m Screen Response Time 25ms 89°/89°(H)/89°/89°(V) View Angle (Typ.)(CR>10) Gamut 92% NTSC (CIE1973) Display Color 262144... -
Page 16: Possible Breakdowns Related To Functions
Power indicator does not *Make sure power is on *Check the socket and power cable flash 1. Make sure power is on. 2. Correctly connect the cable. 3. If you connect the display with a laptop, please make sure the display is on the right display mode: extend or duplicate mode.
Need help?
Do you have a question about the KT16 and is the answer not in the manual?
Questions and answers