Advertisement
Advertisement
Table of Contents

Related Manuals for Matrix R3xm

Summary of Contents for Matrix R3xm
- Page 1 R3xm...
-
Page 3: Important Precautions
SAVE THESE INSTRUCTIONS • When using Matrix Cycles, basic precautions should always be followed, including the following: Read all instructions before using this equipment. It is the responsibility of the owner to ensure that all users of this equipment are adequately informed of all warnings and precautions. -
Page 4: Power Requirements
• Connect this exercise product to a properly grounded outlet only. All Matrix 110 V cycles require the use of a 100-125 V, 60 Hz and a 15 A “Dedicated • Never operate product with a damaged cord or plug even if it is working Circuit”, with a non-looped (isolated) neutral/ground for power. -
Page 5: Important Notes
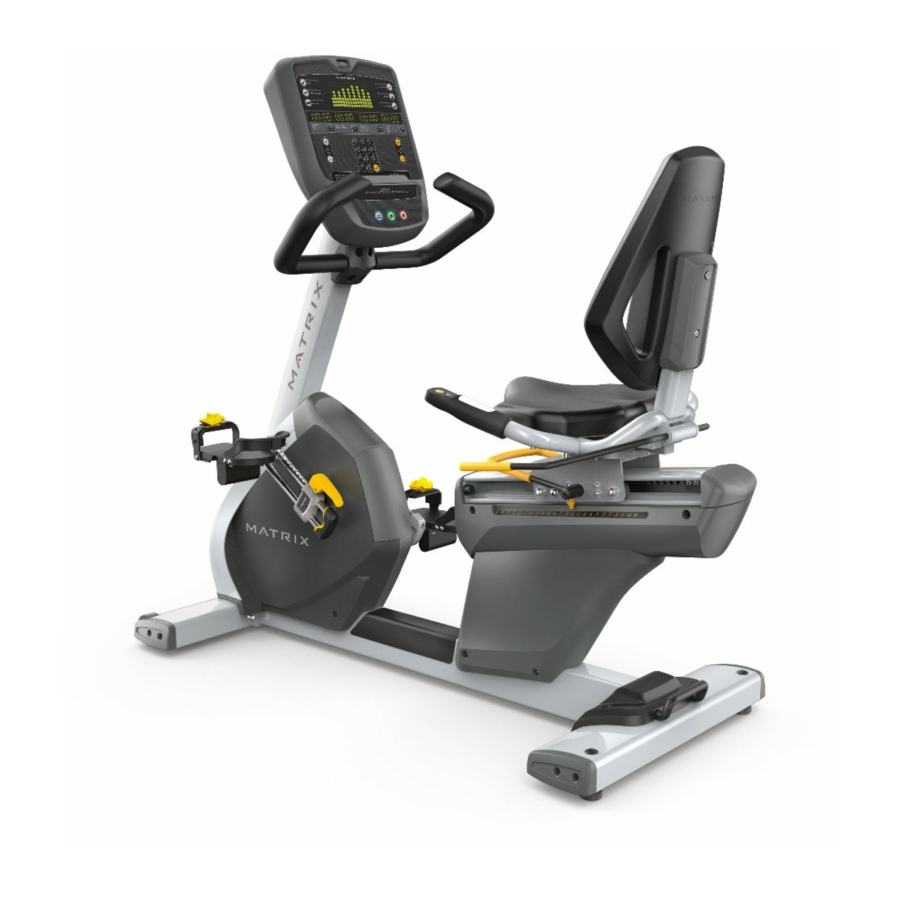
13. Paramedics and medics are the users. Users are F 1 Air Cylinder (for seat assembly) the assembly instructions correctly and to make sure all parts trained to operate the device, R3xm, according to the are firmly tightened. If the assembly instructions are not instructions. - Page 6 CONSOLE HANDLEBARS SEAT BACK CONSOLE SEAT BASE CONSOLE MAST SEAT ASSEMBLY PULSE GRIPS / RESISTANCE TOGGLES SEAT ROTATION LEVER PEDALS SEAT POSITION ADJUSTMENT LEVER CRANK ARM ADJUSTMENT LEVER REAR FRAME HANDLE FRONT SHROUD COVER REAR STABILIZER TUBE FRONT STABILIZER TUBE REAR FRAME COVER TRANSPORT WHEELS MAIN FRAME...
- Page 7 Yellow Hardware Bag (x2) Black / Red Hardware Bags Description Description Bolt Bolt (black) Flat Washer Screw Bolt (chrome) Torque Values Tooth Washer 40 Nm / 30 ft-lb Torque Values 40 Nm / 30 ft-lb...
- Page 8 White / Green Hardware Bags Blue Hardware Bag Description Description Bolt Bolt Screw Flat Washer Torque Values Torque Values 40 Nm / 30 ft-lb 77 Nm / 57 ft-lb Hold lever closed while inserting seat frame...
- Page 9 Purple Hardware Bag Description Nut (pre-attached) Connect cables Bolt Wavy Washer Spring Washer Use clamp to secure cable. Clamp over white sticker on cable. Rotate seat 80˚ Push air cylinder into spherical pin 80˚...
- Page 10 Orange Hardware Bag Pre-Installed Hardware ASSEMBLY COMPLETE! Description Description Bolt Bolt Torque Values Pedals: 55 Nm / 41 ft-lb...
-
Page 11: Before You Begin
If the equipment is powered by a power supply, the power must be plugged into the power jack, which is located in the front 4. To get off of the R3xm, follow the of the equipment near the stabilizer tube. Some equipment proper usage steps in reverse. - Page 12 CENTER OF CRANK 3. Rotate lever as far forward as it will go (approx. 180°). The end of the lever now faces towards the front of the R3xm. 4. Pull and hold lever up. Slide crank arm into the desired 7”...
-
Page 13: Maintenance Schedule
5. Ensure that any person(s) making adjustments or performing maintenance or repair of any kind is qualified to do so. MATRIX dealers will provide Clean underneath the cycle, following these steps: service and maintenance training at our corporate facility upon request. - Page 14 CRANK MAINTENANCE Reassemble lever. Lever must be in locked position before tightening M6 handle hardware. 10 mm 14 mm Repeat on other side. 11.8 Nm (8.7 ft-lb)
- Page 16 R3xm Frame Part # 1000402786 © 2017 Johnson Health Tech Rev 1.2 A...
Need help?
Do you have a question about the R3xm and is the answer not in the manual?
Questions and answers