Table of Contents
Advertisement
Quick Links
MAXXFAN MINI PLUS & DELUXE
with
INSTALLATION INSTRUCTIONS,
INFORMATION AND OPERATING GUIDE
FOR MAXXFAN MINI MODELS 3802, 3852,
READ AND SAVE THESE INSTRUCTIONS
NOTE: Refer to Installation Instructions,
Information and Operation Guides
regarding the model you have
purchased.
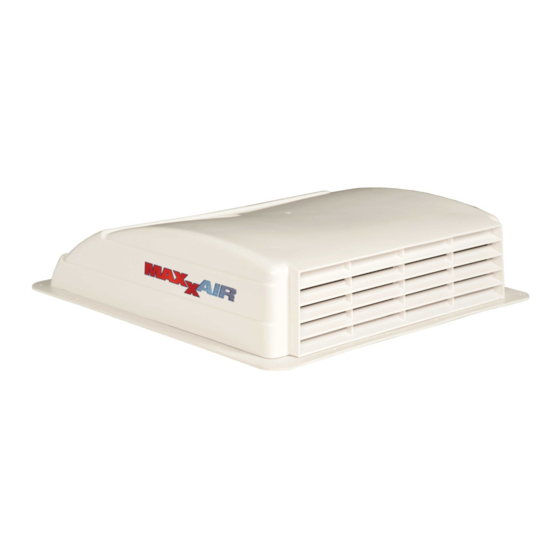
The MAXXFAN MINI / MINI Plus / MINI
Deluxe installs into a standard RV roof
opening of 14 by 14 inches.
To determine if your roof opening is
correctly sized, simply remove the
interior ceiling garnish trim ring of your
existing roof vent and measure the
ceiling opening or verify the opening is
large enough by sliding the MAXXFAN
P/N: 11A90030Z
MAXXAIR
WALL CONTROLS
3803, 3853, 3804, 3854
MINI / MINI Plus / MINI Deluxe sleeve
into the opening.
The MAXXFAN MINI / MINI Plus / MINI
Deluxe is designed for a minimum roof
thickness of 1 inch to a maximum of 4
1/2 inches.
The MAXXFAN MINI / MINI Plus / MINI
Deluxe requires a minimum 12 Volt DC,
2 amp service. Confirm that the circuit
you intend to use will accommodate the
additional load. Circuit must be fused
and use appropriate gauge stranded
wire for electrical connections.
08-2019
Advertisement
Table of Contents

Subscribe to Our Youtube Channel
Related Manuals for Maxxair MAXXFAN MINI PLUS Series


Summary of Contents for Maxxair MAXXFAN MINI PLUS Series
- Page 1 MAXXAIR MAXXFAN MINI PLUS & DELUXE with WALL CONTROLS INSTALLATION INSTRUCTIONS, INFORMATION AND OPERATING GUIDE FOR MAXXFAN MINI MODELS 3802, 3852, 3803, 3853, 3804, 3854 READ AND SAVE THESE INSTRUCTIONS NOTE: Refer to Installation Instructions, MINI / MINI Plus / MINI Deluxe sleeve Information and Operation Guides into the opening.
- Page 2 WARNING! TO REDUCE THE RISK OF FIRE, ELECTRIC SHOCK, OR INJURY TO PERSONS, OBSERVE THE FOLLOWING: Use this unit in the manner intended by AIRXCL, INC. If you have questions, contact the manufacturer. Before servicing or cleaning unit, switch power off at service panel and lock the service disconnecting means to prevent power from being switched on accidentally.
- Page 3 CAUTION! flange in the area under the screw Disconnect main vehicle power location dimples. before connecting 12 volt DC power to the MAXXFAN MINI Plus or MINI Deluxe! CAUTION! When installing your MAXXFAN MINI, only use a STEP 6 caulking/sealant compatible with the flange (plastic product) and the roof surface.
- Page 4 RJ45 cable can be routed through any Insert the RJ45 side of the Mini as needed. connector into the back of the wall control. Place wall control on mounting screws and gently push the wall control down to lock the wall control onto mounting screws.
- Page 5 3852 WALL CONTROL 3853 WALL CONTROL OPERATION OF THE 3852 OPERATION OF THE 3853 WALL CONTROL WALL CONTROL Turns the fan motor FAN ON/OFF Turns the fan motor ON or Turns the fan motor LIGHT ON/OFF Turns the light ON or 3854 WALL CONTROL OPERATION OF THE 3854 WALL CONTROL...
- Page 6 THIS PAGE INTENTIONALLY LEFT BLANK...
- Page 7 THIS PAGE INTENTIONALLY LEFT BLANK...
- Page 8 PLACE CONSUMER LABEL HERE For additional product information please visit www.AIRXCEL.com AIRCEL, INC. – RV Products Division / MAXXFAN 3050 N. St. Francis St. Wichita, KS 67219 316.832.3400 ● ●...
Need help?
Do you have a question about the MAXXFAN MINI PLUS Series and is the answer not in the manual?
Questions and answers