Advertisement
Westek App
How-To and Feature Guide
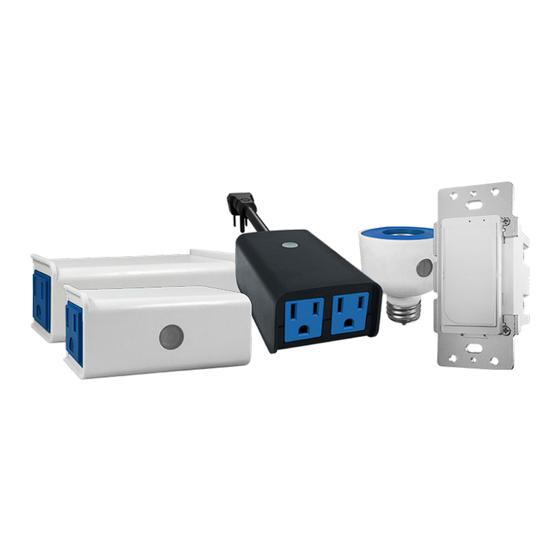
SMARTPLUG1, SMARTPLUG2, SMARTINWALL,
SMARTPLUG2A, SMARTLAMP
1
Getting Started
Search for "Westek" in the App Store or Google Play and download for free. Install the app onto your smartphone or tablet. Make sure
your smartphone or tablet is connected to your Wifi network.
1. Search for "Westek" in either the App Store or Google Play. Download the Westek App for free.
2. Click the Register button to create an account.
3. Choose your Country.
4. Enter either your mobile number or email address. This is how your account will be identified and will be used for future logins.
a. Note: If you are entering a mobile number, use the country code at the beginning, then area code, then your number.
b. If using your mobile number, a verification code will be sent to you through text message. Input the verification code.
c. If you are entering an email address, a verification code will be sent to your email. Input the verification code.
d. Enter the password you would like to use.
e. Hit the Confirm button.
f. You're all set to log in!
2
Your Profile and Settings
1. Setting your profile options will help with the other functions you will use in the app.
2. In the home screen of the app, you will find 3 options along the bottom of the screen: My Home, Smart Scenes, and Me.
Tap the Me option.
3. Once you are in the Me section, tap Settings.
In this screen, you can choose if you want Sound, Push Notifications or to Clear the Cache.
4. Touch the < in the upper left corner to return to the Profile screen.
Your Personal Profile
5. Tap the area where your email address or phone number appears and set your profile preferences.
6. Profile Picture
a. You have the option to add a profile picture. Tap on Profile Picture.
It may ask you for permission to access your camera, album etc. Hit Yes if you would like to add a photo.
b. Select a source to get the picture from.
c. Select your photo and then tap Save.
7. Nickname – Tap this if you would like to put in a name for your account.
8. Phone Number – If you used your email address as your login, you can add your mobile number here.
9. Account Security – Change your login password, Deactivate your account or set up a Gesture Password to lock the app.
10. Temperature Unit – Select Celsius or Fahrenheit as your default temperature.
11. Time Zone – Select the time zone you live in.
12. Change Login Password – Go here if you would like to change your password.
Page 1
WiFi_TL_002_0619_How-To and Feature Guide
Rev. 2
Advertisement
Table of Contents

Related Manuals for WESTEK SMARTPLUG1


Summary of Contents for WESTEK SMARTPLUG1
- Page 1 SMARTPLUG2A, SMARTLAMP Getting Started Search for “Westek” in the App Store or Google Play and download for free. Install the app onto your smartphone or tablet. Make sure your smartphone or tablet is connected to your Wifi network. 1. Search for “Westek” in either the App Store or Google Play. Download the Westek App for free.
- Page 2 1. Scenes – There will be a section later in this “How To” dedicated to setting scenes. 2. Device Sharing – You can share your device with others that have the Westek app. This allows them to control the device from their app/account.
-
Page 3: Adding Devices
2. Fill out a family name to easily identify your device. 3. Enter the address of the installed device. 4. Select the room(s) where Westek Smart Devices are installed. 5. Press the Done button in the upper right corner when finished. 6. You’ll return to the home page where you’ll see the weather and your family name in the upper left corner. -
Page 4: Customizing Your Device
Westek App How-To and Feature Guide SMARTPLUG1, SMARTPLUG2, SMARTINWALL, SMARTPLUG2A, SMARTLAMP Customizing Your Device 1. A screen will tell you the device has been successfully added. 2. To keep your devices organized (especially if you have more than one), press the pencil icon on the right to rename your device. -
Page 5: Programming Options
Westek App How-To and Feature Guide SMARTPLUG1, SMARTPLUG2, SMARTINWALL, SMARTPLUG2A, SMARTLAMP Programming Options 1. Each device will have its own unique set of programming options – this way, you can control each device however you want! a. Power button – Press this to turn the device on or off. When it is lit up, the device is turned on. - Page 6 Westek App How-To and Feature Guide SMARTPLUG1, SMARTPLUG2, SMARTINWALL, SMARTPLUG2A, SMARTLAMP Program 1. When you touch the Program option, it will take you to the list of programs you have set. When you start, there will not be any in the list.
- Page 7 Westek App How-To and Feature Guide SMARTPLUG1, SMARTPLUG2, SMARTINWALL, SMARTPLUG2A, SMARTLAMP Countdown 1. When you touch the Countdown option, it will take you into a screen to choose the amount of time you want to program the countdown from. 2. In this example, we have chosen 8 hours and 30 minutes.
- Page 8 Westek App How-To and Feature Guide SMARTPLUG1, SMARTPLUG2, SMARTINWALL, SMARTPLUG2A, SMARTLAMP Repeat 1. When you touch the Repeat option, it will take you into a screen to program the repeat function. 2. First, set the start and end time for the program.
- Page 9 Westek App How-To and Feature Guide SMARTPLUG1, SMARTPLUG2, SMARTINWALL, SMARTPLUG2A, SMARTLAMP Deleting A Scheduled Program 1. Whether you need to delete a timer program or a repeating program, its easy to do! 2. Go into the function that you need to delete.
-
Page 10: More Options
Westek App How-To and Feature Guide SMARTPLUG1, SMARTPLUG2, SMARTINWALL, SMARTPLUG2A, SMARTLAMP More Options 1. On the device’s main screen, there is a pencil edit icon in upper right corner – this is the Menu/More button 2. This provides you with even more device options and information. Let’s take a look: a. -
Page 11: Setting Up Scenes
Westek App How-To and Feature Guide SMARTPLUG1, SMARTPLUG2, SMARTINWALL, SMARTPLUG2A, SMARTLAMP Setting up Scenes 1. In the Westek wifiSmart app, you are able to set up customized scenes. By scenes we mean, if one situation/event happens, it will then trigger an action. a. For example, if you want to have a device turn on based on the sunset in your location, you can set up a scene for this. b. Or, if you have 2 indoor plugs, you can set a scene so that when one device turns off, the other device turns on. - Page 12 Westek App How-To and Feature Guide SMARTPLUG1, SMARTPLUG2, SMARTINWALL, SMARTPLUG2A, SMARTLAMP Integration with Amazon Alexa and Google Assistant 1. Earlier, we reviewed the Profile section. Within the profile section, there is a part of the app that includes instructions on how to integrate your devices with Amazon Alexa and Google Assistant 2. Inside the Integration screen, it will show you how many devices you currently have loaded in your app that are supported by both Amazon Alexa and Google Assistant.
Need help?
Do you have a question about the SMARTPLUG1 and is the answer not in the manual?
Questions and answers