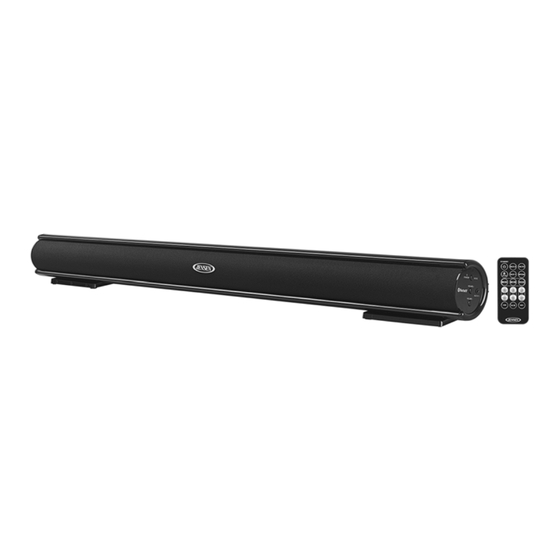
Summary of Contents for Spectra JENSEN JSBW-210
- Page 1 WALL MOUNTABLE 2.0-CHANNEL BLUETOOTH SOUNDBAR Model: JSBW-210 USER MANUAL PLEASE READ THIS USER MANUAL COMPLETELY BEFORE OPERATING THIS UNIT AND RETAIN THIS BOOKLET FOR FUTURE REFERENCE.
-
Page 2: Important Safety Instructions
IMPORTANT SAFETY INSTRUCTIONS When used in the directed manner, this unit has been designed and manufactured to ensure your personal safety. However, improper use can result in potential electrical shock or fire hazards. Please read all safety and operating instructions carefully before installation and use, and keep these instructions handy for future reference. -
Page 3: Important Note
16. Battery shall not be exposed to excessive heat such as sunshine, fire or the like 17. Danger of explosion if battery is incorrectly replaced. Replace only with the same or equivalent type. 18. Do not attempt to dismantle, open or repair this product yourself. If a fault occurs, seek advice from your local qualified service technician or contact the distributor via the telephone number at the back of this instruction manual. -
Page 4: Dear Jensen® Customer
DEAR JENSEN® CUSTOMER Selecting fine audio equipment such as the unit you've just purchased is only the start of your musical enjoyment. Now it's time to consider how you can maximize the fun and excitement your equipment offers. This manufacturer and the Electronic Industries Association's Consumer Electronics Group want you to get the most out of your equipment by playing it at a safe level. -
Page 5: Installations
ACCESSORIES 1 x AC Adaptor 1 x Remote Control, 1 x Stereo Audio Connection Cable with 3.5mm stereo plugs 1 x User Manual 1 x RCA Connection Cable 1 x Wall Mount Template 2 x Wall Spacers 2 x Anchor (For Mounting on Drywall) 2 x 40 mm Pan Head Screws (For Mounting to Wood Studs) 2 x 55 mm Pan Head Screws (For Mounting on Drywall) INSTALLATIONS... - Page 6 1. Use the supplied wall mounting template to make drill hole marks on the wall. Make sure the marks are level before drilling. 2. Screw the supplied pan head screws directly into the marks that you made on the wall as shown above. Make sure the wall is either wood or you are screwing directly into a wood stud in the wall.
- Page 7 NOTE: Install the included wall spacers if you are using the Optical Input, or using RCA plugs that interfere when mounting the soundbar to the wall. Attach the Wall Spacers removing the screw from the wall that was installed above in Step #3 (Mounting the JSBW-210 on a wooden wall section).
-
Page 8: Main Unit
LOCATION OF CONTROLS MAIN UNIT Front View Back View Right Hand Side View... -
Page 9: Remote Control
MODE INDICATOR LED REMOTE INFRARED SE NSOR OPTICAL INPUT JACK AUX 2 INPUT CONNEC TORS (L/R RCA JACKS) DC IN JACK POWER ON/S TANDBY ; MODE BUTTON VOLUME + BUTTON AUX 1 INPUT CONNE CTOR VOLUME - BUTTON EMOTE CONTROL AUX 2 MUTE AUX 1... -
Page 10: Getting Started
GETTING STARTED CONNECTING THE JSBW-210 TO EXTERNAL AUDIO D EVICES You can connect the JSBW-210 audio input to the audio output of your television or DVD Player. Please see figure below. OTE: 1. Make sure that the power is turned off when connecting or disconnecting the other devices. - Page 11 Replacing the battery in the remote control: 1.) Press in on the side of the battery holder and pull the holder out of the remote. 2.) Removed the exhausted battery and then install 1 new “CR2025” lithium battery according to the polarity diagram on the battery compartment. 3.) Insert the battery holder into the remote control and make sure it locks into place.
-
Page 12: Bluetooth Operation
BLUETOOTH OPERATION PAIRING (LINKING) A BLUETOOTH ENABLED CELL PHONE OR OTHER BLUETOOTH ENABLED DEVICE to the JSBW-210 1. With the power on, tap the Bluetooth button on remote control or tap the /MODE button on main unit repeatedly to select Bluetooth mode. The Mode Indicator LED turns blue and will be flashing. - Page 13 CONTROLLING THE MUSIC PLAYBACK ON YOUR BLUETOOTH DEVICE USING THE REMOTE CONTROL 1. Tap the /STANDBY button on remote control or press and hold the /MODE on main unit to turn on the unit. 2. Turn on Bluetooth of your cell phone or device which was previously paired with the JSBW-210, tap the Bluetooth button on remote control or tap /MODE button...
-
Page 14: Digital Optical Input
2.) When in MOVIE or VOICE sound mode, pressing the MUSIC button will reset the BASS and TREBLE settings back to center (Normal) positions. MUTE (Remote Control Only) - Press the MUTE button on remote control to mute the sound output from speaker temporarily, the red LED will light and flash. -
Page 15: Care And Maintenance
1. Use an audio cable (included) with one 3.5 mm stereo plug on each end of the cable. 2. Plug one end into the AUX 1 Input jack on the right hand side (top panel) of main unit and the other end of the cable into the Line-out Jack or Headphone Jack of your external audio device. -
Page 16: Troubleshooting Guide
We are dedicated to continuous implementation of responsible initiatives with an aim to conserve and maintain the environment through responsible recycling. Please visit us at http://www.spectraintl.com/green.htm for more information on Spectra’s green initiatives or to find a recycler in your area. - Page 17 You must pay all shipping charges required to ship the product to SPECTRA for warranty service. If the product is repaired or replaced under warranty, the return charges will be at SPECTRA’s expense. There are no other express warranties other than those stated herein.

Need help?
Do you have a question about the JENSEN JSBW-210 and is the answer not in the manual?
Questions and answers
I NEED A JMC 1250 REMOTE CONTROL