Advertisement
Advertisement
Table of Contents

Subscribe to Our Youtube Channel
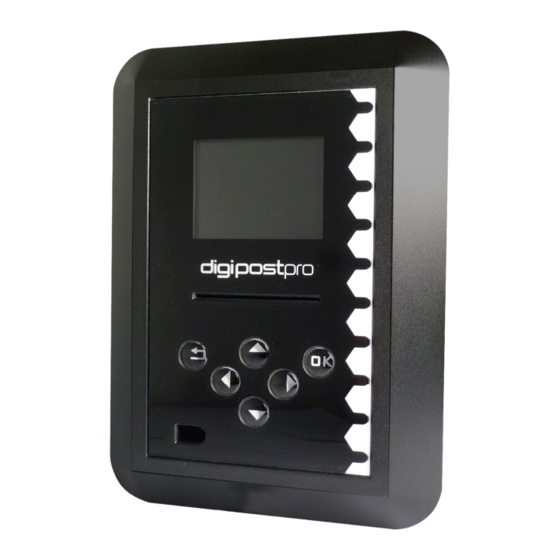
Summary of Contents for Tachosys digiPostpro
-
Page 2: Table Of Contents
Hardware Setup digipostpro Controls Con guration 7-14 Basic Preferences Networking 10-12 12-13 Files & Analysis Other Con guration Options Maintaining and Transferring Files 15-20 15-16 Driver Cards and Driver Card Analysis 17-19 digivu digifobpro Archived Files... -
Page 3: Hardware Setup
Power and USB Connection USB connection for programming Power connection (use included 9V power supply) There are four screw points in the base. Use the xing kit supplied to attach the digipostpro to the wall. Page - 4 Page - 5... -
Page 4: Digipostpro Controls
Pressing right/left from the main screen will change the information displayed at In order to enter the code on a digipostpro, from the main screen the bottom of the screen. Listed as right from main screen . -
Page 5: Basic Preferences
. Press to save the settings selected. Please note that the digipostpro has an internal battery which will keep the clock accurate if power is removed from the device. Actual time is set from the server. -
Page 6: Networking
Configuration Menu Con guring for Networking digiConnect Speci c to the LAN version of the digipostpro. You can forward To navigate to the network con guration settings, your les locally via digiConnect. Select digiConnect and enter the highlight the Connectivity icon in the main menu and port number (hostname is not required for this option). - Page 7 Card Number, date and time of VU download). Further analysis of button. You will then receive a message asking whether you are those les on the digipostpro is not available through the sure you want to delete all les. Choose the green tick and press con guration menu, only immediately after the card has been OK to con rm deletion.
-
Page 8: Maintaining And Transferring Files
If you already have the present card icon). Simply insert the driver card with clocking module for your digipostpro, see pages 28-31 for further the chip facing up. The le transfer will begin automatically and a information. - Page 9 This enables the digivu to be directly connected to a PC so is not for use with the Within 24 Hours. digipostpro. You can download digiconnect from Tachosys.com should you wish to Break con gure your digivu using this method.
-
Page 10: Digivu
A green LED indicates your download from the VU has been successful. Maintaining and transferring les from your download device The digipostpro supports the transfer of VU and Driver Card les from both the digivu and digifobpro. It does not support alternative download devices. -
Page 11: Digifobpro
OK. generation), the cable used will have the same socket/plug at both ends - it does not matter which end goes in the digipostpro. Only digivu’s V4 and upwards can be con gured via digipostpro. - Page 12 Configuring Your digivu Configuring Your digivu Configuring Your digivu Configuring Your digivu Configuring Your digivu Configuring Your digivu Configuring Your digivu Configuring Your digivu Delete All Driver Card Use this option with caution as if you have not By turning on the Driver Card option, this will enable the digivu to uploaded les to the main server they will be download driver card les from the tachograph unit if present.
-
Page 13: Clocking Module
Hardware set up of digipostpro with Clocking Module function. To add the clocking module to a digipostpro ensure the base unit is not powered. Clocking Options - The Use Driver Cards option allows you to use driver First, remove the outer frame cards for the purposes of clocking (see page 14). - Page 14 If successful, you will navigate to the clocking screen If the digipostpro is not connected to a network, the clocking logs (see above). Using the arrow buttons, select what you will be sent the next time a connection is established.
-
Page 15: Troubleshooting
Troubleshooting Troubleshooting Troubleshooting Troubleshooting Troubleshooting Troubleshooting Troubleshooting Troubleshooting Server Errors Information on digivu vehicle le sections (TREPS) If you suspect an error concerning connection with a server, there Overview: includes data such as vehicle ID, Last is a helpful diagnostic tool to help identify whether this is the Section 01 VU download and by which type of card. - Page 16 Other Tachosys Products Other Tachosys Products Other Tachosys Products Other Tachosys Products Other Tachosys Products Other Tachosys Products Other Tachosys Products Other Tachosys Products Our hand held download tool selection Page - 30 Page - 31...
Need help?
Do you have a question about the digiPostpro and is the answer not in the manual?
Questions and answers