Table of Contents
Advertisement
Quick Links
Advertisement
Table of Contents

Summary of Contents for AireGard FS-150
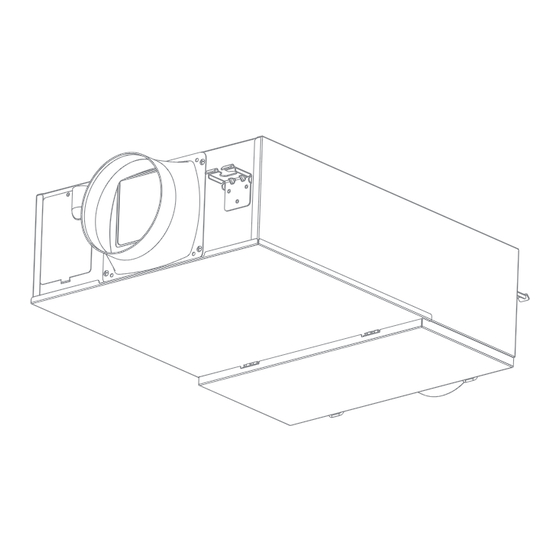
- Page 1 FRESH AIR SUPPLY VENTILATOR FS-150 USER MANUAL...
-
Page 2: Table Of Contents
CONTENTS Preface .............................................. 1 Products Specification ......................................1 Dimension & Spare Parts ....................................1 Packing List ............................................ 2 IImportant Notice ........................................2 Safety Precautions ......................................... 3 Inspection Door Settings Check ..................................4 Installation Guides ........................................4 Filter Maintenance ........................................8 Troubleshooting ........................................ -
Page 3: Preface
PREFACE Thank you for purchasing the AireGard Fresh Air Supply Ventilator, FS-150! We hope that the product that you purchased from us will be delighting you always. Before you start using the product, we remind you to carefully read through this user manual to understand more about this product in order to avoid from any harm or risk of danger that could lead to unnessary damage or even personal injury. -
Page 4: Packing List
PACKING LIST NOTE : 1. Kindly check through the entire contents of the packaging box NO. ICON NAME QUANTITY and make sure that you have all the spare parts and accessories USER MANUAL needed. Contact the dealer or manufacturer should you face PHILLIP SCREWS (M4 x 16) problems with missing components. -
Page 5: Safety Precautions
SAFETY PRECAUTIONS Kindly read through the following carefully to avoid from damages in property or risk of personal injuries. The degree of harm and damages are divided between two categories identified by 2 distinctive signs: WARNINGS Possibility of high risk of death or serious injuries PRECAUTIONS Possibility of light injuries or physical or material damages LEGEND... -
Page 6: Inspection Door Settings Check
INSPECTION DOOR SETTINGS CHECK 1. Perform regular checking, cleaning and replacement on the filter net and double check on the inspection door of the unit. 2. The opening of the inspection door shall remain as 650 x 450 mm in dimension to facilitate easy maintenance works.. - Page 7 INSTALLATION GUIDES PRECAUTIONS Be careful and take necessary measures to prevent gases from slipping out into the room via any air vent or other open flames equipment. Avoid the following situation during installation to prevent from abnormal loud noise or possible drop in wind speed. (1) Too much bending (2) Multiple bending (3) Reducing the diameter of the ductings...
- Page 8 INSTALLATION GUIDES 86 Box Control Kit Base 2. Attach the Remote Control Filter Insert the Remote Control onto the back cap of Change Temperature the 86 Box Control Kit, pressed lightly so that it is Wind attached firmly. Connect the power supply and Modes Speed perform a test run on the different function of...
- Page 9 INSTALLATION GUIDES 3. Using the “SMART” Mode Applies for situation where indoor air quality is poor and smart sensor auto determine on the outdoor air quality. Filter Change The “SMART” mode can help to improve the overall air quality Temperature by monitoring outdoor air quality to control amount of inward air Wind intelligently, while prolonging the Air Filter lifespan .
-
Page 10: Filter Maintenance
FILTER MAINTENANCE WARNINGS Do not use any cleaning oil with volatile or harsh substance and metal brush while cleaning the air filter as it will damage the surface of the air filter. When performing cleaning work, please switch off all power supplies to avoid electric shock. Always wear protective hand gears when performing cleaning to avoid personal injuries. - Page 11 FILTER MAINTENANCE unbuckle the clipper 3. Open the Inspection Door. a) Unbuckle the clipper PRECAUTIONS Beware of the falling Inspection Door when loosening and opening it to avoid personal injuries. b) Pull open the Inspection Door downward pull open the Inspection Door downward 4.
-
Page 12: Troubleshooting
TROUBLESHOOTING Please check the following accordingly for the concerned areas. For any abnormalities detected, please turn off all the power supply and ensure the circuit breaker remain OFF, and then contact the dealer or servicing agent for inspection or service. CONDITION CAUSES ACTIONS...
Need help?
Do you have a question about the FS-150 and is the answer not in the manual?
Questions and answers