
Related Manuals for Hipcam Doorbell

Summary of Contents for Hipcam Doorbell
- Page 1 Importer: TJM Imports B.V. Zompstraat 8 8102HX Raalte The Netherlands www.tjmsupplies.nl Copyright © 2019 TJM Imports B.V. All rights reserved.
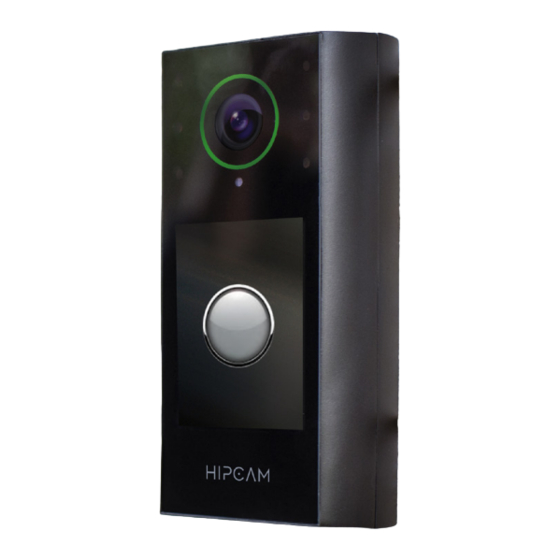
- Page 2 Design of the Hipcam Doorbell What’s in the box: 1x Hipcam video doorbell 1x Wireless doorbell chime 1x mounting materials 1x Manual DC 5V power connection Microphone (doorbell back) LED status light Wide angle lens IR LEDs Light sensor LCD touch screen...
- Page 3 Confirm the wires have an output of 12-24v. Disconnect the two wires connected to your current doorbell ( A and B ) and fix them to the wall with a tape so they do not fall inside the electrical conduit.
- Page 4 Remove the backplate from your Hipcam Doorbell by pushing the pin provided in the box into the hole located at the bottom of the unit. Backplate Doorbell You might need to drill new holes on the wall. You can do this by using the drill bit and the plastic dowels included in the box.
- Page 5 12-24v Backplate Chime Connect the black and red wires provided in the box to Hipcam Chime. Insert one of the wires (the color is indistinct) into hole 2 while pressing into hole 1 with the pin provided in the box.
- Page 6 12-24v 12-24v Chime box Chime box Connect one of the wires from HIPCAM Chime to the TRANS terminal on the chime box (A). Connect the other wire from HIPCAM Chime to the wired terminal on the transformer that connects with your doorway (B).
- Page 7 Connect the wire that comes from the trans- former to your Hipcam Doorbell. Right or left is indistinct (A) Connect the wire that comes from the front terminal in your chime box to your HIPCAM Doorbell (B)Hipcam deurbel (B). Backplate...
- Page 8 Assemble Hipcam Doorbell to the backplate screwed to the wall. Open Hipcam Chime (Press the chime´s body a little bit to take out the lid). Connect the USB port to Hipcam Plug. Connect HIPCAM Plug to the socket on the wall.
- Page 9 12-24v. Otherwise you will need to upgrade the voltage of your connection The Hipcam doorbell is now ready to pair with your smartwatch. Read more about this on page 10.
-
Page 10: Get Started
Download and Install “Hipcam The Smart Home Security Ecosystem” App on your smartphone from Google Play or App Store. Make sure the Hipcam camera is switched on. Create a new Hipcam user: Press “Sign Up”. Insert your desired e-mail address and... - Page 11 Show your QR Code to your Hipcam Doorbell as indicated by the photo below or by the animation tutorial in the app. You are now connected. Live video feed of each of your cameras will be shown in your “My Cameras” tab.
- Page 12 Hipcam camera live streaming. Shared cameras: tap on one of the live pictures on your “Shared” flap and you will be sent to your chosen shared Hipcam camera live streaming. Smart Area Press the Smart Area button on the screen.
- Page 13 Press the Alarm button on the screen to ring the Alarm on your camera. Armed/Disarmed button Press this button to enable or disable your Hipcam Camera Alarm detections. Geo locatie Press the Location icon on the top to see your Hipcam Camera Geo-Location.
- Page 14 The following options only apply to paid Hipcam plans. Create a Clip Go to the main menu of your Hipcam camera and click on Create clip. Give the clip a name. Select the date, time and duration of the clip.
-
Page 15: Specifications
128-bit AES with TLS/ Protection SSL encryption For streaming & data App compatible with Android 4.4 or higher iOS 10.3 or higher The content of this specification is subject to change without notice. For more information, visit the official website (www.hipcam.com).
Need help?
Do you have a question about the Doorbell and is the answer not in the manual?
Questions and answers