Advertisement
Quick Links
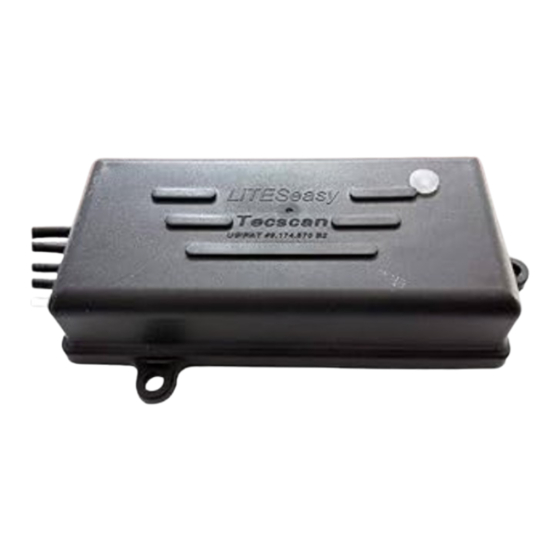
LiTESeasy (RC) Remote Control All Signals
If in doubt, CALL BEFORE YOU INSTALL!
Warning — Warranty Does NOT Cover
Connecting controller other than directly to battery posts
Using other than TecScan VOLTSeasy brand reducer
Attempting installation while connected to battery charger
Connecting Controller to junction boxes or keyed wires under the dash
Connecting accessories to the same battery posts as controller
Charging FULLY DISCHARGED cart batteries while controller is connected
Spraying, submersing, altering or tampering with remotes or controller
STEP 1. Install Controller
• Install on a weather protected flat sur-
face, within about 2ft of battery/s near
the center of the cart.
• Any position, except controller wires
end up.
• Clean and dry the surface before at-
taching the controller with the bonding
tape.
• Press hard for 5-seconds for best adhe-
sion. The box may be bolted on, also.
See install video at https://
store.tecscan.com
Connect to:
STEP 2.
• ONE 12-VOLT BATTERY
• TWO 6-VOLT BATTERIES
• TWO 8-VOLT BATTERIES
• VOLTSEASY REDUCER
1. Identify two batteries near the controller that are
linked together with a cable from a NEG post to an
adjacent battery POS post. See Photo >>>>>>>>>>
2. Connect the RED and BLACK ring connector wires to
the Controller cable labeled 12/16-volt with a fuse and
voltage meter attached. RED to RED – BLACK to
BLACK
3. Attach the ring connectors RED wire to the A POS
post and BLACK wire to the B NEG post, as shown.
Depending on the voltage of batteries used, voltage me-
ter should now read about 12-volts or 16-volts. A few days
after the light kit has been installed, disconnect the volt-
age meter and put it in a safe place so it can be used later,
if necessary.
US PATENT # 9,174,570 B2
Page | 1
MUST READ INSTRUCTIONS
or email: tecscan@tecscan.com
1-352-264-7877
A
B
Advertisement

Summary of Contents for TecScan LiTESeasy Series
- Page 1 Warning — Warranty Does NOT Cover Connecting controller other than directly to battery posts Using other than TecScan VOLTSeasy brand reducer Attempting installation while connected to battery charger Connecting Controller to junction boxes or keyed wires under the dash ...
- Page 2 STEP 3. INSTALL STEERING WHEEL REMOTE HTTPS:// store.tecscan.com 1. Insert rubber grip strips in opened clamps For Videos and Infor- mation about Installing 2. Slide clamps over steering wheel Lights Kits and More. 3. Loosely attach remote to clamps 4. Center remote at top of wheel 5.
- Page 3 STEP 4. Install BRAKeasy Wireless brake light switch The patented BRAKeasy Wireless braking sensor combines sensor, mechanical actions and wireless technology. Switch automati- cally adjusts in relation to the speed of the EZ GO cart. The light is programed to stay on for approximately 10 seconds when activated.
- Page 4 B. Controller sound present? NO HTTPS:// d) Light present? NO C. Check with meter for 12/16 volts input? NO store.tecscan.com e) Check battery polarity D. Check power-in wires. The BLACK NO FUSE wire must be For Videos and Infor- Replace A23 battery...
Need help?
Do you have a question about the LiTESeasy Series and is the answer not in the manual?
Questions and answers