Table of Contents
Advertisement
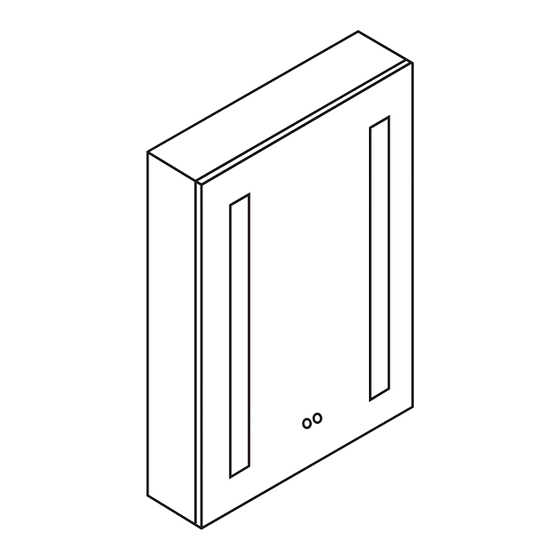
Pillar
20"
MCL1 2032 (L/R)
Combined with two 24"
(MCL1 2432L + MCL1 2432R)
Asta
20"
MCL2 2032 (L/R)
Combined with two 24"
(MCL2 2432L + MCL2 2432R)
24"
MCL1 2432 (L/R)
48"
24"
MCL2 2432 (L/R)
48"
[
MEDICINE
CABINET
Specifcation & Installation Guide
www.blossomus.com
Combined with two 30"
(MCL1 3032 x 2)
60"
Combined with two 30"
(MCL2 3032 x 2)
60"
]
30"
MCL1 3032
30"
MCL2 3032
Advertisement
Table of Contents

Subscribe to Our Youtube Channel
Related Manuals for Blossom Pillar MCL1 2032L


Summary of Contents for Blossom Pillar MCL1 2032L
- Page 1 Pillar 20" 24" 30" MCL1 2032 (L/R) MCL1 2432 (L/R) MCL1 3032 Combined with two 24" Combined with two 30" (MCL1 2432L + MCL1 2432R) (MCL1 3032 x 2) 48" 60" Asta 20" 24" 30" MCL2 2032 (L/R) MCL2 2432 (L/R) MCL2 3032 Combined with two 24"...
-
Page 2: Important Safety Instructions
IMPORTANT SAFETY INSTRUCTIONS When using an electrical furnishing, basic precautions should always be followed, including the following: WARNING: To reduce the risk of burns,fire,electric shock or injury to persons. Use this furnishing only for its intended use as described in these instructions. Do not use attachments not recommended by the manufacturer. -
Page 3: Hardware And Tools
HARDWARE AND TOOLS Hardware Tools (not includes) Draw QTY(pcs) Top mounting bracket Bottom mounting Electric Drill 1/8" Drill Bit Pencil or Marker bracket Hardware screw 6-10 Glass side panel Screw Driver Silicone Tape Measure Glass Shelf Shelf support bracket Connector Lever DIMENSIONS A-Cabinet's Width... -
Page 4: Prior To Mounting
PRIOR TO MOUNTING For recess mount only! Carefully remove side mirror panels for recess mount Remove door(s) prior to mounting your cabinet.Start with installation. unplugging the door from the cabinet. While supporting the door release(the lever under the hinge Take off the door(s) carefully and lay it down on a safe area. arm),slide the door off the frame. - Page 5 RECESS MOUNT INSTALLATION CONTINUED Draw the perimeter of the cabinet on the wall. Cut the marked perimeter with suitable tool. Frame the opening for the cabinet based on the Connect electrical wires before inserting the cabinet into the measurements. opening. Be careful to avoid squeezing the wiring while insert the...
-
Page 6: Surface Mount Installation
SURFACE MOUNT INSTALLATION Bottom mounting brackets must be attached to furring strip/channel or wall studs Level and mark the cabinet's locationon the wall. Attach bottom bracket to wall. Connect the electrical wires. With assistance rest the cabinet on the Insert top mounting bracket into the top mounting bracket and hold in place. -
Page 7: Final Assembly
FINAL ASSEMBLY 1. Slide the doors into place by pinching the end of the hinges. 2. Plug the door into the cabinet. 1. Adjust the shelf support brackets position: Unscrew the screws for shelf support bracket then slide the bracket up or down can adjust the bracket into the desired location.A level can be used to make sure left and right brackets are level. -
Page 8: Use And Maintenance
When cleaning, spray the cloth, not the mirror, or surrounding surfaces. Do not use abrasive cleansers on any part of the light fixture. Blossom Kitchen & Bath Supply Corporation (718)-366-0088 | sales@BlossomUS.com | www.BlossomUS.com luxury made simple...
Need help?
Do you have a question about the Pillar MCL1 2032L and is the answer not in the manual?
Questions and answers