Table of Contents
Advertisement
Quick Links
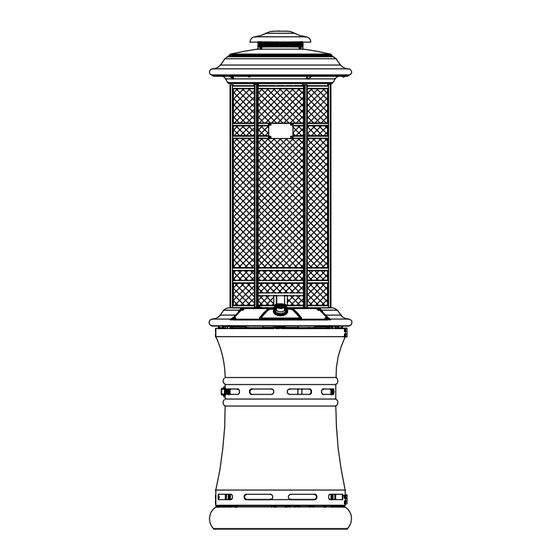
ASSEMBLY INSTRUCTIONS
Warning:This appliance requires installation
by a competent person. Proper assembly is
the responsibility of the installer.
Step1: To assemble unit-partially open gas chamber
door.Carefully lift dome until entire heat exchange tube
is exposed.
Step 2: After heat exchange tube is fully extended, rotate
counter-clockwise until stopped.
Step 1
Step 2
7
Advertisement
Table of Contents

Related Manuals for Four Seasons Courtyard SRPH68


Summary of Contents for Four Seasons Courtyard SRPH68
- Page 1 ASSEMBLY INSTRUCTIONS Warning:This appliance requires installation Step 1 by a competent person. Proper assembly is the responsibility of the installer. Step1: To assemble unit-partially open gas chamber door.Carefully lift dome until entire heat exchange tube is exposed. Step 2: After heat exchange tube is fully extended, rotate Step 2 counter-clockwise until stopped.
- Page 2 ASSEMBLY INSTRUCTIONS Warning: This appliance requires installation by a competent person. Proper assembly is the Step 3 responsibility of the installer. Step3:Fully open gas chamber door. Remove knob from door and place on control stem. Step4: Locate(3) holes to lock heat exchange tube in place. Step 4 Insert (3) included screws into holes.
- Page 3 ASSEMBLY INSTRUCTIONS Warning:This appliance requires installation Step 5 by a competent person. Proper assembly is the responsibility of the installer. Step5: Place battery in compartment below control panel. Battery(1.5V) (not included) Step6: Place the gas cylinder (not included) into the base Step 6 assembly , and fix it with fixing chain.
- Page 4 OPERATION 1. Ensure control knob is in OFF position. 2. Depress control knob and turn counter clockwise to IGNITE. 3. Continue to depress knob for 30 seconds, listen to ignition pulse. 4. Then, release knob and turn to adjust heat intensit 5.
- Page 5 OPERATION Note: The burner may be noisy when initially turned on. To eliminate excessive noise from the burner, turn the control knob to the Minimum position. Then, turn the knob to the level of heat desired. If you experience any ignition problem consult the following “Troubleshooting”.
- Page 6 OPERATION...
- Page 7 LOCATING HEADER FOR USE CAUTION: WHEN CERTAIN MATERIALS OR ITEMS ARE LEFT, ABOVE, BESIDE OR UNDER THIS HEATER WHILE IN USE, THEY WILL BE SUBJECT TO RADIANT HEAT AND COULD BE SERIOUSLY DAMAGED. This heater is primarily used for the heating of outdoor patios, decks, spas, pools and open working areas.
Need help?
Do you have a question about the SRPH68 and is the answer not in the manual?
Questions and answers