Advertisement
1.
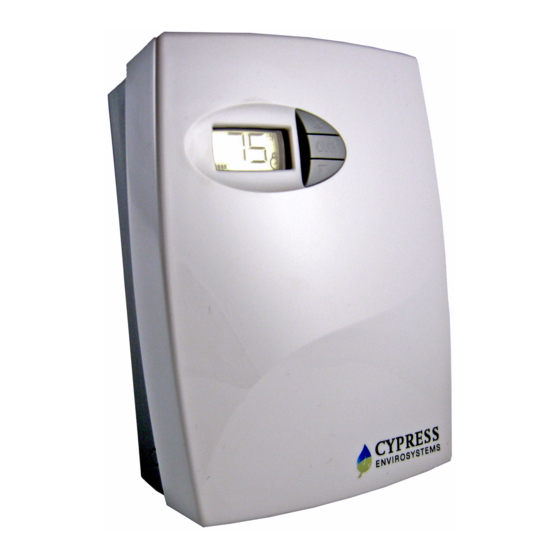
Overview
This technical note describes the Wireless Pneumatic Thermostat (WPT) battery
replacement procedures presented in a bulleted list of simple steps. This technical
note covers thermostats with current as well as older firmware versions.
Troubleshooting section provides the necessary steps to reset the WPT if any non-ideal
behavior is noticed.
1.1.
Tools Required for Installation
•
1/16" hex Allen wrench
•
2mm hex Allen wrench (older versions)
2.
Battery Replacement
The WPT has a battery icon on the LCD display which indicates the current state of the
batteries. Batteries must be replaced anytime the battery icon displays fewer than 4
bars as shown in Figure 1 below.
Figure 1: Low Battery Icon Examples with Fewer than 4 Bars Displayed
When the batteries are too low to function normally, the WPT will enter a fail-safe mode
(Figure 2) until batteries are replaced. The fail-safe mode shuts down all functions of
the WPT except for temperature control which continues to operate at a setpoint of 72
ºF.
Note: With older generation WPT thermostats, the device may go directly to a blank
display and/or stop responding to button presses.
2.1.
Battery Installation
After replacing batteries, following tasks must be performed:
•
Press any button to power on the WPT.
•
Perform a Force Discovery. Refer to Figure 4 or Figure 8 for the menu structure.
•
Perform a manual calibration, Refer to section 2.3.1or 2.3.2.
•
(Optional) Resend temperature setpoints, setpoint limits and auto calibration
values from the WPT Green Box Controller. Refer to the appropriate WPT Green
Box manual for instructions.
Note: If any of the steps above fail, refer to Section 3 (Troubleshooting) for further
details.
Figure 2: LCD Display during the Fail-Safe Mode
Tech note: WPT Battery Replacement
Doc No. 910-00022-01 Rev 01
A
Page 1 of 7
Advertisement
Table of Contents

Related Manuals for Cypress WPT


Summary of Contents for Cypress WPT
- Page 1 2mm hex Allen wrench (older versions) Battery Replacement The WPT has a battery icon on the LCD display which indicates the current state of the batteries. Batteries must be replaced anytime the battery icon displays fewer than 4 bars as shown in Figure 1 below.
- Page 2 Do not use or leave the batteries in direct sunlight or in high-temperature areas. 2.3. Calibrating the WPT Remove the front cover of the WPT and make sure that the WPT is acclimatized to the ambient temperature. NOTE: Keep hands and breathe away from the WPT to minimize calibration error.
- Page 3 Tech note: WPT Battery Replacement Doc No. 910-00022-01 Rev 01 Figure 4: WPT Menu Structure (FW v25.00 and higher) Page 3 of 7...
- Page 4 Figure 5. Pressure Display Resolution NOTE: Single pipe WPTs might take a longer time to respond during calibration. Please allow sufficient time to calibrate the WPT accurately. Adjust this screw using a 1/16” Allen key to obtain the required control pressure...
- Page 5 Repeat the calibration procedure if this value does not match the desired control pressure. NOTE: The WPT will automatically exit Calibration Mode if OVR is not pressed after 3 minutes. The control pressure will NOT be saved and the WPT will return to the home screen.
- Page 6 WPT Battery Replacement Tech Note Doc No. 910-00022-01 Rev 01 Figure 8: WPT Menu Structure (FW v22.00 & V23.00) Page 6 of 7...
- Page 7 WPT Battery Replacement Tech Note Doc No. 910-00022-01 Rev 01 Troubleshooting If the WPT exhibits incorrect or suspect behavior after battery replacement, perform the following steps. Examples of such behavior could be: non-responsive buttons, erroneous setpoint limits, inaccurate ambient temperature or excessive motor movement.
Need help?
Do you have a question about the WPT and is the answer not in the manual?
Questions and answers