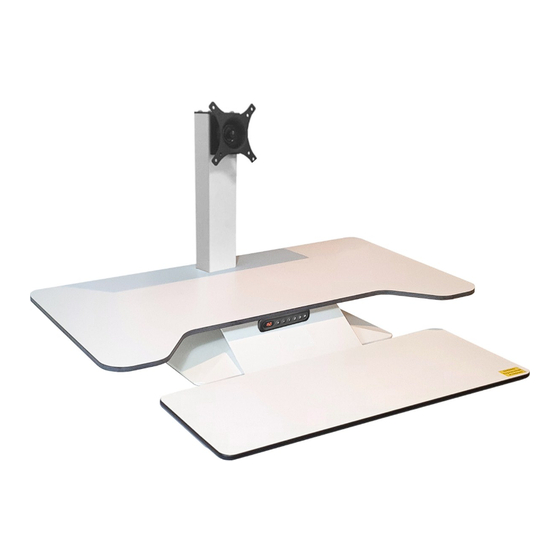
Summary of Contents for office portfolio STANDESK MEMORY Series
- Page 1 STANDESK MEMORY STANDESK PRO MEMORY ELECTRIC SIT-STAND WORKSTATION STANDESK MEMORY STANDESK PRO MEMORY Assembly Instructions MODEL - OP-MB- STANDESK MEMORY BLACK OP–MB- STANDESK MEMORY WHITE OP-MB- STANDESK PRO MEMORY BLACK OP–MB- STANDESK PRO MEMORY WHITE...
- Page 2 M6 x 12 VESA BRACKET M6 x 8 1 BAG 6Pcs+1 extra Pc 10Pcs+1 extra Pc PLASTIC COVER 1 Pc 1 Pc View a Allen key Put the leg (A) through the opening of the base (B) Turn the base upside down ON THE EDGE The 4 screws (G) are already in place ready for OF A BENCH OR DESK.
- Page 3 Use 2 pcs M6*12 screws to assembly at the rear Re assemble the narrow bottom cover (refer STEP1). of the base. Now tighten 4 side screws as described in STEP 2. Now turn over to the upright position. Place table panel assembly (part C) through center leg. Assemble 6 pcs "E"...
- Page 4 Put plastic cover from the top of the leg. Keep "standesk" in the front. Connect spiral cord to the rear plug and screw lock together. Customer can choose to assemble VESA BRACKET (part D) at high or low position.
- Page 5 ≤ 2 2 lbs (≤10 kg) ≤110 lbs (≤50 kg) computer screen to the VESA BRACKET. computer screen to the VESA BRACKET. ≤ 11 lbs (≤ 5 kg) ! CAUTION:DO NOT EXCEED MAXIMUM LISTED WEIGHT CAPACITY. SERIOUS INJURY OR PROPERTY DAMAGE MAY OCCUR! 9 9 9 9 Raise platform.
- Page 6 Fasten Wiring There are 2 plastic clips behind the assembly. Loop the wiring through the top clip and close, then loop the wiring through the bottom clip and close. Vesa monitor bracket If the monitor is tilting because of its weight, the M onitor spacers.
-
Page 7: Handset Display Symbols
Memory Setting Instructions 1. Handset Display Symbols: LED Height Display Screen (*features Energy saving Standby/Sleep function) Key + :Up motion Key - :Down motion Key 1 : First memory setting Key 2 : Second desired height setting ... - Page 8 STEP 2 How to set your preferred height selections to Memory. There are 3 memory settings and we recommend key 1 be the starting position (lowest setting) for the Standesk. Starting : Press Key M, (the LED screen will show “ 5 – “ ), then press (in quick succession) Key 1 to memorise the starting height.
-
Page 9: Additional Settings
Additional Settings MEASUREMENT CONVERSION (METRIC OR IMPERIAL) PRESS/HOLD ( M ) 5-10 SECONDS. LED SCREEN WILL DISPLAY (FLASHING) ( 1 – 0 ) PRESS ( + ) ONCE TO SHOW ( 0 ) FOR CENTIMETRES OR PRESS ( - ) TO SHOW ( 1 ) FOR INCHES... -
Page 10: Fault Code & Solution
2. Fault code & Solution: E-1:Motor hall break or Signal problem. E-2:Motor’s phase wire disconnect. E-3: Motor unplug E-4: Motor short circuit E-5: Motor stalling E-6: Motor hall direction doesn’t match phase wire Solution: Change two hall wires... - Page 11 E-7: Control box problem E-8: Handset disconnect E-10: Screw rod to bottom or to topside Solution: Reset E-12: Electricity power down during working E-13: Anti-collision function working...


Need help?
Do you have a question about the STANDESK MEMORY Series and is the answer not in the manual?
Questions and answers