Table of Contents
Advertisement
Quick Links
Advertisement
Table of Contents

Related Manuals for Twodots Harrier

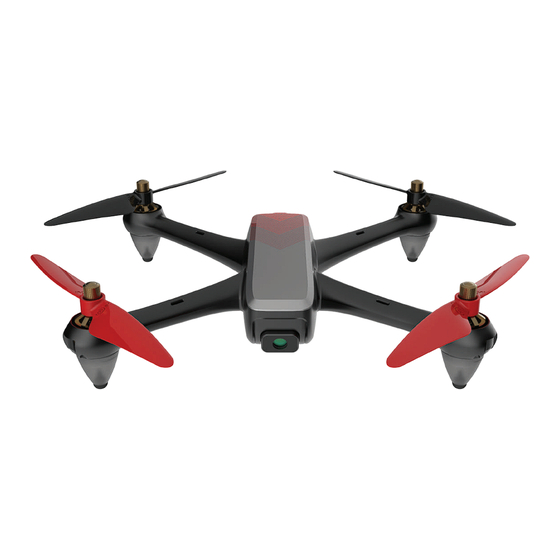
Summary of Contents for Twodots Harrier
- Page 1 INSTRUCTION...
-
Page 2: Limitation Of Liability
LIMITATION OF LIABILITY • The drone is not a toy and it is designed for users above 14 years of age. • The product integrates several control technologies. However, improper use may cause injuries to people or material damage. Read the related manual and documents before use. •... -
Page 3: Preliminary Checks
• general, improper use increase the likelihood of accidents. • Keep away from the rotating parts. The rotating parts may cause serious damage and injuries. Keep face and body away from the rotating parts and the engines. • Do not expose to heat sources. The drone is made of metal parts, fibres, plastic, electronic parts, etc. Do not expose the drone to heat sources and direct sunlight to prevent the risk of deformations and damage. -
Page 4: Controller Functions
CONTROLLER FUNCTIONS Phone holder slot Interruttore Interruttore Photo/Video Gimbal Left stick Right stick Return Home button One button take off/landing Hi/Medium/Low speed (press) Trimmer mode Attivazione GPS button (keep pressed) Battery cover INSERTING THE BATTERIES INTO THE CONTROLLER Open the battery compartment and insert four AA batteries (not included). Make sure you place them in the right direction according to their polarity, as shown on the controller. -
Page 5: Charging The Drone Battery
CHARGING THE DRONE BATTERY Remove the battery from the drone. Put the battery in the charger and connect the power supply to a power source through the provided USB cable. The red LED light shows that the battery is being charged, the green LED shows that the battery is fully charged. Charging time is about 280 minutes and the average flight time is about 14 minutes, however this may vary depending on certain external agents like temperature, humidity, wind, etc. -
Page 6: Calibrating The Compass
Place the drone on a flat surface. CALIBRATING THE COMPASS You need to calibrate the compass before the flight to make it easier and more stable. Complete the pairing procedure. After the procedure, only the LED lights on the left of the drone will remain lit. Flip the drone horizontally until the controller beeps. -
Page 7: Reset Process
RESET PROCESS Before flying or in case of need following bumps or falls, the gyroscopes on the drone will have to be reset. Place the drone on a flat surface and move the right stick to the lower right corner for few seconds. -
Page 8: Flight Controls
FLIGHT CONTROLS When the throttle stick is pushed up, the blades will spin faster causing When the directional the drone to ascend. stick is moved up, the drone will fly forward. When the throttle stick is pushed down, the blades will spin slower causing the drone to descend. -
Page 9: Speed Regulation
Put your memory card into your computer to view the saved photos and videos. GIMBAL With Harrier you can change the inclination of the camera by the one-axis gimbal. To move the camera during flight, press and hold the button on... -
Page 10: Return To Home
RETURN TO HOME This feature allows you to allow the drone to approach the pilot by pressing the dedicated button. When you launch the Return to Home function, the drone cannot avoid the obstacles along its route. To abandon this mode, press the corresponding button again. Once the drone reaches its destination, it will land automatically. -
Page 11: Low Battery Warning
TRIM SETTING Flying is less stable when the GPS signal is absent. Improve the drone stability by acting on the trims according to the picture below. Setting Forward/Backward Trim: if the drone tends to go forward at take-off, press the Trim Setting button and push the right analogue backwards. -
Page 12: Warranty
CONTROL THROUGH APP Download the App “TWODOTS HARRIER” for iOS and Android from your store of reference. Switch on the drone and connect it to the Wi-Fi network by selecting “TWODOTS HARRIER”. Once you are connected, open the app to start take-off. - Page 13 CONTACTS 2019 Twodots Twodots is a registered trademark of X-Joy Srl. Imported and distributed by X-Joy Srl – Via Sempione, 17 – 21011 Casorate Sempione (VA) The product meets the essential requirements and all provisions of the following European Directives: 2011/65/EU –...
Need help?
Do you have a question about the Harrier and is the answer not in the manual?
Questions and answers