Table of Contents
Advertisement
Quick Links
Advertisement
Table of Contents

Subscribe to Our Youtube Channel
Summary of Contents for YRD Rechargeable Garden Fountain
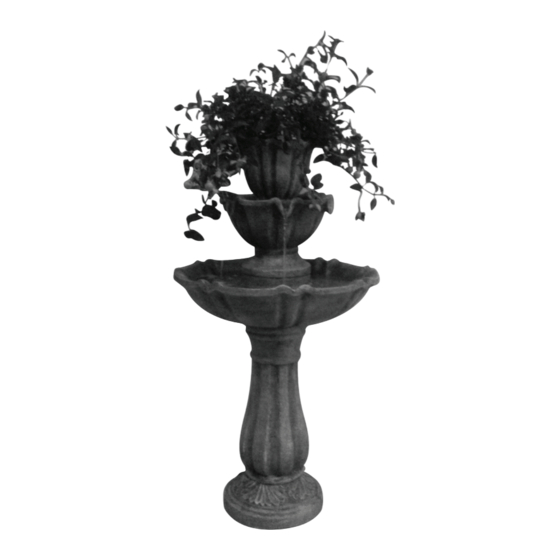
- Page 1 Rechargeable Garden Fountain Worldwide Patents Pending, YRD LLC...
- Page 2 PLEASE READ FIRST BEFORE RETURNING If you have any questions regarding assembly, parts or operating use. PLEASE CALL US FOR ASSISTANCE AT 1-888-648-2011 Our Customer Service Department is available: For 24 hour service please visit our website at www.hydrostore. operate your fountain. You can also email us any questions you have. Our customer service department will follow-up with you within a timely manner.
-
Page 3: Table Of Contents
Table of Contents IMPORTANT BATTERY SAFETY INSTRUCTIONS, READ FIRST 1 What’s in the box? ..............3 Assembling your fountain ............4 Step One: Large Bowl Assembly ..........4 Step Two: Water Pump Assembly ...........5 Step Three: Attaching Fountain Bowl ........7 Step Four: Attaching the Garden Bowl (Optional) ....8 Using Garden Bowl (Optional) ..........9 Setting up your Garden Fountain ........10 Step One: FIlling Your Fountain ..........10... -
Page 4: Important Battery Safety Instructions, Read First
IMPORTANT BATTERY SAFETY INSTRUCTIONS, READ FIRST DANGER: Do not store battery in an airtight container, as it may cause an explosion. WARNING: When using electric devices, basic safety precautions should always the following. PROPOSITION 65 WARNING: Battery posts, terminals and related accessories contain lead and lead compounds, chemicals known to the State of California to cause cancer and reproductive harm. - Page 5 keys. The battery or conductor may overheat and cause burns. The battery contains diluted sulfuric acid, a very toxic substance. If the battery leaks and the liquid inside spills on the skin or clothing, immediately wash it off with plenty of clean with plenty of clean water and consult a doctor.
-
Page 6: What's In The Box
What’s in the box? Before you start assembling your new Rechargeable Fountain, make sure each item below was included with your item. Garden Bowl Base Large Bowl Charger Fountain Bowl Battery Foam Water Seal 3 Rubber Spacers Water Pump Fountain Spouts Rubber Plugs... -
Page 7: Assembling Your Fountain
Assembling your fountain Step One: Large Bowl Assembly you have found the perfect spot for your fountain, place the base upright in the desired area. Place Large Bowl on top of Base. Note the bottom of the bowl has a locking key shape which matches the top of the base. Twist the bowl clock wise, about a ¼... -
Page 8: Step Two: Water Pump Assembly
Step Two: Water Pump Assembly You can rest the Fountain Bowl in the assembled Large Bowl to make water pump assembly easier. Attach the Water Pump to the water tube coming out of the bottom of the Fountain Bowl. Water Pump into the female water tube... - Page 9 Feed the Water Pump power cord into tube in the Large Bowl. Then on the power cord about 7” from the pump slide the Foam Water Seal onto the power cord . There is a slit in the Foam Water Seal which the cord will slide into. Then push the cord and the Foam Water Seal into the power cord tube, effectively sealing the top of the power cord tube.
-
Page 10: Step Three: Attaching Fountain Bowl
Step Three: Attaching Fountain Bowl Set the Fountain Bowl in the middle of the Large Bowl. While attached the Fountain Bowl will hang attached to the water tube inside Fountain Bowl. When the Fountain Bowl is attached, the Water Pump will sit at the perfect level to pump water for your fountain. -
Page 11: Step Four: Attaching The Garden Bowl (Optional)
Step Four: Attaching the Garden Bowl (Optional) The following instructions are for users that would like to use the gardening feature. If you would like to have a fountain spout on the top of your fountain in place of the Garden Bowl, please refer to page 13 for instructions. -
Page 12: Using Garden Bowl (Optional)
Using Garden Bowl (Optional) Your self watering aerating garden fountain is designed to adjust for different types of plants depending on their water requirements. There are four water levels depending on the water requirements of your particular plant. These are adjusted by placing the Rubber Spacers in between the Fountain Bowl and the Garden Bowl. -
Page 13: Setting Up Your Garden Fountain
Setting up your Garden Fountain Step One: FIlling Your Fountain Fill Fountain Bowl until water pours over spouts Fill Large Bowl until water is about 1 inch (2.5 centimeters) from the top of the bowl. Step Two: Installing Battery Plug the red cord to the red receptor on the battery. Then plug the Green cord to the green receptor on the battery. -
Page 14: Step Three: Closing The Battery Compartment
Step Three: Closing the Battery Compartment The fountain’s battery compartment is located in the base, as indicated by the arrow. To close the battery compartment, simply line the bottom of the battery compartment door up with the tracks at the edge of the compartment and slide the door from right to left. -
Page 15: Operating Your Fountain
Operating your fountain The control button is located on the upper side of the Base just below the Large Bowl, above battery compartment. The control is very simple. Press the button once to turn it on. The fountain will run for one hour and then automatically turn off. - Page 16 If you would like to have a dazzling fountain pattern adorning the top of your fountain instead of the Garden Bowl you can use the included Fountain Spouts assembly to have an eye-catching fountain show on the top of your Garden Fountain. Make sure the Garden Bowl is not in place when assembling the water First attach the black extender tube to the middle of the...
-
Page 17: Recharging Your Fountain's Battery
Recharging your fountain’s battery Follow these instructions to recharge your fountain’s battery. Before proceeding, please read Warnings and Important Information on page 1. Plug the battery charger into an electrical wall outlet. Plug the cord running from the battery charger to the black labeled receptor on the rechargeable battery. -
Page 18: Using Optional Rubber Plugs
Using Optional Rubber Plugs If you choose to use the Garden Bowl as a standalone pot for Rechargeable Garden Fountain, you can use the included Rubber Plugs to control how much water is released from the Garden Bowl when watering your plants. -
Page 19: Cleaning & Maintenance
Cleaning & Maintenance Cleaning the Water Pump Remove the front of the water pump by grabbing sides of front and pulling off of the unit. locations inside the Water Pump. Water Pump, water until all debris has been cleared from the Cleaning the Water Pump Impeller Sometimes the impeller (labelled “B”... -
Page 20: Protecting Battery Receptacle While Using Fountain
Protecting Battery Receptacle while Using Fountain To protect the battery from water, insert the fourth Rubber Plug included with your fountain into the black labelled receptacle when the battery is inside the battery compartment. Adjusting Water Pump Power Fountain Spouts is too high, you can adjust the power of the Water Pump to decrease the Fountain Spouts’... - Page 21 Manufactured by El Cajon, California 92020 Telephone: 1-888-648-2011 On the web: www.hydrostore.com Twitter: @yrdllc © Yeiser Research & Development, LLC; 2012. All rights reserved.
Need help?
Do you have a question about the Rechargeable Garden Fountain and is the answer not in the manual?
Questions and answers