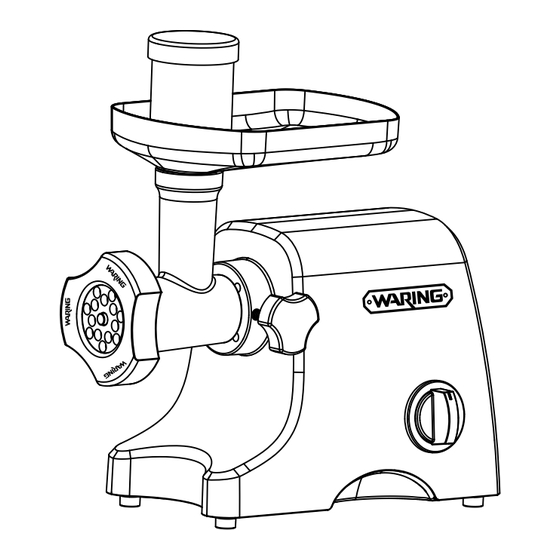
Summary of Contents for Waring MG1200
- Page 1 Professional MeaT GrinDer MG1200 For your safety and continued enjoyment of this product, always read the instruction book carefully before using.
-
Page 2: Important Safeguards
IMPORTANT SAFEGUARDS When using electrical appliances, basic safety precautions should always be followed, including the following: READ ALL INSTRUCTIONS. 2. Unplug from outlet when not in use, before putting on or taking off parts, and before cleaning. 3. To protect against risk of electrical shock, do not immerse main unit or power cord in water or other liquid. - Page 3 17. The use of attachments not recommended or sold by the manufacturer may cause fire, electric shock or injury. 18. Never use abrasive cleaning agents or abrasive cloths when cleaning the unit. 19. Do not use fingers to scrape food away from cutting blade while appliance is in operation.
- Page 4 PARTS 1. Grind/Sausage/Off/ 9. Cutting Blade Reverse Switch 10. Cutting Plate (fine) 2. Locking Knob 11. Cutting Plate (medium) 3. Motor Unit 12. Cutting Plate (coarse) 4. Attachment Opening 13. Sausage Attachment (large) 5. Food Pusher with Lid 14. Sausage Attachment (small) 6.
-
Page 5: How To Use
CUTTING PLATES Fine Cutting Plate – Great for spreads, pates, baby food, and hamburgers. Medium Cutting Plate – Great for ground meat used in soups, or for relishes. Coarse Cutting Plate – Great for ground meat used in chili, or for vegetables. ALL PARTS ARE NOT DISHWASHER SAFE. - Page 6 5. Place a wide, shallow bowl or plate beneath the grinder tube to catch food. 6. Switch appliance to GRIND or SAUSAGE position. The appliance must always be in GRIND or SAUSAGE position before adding food. 7. Place food on the large die-cast hopper and use pusher to feed food through opening.
- Page 7 6. Place large die-cast hopper on top of grinder/feeder head. 7. Turn unit to GRIND or SAUSAGE. 8. Using pusher, slowly feed cubes. 9. Once meat has gone through grinder, turn unit off and unplug. Remove screw ring, cutting plate and cutting blade. NOTE: Meats can be seasoned before or after grinding.
- Page 8 3. Slide casing over the end of the sausage attachment, leaving approximately 2" overhanging the end of the attachment. 4. Place seasoned meat into the large die-cast hopper and turn the switch to sausage. Push the meat into the opening in the large die-cast hopper using food pusher until the mixture appears at the end of the sausage attachment.
-
Page 9: Helpful Hints
If the motor stops, this may be due to jammed food. Immediately switch the appliance to its off position and unplug it from outlet. Press the reset button on the bottom cover to reset. To clear the feed screw, “pulse” the meat grinder in the reverse direction and releasing it quickly three times. -
Page 10: Cleaning And Maintenance
CLEANING AND MAINTENANCE • A lways unplug motor unit when not in use, before inserting or removing parts, and before cleaning. • N ever immerse motor unit in water or other liquid. • W ash all parts except motor unit by hand in hot soapy water, using care when handling the sharp blades. • R inse these parts with clear hot water, then dry. REMOVABLE PARTS ARE NOT DISHWASHER SAFE! • W ipe motor unit with a damp cloth. Do not use harsh or abrasive cleaners. - Page 11 NOTES...
- Page 12 Trademarks or service marks of third parties used herein are the trademarks or service marks of their respective owners. ©2012 Waring Consumer Products 150 Milford Road East Windsor, NJ 08520 www.waringpro.com Printed in China MG1200 IB 12WR132358 IB-11461...


Need help?
Do you have a question about the MG1200 and is the answer not in the manual?
Questions and answers