Advertisement
Table of Contents
- 1 Table of Contents
- 2 Product Composition / Package Contents
- 3 Product Composition / Part Name
- 4 Product Usage / Preparation
- 5 Product Use/ Charge Robot
- 6 Product Use / 5 Cleaning Modes
- 7 Product Use / Pause, Wake-Up and Shutdown
- 8 Product Usage / Time Scheduling Setting
- 9 Product Usage /Water Tank Use
- 10 Component Maintenance /Dust Box
- 11 Component Maintenance /Water Tank and Mopping Pad
- 12 Component Maintenance / Main Brush and Side Brush
- 13 Component Maintenance / Charging Dock Pins, down View Sensor, Drive Wheel and Universal Wheel
- 14 Troubleshooting
- 15 Product Parameter
- 16 Instructions for Remote Control
- Download this manual
Advertisement
Table of Contents

Summary of Contents for Albohes E30B
- Page 2 Safety Regulations Bef ore using this product, please r ead the f ollow ing saf ety instruct ions and f ollow all routine saf ety precautions. Please read the instructions caref ully, please keep the instructions. Any operation inconsistent w ith this instruct ion manual may cause damage t o this Warning: product.
-
Page 3: Table Of Contents
Contents Product Composition / Package Contents ······································································································· 3 Product Composition / Part Name ·················································································································· 4 Product Usage / Preparation ························································································································ 6 Product Use/ Charge Robot ························································································································· 7 Product Use / 5 Cleaning Modes ···························· ······················································································· 8 Product Use / Pause, Wake up and Shut down ······························································································ 9 Product Usage / Time Scheduling Setting ·····································································································... -
Page 4: Product Composition / Package Contents
Product Composition / Package Contents Charging Dock Remote Control (with battery x2) Water Tank Robot Mopping Pads x2 Cleaning Brush Side Brushes x4 Dust Box Instruction Manual Hepa Filter x2 Adapter... -
Page 5: Product Composition / Part Name
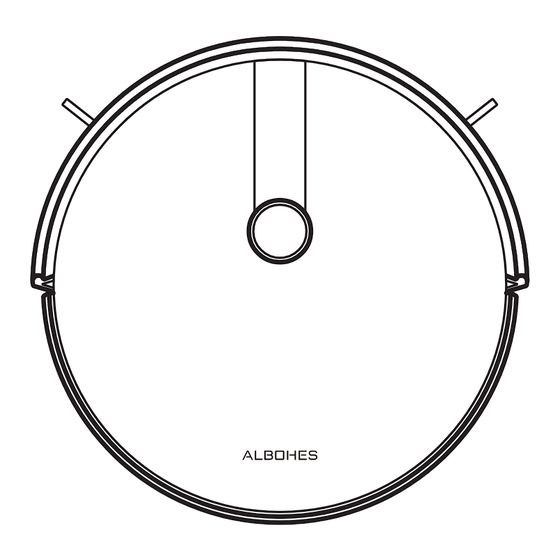
Product Composition / Part Name Front Robot Back Robot Downsense Sensor Side Brush Drive Wheel Dust box Start/Pause Key Surface Cover Om nidirectional Lens Charging Pole Piece Dust Box/Water Tank Button Univers al Wheel Battery Main Brush Assembly... - Page 6 Dust box Charging Dock Signal Indicator High Efficiency Strainer High Efficiency Net Cover Prim ary Filter Strainer DC PIug Dust Box Side Cover Dust Box Metal Sheet Dust Box/Water Tank Conductive Sheet Charging Dock Pins Water Tank and Mopping Pad Assembly Remote Control Screen Display Water Injection Port...
-
Page 7: Product Usage / Preparation
Product Usage / Preparation Before using the Robot, remove the protective strip on the Robot. Remove the protective strip... -
Page 8: Product Use/ Charge Robot
Product Use/ Robot Charging 1. Placing and charging :The chargi ng dock is against the wall 4. Charging: Place the Robot on the charging dock for chargi ng and placed on a flat ground. Do not place articles within the ( the indicator light flashes duri ng charging. -
Page 9: Product Use / 5 Cleaning Modes
Product Use / 5 Cleaning Modes Setting method: Click the remote control mode switch button According to different cleani ng needs, this product has a variety of cleani ng mode to choose from. Y ou can start various cleaning for one time to select the mopping mode. mode by remote control. -
Page 10: Product Use / Pause, Wake-Up And Shutdown
Product use / pause, wake-up and shutdown Pause: Press the switch button on the robot or the button to pause the working. of the remote Wake-up: If the robot stops working for more than ten minutes, it will automatically enter sleep mode ( all the lights will be off). You can wake up the robot by press the switch button on the robot or any key of the remote to restart work. -
Page 11: Product Usage /Water Tank Use
Product Use/ water Tank Use * Do NOT use the floor mopping function on carpets. After mopping the floor, please empty the water tank in time and remove the mopping pad. Add water Install the Water Tank Assembly Install Mopping Pad Start Mopping the Floor... -
Page 12: Component Maintenance /Dust Box
Component maintenance /dust box A. Press the dust box button to take out the dust box C. Dumping garbage B. Open the dust box side cover D. Open the high efficiency net cover... - Page 13 Open the high-efficiency screen cover and take out G. The dust box is scrubbed clean with dishcloth. high-efficiency screen Do not allow water to seep into the fan port when primary-efficiency screen, high-efficiency screen cleaning. does not recommend water washing. Tap gently to remove dust.
- Page 14 H. Dry the dust box and filter assembly, and keep it dry to ensure its service life. Note: It is recommended to wash the primary strainer with water 15 - 30 days after it is used. The maximum service life of the high efficiency filter screen is 3 months.
-
Page 15: Component Maintenance /Water Tank And Mopping Pad
Component maintenance/ water tank and mopping pads 1. Take out the water tank assembly 4. Cleaning Mopping Pad 2. Remove the mopping pad 5. Airing 3. Empty the Water Tank 6. Dry or naturally dry the water tank... -
Page 16: Component Maintenance / Main Brush And Side Brush
Component maintenance / main brush and side brushes 1. Open the main brush cover assembly 3. Utility tool for cleaning tangled hair Cleaning main brush 2. Take out the main brush shaft Cleaning side brush... -
Page 17: Component Maintenance / Charging Dock Pins, Down View Sensor, Drive Wheel And Universal Wheel
Component maintenance / charging dock pins, down view sensor, drive wheel and universal wheel Warm Tip: The i nterior of the charging pole piece, the down-view sensor and the striking plate all contain sensiti ve electronic components, please use dry dishcloth when cleaning, and do not use wet dishcloth to prevent damage caused by water inflow. Clean up charging dock pins Clean drive wheels and universal wheel Clean the down-view sensor... -
Page 18: Troubleshooting
Troubleshooting No. Prompt Tone Cause of Failure Solution Please put the Robot back to the ground and press the Wheels off the ground Robot suspended cleaning key again. Return the dust box to the Robot and press the cleani ng Dust box not installed Dust box removed and not installed key again. -
Page 19: Product Parameter
Product Parameter Classification Projects Parameter Diameter 330 mm Structural class Height 76mm Net weight 2.7 kg Voltage 14.4 volts Battery Battery 2500 mAh rechargeable lithium battery pack Dust box capacity 600 ml Water tank capacity 350 ml Charging type Automatic charging / manual charging parameter Cleaning mode Auto / single room / edge / mop floor... -
Page 20: Instructions For Remote Control
Instructions for Remote Control Auto Cleaning Applicable scenario: The most commonly used cleaning method is that the robot will run zigzag path to clean the whole house. Setting method: Press the automatic cleaning bottom on the remote control, the robot starts auto cleaning. For enter the super suction mode, Press the one more time. - Page 21 Setting method: Click the remote control mode switch button for one time to select the mopping mode. 2. Single Room Cleaning Applicable scenario: Used to cleaning the single room Setting method: Click the remote control mode switch button for two times to select the single room cleaning mode. Warm Tip: When it is only necessary to clean a single room, please close the door and the robot will do centralized cleani ng in the room If this room does not have a charging dock, the cleaning will return to the original point where it starts.
- Page 22 Press the button to set the time scheduling as you need. Press the button ,then press the key to set the of the remote scheduling time. After impress the button ,then the setting is completed. The robot will automatically clean up at the reservation time. PS: Press the the setting button of the remote for 3 seconds to cancel the schedule setting.
Need help?
Do you have a question about the E30B and is the answer not in the manual?
Questions and answers