Table of Contents
Advertisement
Quick Links
Advertisement
Table of Contents

Related Manuals for Phantos LED PAR CAN

Summary of Contents for Phantos LED PAR CAN
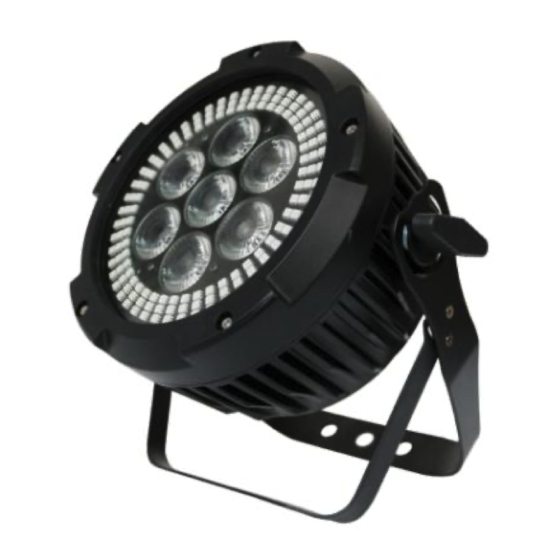
- Page 1 LED PAR CAN 7X12W 6in1 LED+144X0.2W 3in1 LED USER MANUAL Thank you very much for choosing our product. For safety purpose, please read this manual carefully before your operation. This manual included installation and using information. Please install and operate it according to...
-
Page 2: Product Introduction
Part 1 Product 1.1 Product introduction This product is designed for indoor use. Suitable applications include wash or effect lighting for architectural, stage or nightclub applications. This product can also be installed for use in signage and advertising using the dynamic functions available with DMX512 control. -
Page 3: Part 2 Installation
ATTENTION: ● This product left the place of manufacture in perfect condition. In order to maintain this condition and for safe operation, the user must always follow the instructions and safety warnings described in this user manual. ● Avoid shaking or strong impacts to any part of the equipment. ●... -
Page 4: Part 3 Display Panel Operation
☆ If the controller is 5-pin output, it’s necessary to use an adaptor to transfer signal from 5-pin output to 3-pin XLR-plug or you can connect cables as following: PART 3 Display Panel Operation 3.1 Disp la y panel menu instruction [MENU] menu selection or return to previous menu. - Page 5 3.3 DMX Channel instruction 16CH 28CH Function Value Instruction Master 0-255 Master Dimmer, Dark to Bright Dimmer 0-255 Inner Dimmer,Dark to Bright In-Dimmer Ex-Dimmer 0-255 External Dimmer,Dark to Bright 0-19 No function Strobe 20-199 Normal strobe 200-249 Random strobe 250-255 No function 0-31 No funciton...
- Page 6 192-223 Auto 6, speed from slow to fast 224-255 Sound,Sensitivity low to high 0-31 No Fuction 32-63 Auto 1, speed from slow to fast 64-95 Auto 2, speed from slow to fast 96-127 Auto 3, speed from slow to fast Ex-Auto 128-159 Auto 4, speed from slow to fast...
- Page 7 210-229 White 1:3500K 230-249 White 2:6500K 250-255 White 3:10000K Ex2-macro CH14 CH14 color Same as above Ex3-macro CH15 CH15 color Same as above Ex4-macro CH16 CH16 color Same as above External 1, Red dimming, dark to CH17 Ex1-Red 0-255 bright External 1, Green dimming, dark CH18 Ex1-Green...
-
Page 8: Part 4, Troubleshooting
to bright External 4, Blue dimming, dark to CH28 Ex4-Blue 0-255 bright Part 4, Troubleshooting 4.1 Troubleshooting list for some common electrical problems may happen during use: Phenomenon Solution * The fixture does not * Check main power fuse & power cable work connection * No light out... -
Page 9: Part 5, Maintenance
short circuit or burnt. Use a metal cable connect the two points which be marked with correspondent color such as R+, R-, G+, G-, B+, B- to check whether it is short circuit one by one. ☆ If there is no voltage, that’s mean the connection cable between lamp PCB and main PCB is short circuit and just need to replace that connection cable.
Need help?
Do you have a question about the LED PAR CAN and is the answer not in the manual?
Questions and answers