
Summary of Contents for Precision GTX 36
- Page 1 Precision GTX 36 User Manual WARNING: PLEASE FOLLOW ALL ASSEMBLY INSTRUCTIONS AND READ AND UNDERSTAND THE OPERATING INSTRUCTIONS BEFORE YOU OPERATE THE CADDY www.precisiongolftrolleys.co.uk...
-
Page 2: Packing List
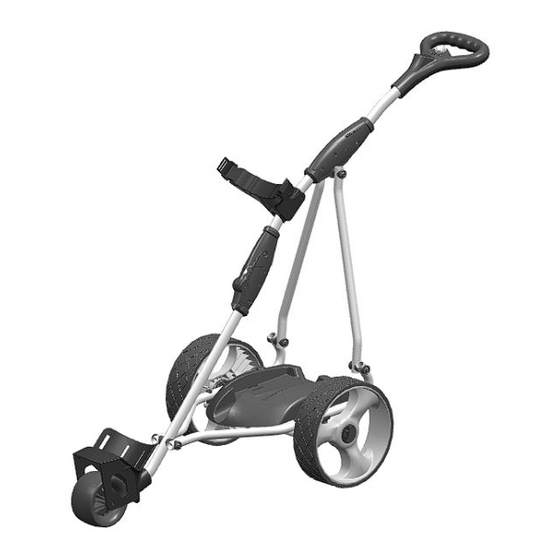
1. Packing List Standard Parts • 1 x Caddy Frame • 2 x Rear Wheels • 1 x Battery Pack (Battery, Bag, Leads) • 1 x Charger • 1 x Tool kit • Transport Bag • Umbrella holder • Rain cover •... - Page 3 2. Assembly Instructions 1. Unpack all items carefully and check the inventory. Place the frame structure (one piece) on clean ground for protection. (See photos below). FOLDING STEPS: 3. The wheels have a built in freewheel mechanism. This works by making sure that each wheel left or right is on the correct side, the wheels have a sticker with ‘L’...
- Page 4 4. Attach the wheels to the axles by pushing the wheel locking button (see arrow photo) on the outside of each wheel and inserting onto the axle. Make sure to keep the locking button on the outside of the wheel pushed in during this process, in order to enable the two axle pins, to be inserted all the way into the wheel.
- Page 5 3. Handle Control 1. New Cruise and Stop Function: BUTTON ► Has two separate functions (similar to a mobile phone POWER - If held for 1 second works as an ON/OFF button. operation) SPEED SETTING Using the rotary speed knob control will let you choose your preferred speed to suit your space perfectly.
- Page 6 4. Operating Instructions 1. Battery Use and Care PLEASE READ THESE PRECAUTIONS FOR BATTERY USE & CHARGING a) Please do not charge the battery in a sealed container or in upside down position. It is recommended to charge the battery in a well ventilated area. b) Please do not charge the battery near a heater, or where heat accumulation may occur or in direct sunshine.
-
Page 7: General Maintenance
The steps below will ensure that you get a prolonged and reliable life out of your golf trolley. 1) Precision golf trolleys have been designed so that the user can concentrate on playing golf, while the trolley does the work of carrying your bag. In order to keep your golf trolley looking at its best, we advise that you wipe any mud or grass from the frame, wheels and chassis after every round with a damp cloth or paper towel. -
Page 8: Troubleshooting Guide
6. Trouble Shooting Guide Symptom Action Trolley does not have power: check fuse in the battery case check all wiring connections and plugs Inside the handle there are a plugs also check battery charge Motor is running but wheels don’t turn check if wheels are secured to axle by split pin check right and left wheel position Trolley pulls to left or right...
Need help?
Do you have a question about the GTX 36 and is the answer not in the manual?
Questions and answers