Advertisement
Manual Gallagher Garden & Pond kit B10 (072330)
Content
Garden & Pond Kit B10 Roadmap ........................................................................................................... 2
Planning .............................................................................................................................................. 2
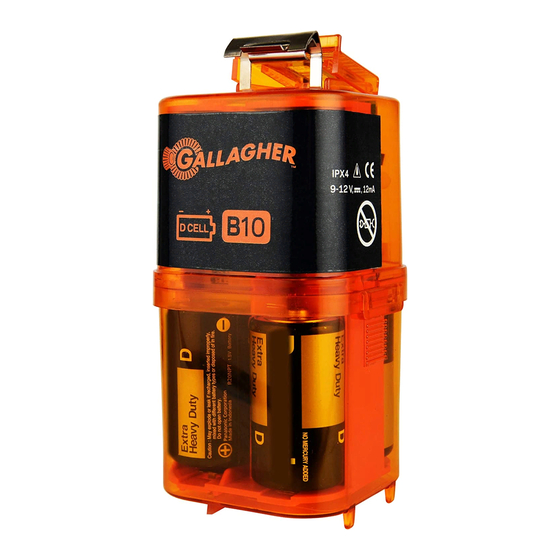
Contents of the kit .............................................................................................................................. 2
Determine the type of fence ............................................................................................................... 2
Electric fence for garden, yard, ponds or around the aviary .................................................................. 2
Step 1 - Placing the posts ................................................................................................................... 2
Step 2 - Determine the desired height of your fence ......................................................................... 3
Step 3 - Assemble the wire ................................................................................................................. 3
Step 4 - Installation of the electric fence device ................................................................................ 4
Step 5 - Warning sign .......................................................................................................................... 6
Useful tips ............................................................................................................................................... 6
For a successful training of your pet, follow these 3 steps. ................................................................ 6
Important information ............................................................................................................................ 6
Advertisement
Table of Contents

Summary of Contents for Gallagher B10
- Page 1 Manual Gallagher Garden & Pond kit B10 (072330) Content Garden & Pond Kit B10 Roadmap ......................2 Planning .............................. 2 Contents of the kit ..........................2 Determine the type of fence ....................... 2 Electric fence for garden, yard, ponds or around the aviary ..............2 Step 1 – Placing the posts ........................
- Page 2 Note. The B10 Garden & Pond kit is less suitable for a plus/minus application. We recommend the Gallagher M10 Garden & Pond Kit for such a system. For a further explanation of the plus/minus fence, consult the online manual of the Gallagher Garden & Pond Kit M10 (article number 072347) on www.gallagher.eu.
- Page 3 Tip: To make the fence extra stable, place a (small) wooden pole (X) in the ground as the starting and finishing pole. You will find a suitable wooden pole at your local garden centre or hardware store. If you use a wooden post as a start and end post, screw the supplied ring insulator (C) into the post at the desired wire heights.
- Page 4 (1A) in the housing. Put the battery housing back. It is also possible to connect the B10 to a 12Volt battery, for which a separately ordered 12 V Battery adapter kit (1B) is required (item no. 004747).
- Page 5 Press the adapter kit contacts firmly against the spring contacts (1D) in the housing. Put the battery housing back and route the wires from the adapter kit under the ground contact to (1E) outside. Route the wire between the 3 plastic bars (1F) and behind the plastic clip to the bottom of the electric fence device.
- Page 6 Use 2 small plastic cable connectors (not supplied) to do this. To properly test the device and the operation of the fence, we recommend that you consider purchasing a voltage tester. For the voltage testers, see the gallagher.eu webshop. No electric impulse?
Need help?
Do you have a question about the B10 and is the answer not in the manual?
Questions and answers