Advertisement
Available languages
Available languages
Quick Links
Advertisement

Related Manuals for Microsonic TEL2911

Summary of Contents for Microsonic TEL2911
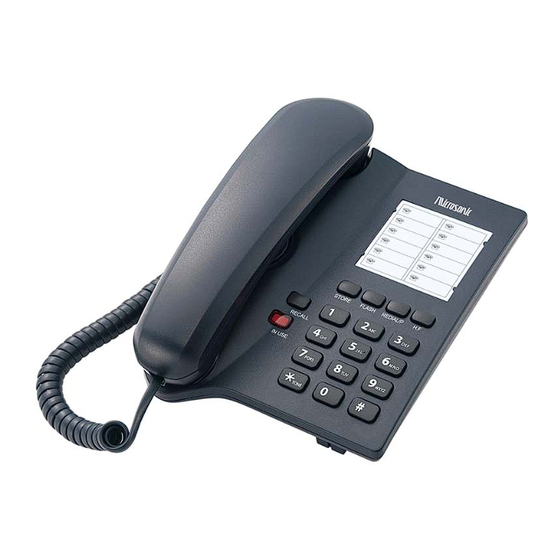
- Page 1 TELÉFONO DE MESA Modelo TEL2911...
- Page 2 INTRODUCCIÓN Agradecemos la compra de nuestro producto, el cual permite un excelente trabajo y una seguridad excepcional. Su teléfono está diseñado para proporcionarle flexibilidad de uso y un desempeño de alta calidad. Para obtener el máximo rendimiento de su teléfono, sugerimos dedique unos pocos minutos para leer este manual de manejo para familiarizarse con todas las características del producto.
- Page 3 DESCRIPCIÓN DE UBICACIÓN REDISCADO/P 4. EN ESPERA 7. EN USO LED 10. MODO (P/T) 2. ALTA FIDELIDAD 5. ALMACENAJE 8. LÍNEA 3. LLAVE NUMÉRICA 6. RE`PETIR DISCADO 9. TIMBRE (ALTO/BAJO)
-
Page 4: Instalación
INSTALACIÓN Enchufe un extremo del cable en el conectador marcado “LINE” en la base del teléfono y el otro extremo en el enchufe de la pared. Conecte el micrófono en la base del teléfono con el cordón enrulado. Seleccione el volumen de su preferencia (Alto o Bajo) Coloque el dial para APRETAR o BUSCAR TONO de discado según su red local. - Page 5 FLASH y REDIAL/P para volver a discar el número nuevamente. PAUSA Al discar, presione la tecla REDIAL/P para insertar un tiempo de pausa de 3.6s entre los números discados. P-T SWITCH (INTERRUPTOR P-T) Deslice el switch al costado del teléfono a T (TONO) o P (PULSE) para seleccionar el modo de discado. CAMBIO DEL DISCADO DE PULSO Y TONO Cuando está...
-
Page 6: Desk Phone
DESK PHONE Model TEL2911... - Page 7 INTRODUCTION Thank you for purchasing our product which adopts excellent workmanship and exceptional reliability. Your telephone is designed to give your flexibility in use and high quality performance. To get the most from your new telephone, we suggest that you take a few minutes to read through this instruction manual to familiarize yourself with all the features of the product.
- Page 8 LOCATION DESCRIPTION...
- Page 9 INSTALLATION Plug one end of the line cord into the connector marked “LINE” on the base of the telephone and the other end into the wall socket. Connect the handset to the base of the telephone with the curly cord. Select your preferred ringer volume (High or Low).
-
Page 10: Troubleshooting
REDIAL/P to dial the number out again. PAUSE When dialing, press REDIAL/P key to insert a 3.6s pause time between dialed numbers. P-T SWITCH Slide the mode switch on the side of the telephone to T (TONE) or P (PULSE) to select dialing mode. PULSE AND TONE DIALING SWITCHABLE When it is at pulse dialing mode, you can press * key to change pulse to tone dialing mode. - Page 11 Microsonic o a un distribuidor o subdistribuidor autorizado de productos Microsonic y siempre que este producto hubiere sido adquirido en la República Oriental del Uruguay. Si durante el periodo de garantía este producto ofreciera inconvenientes o desperfectos o su funcionamiento fuese defectuoso, el usuario podrá...
Need help?
Do you have a question about the TEL2911 and is the answer not in the manual?
Questions and answers