Table of Contents
Advertisement
Quick Links
Introduction
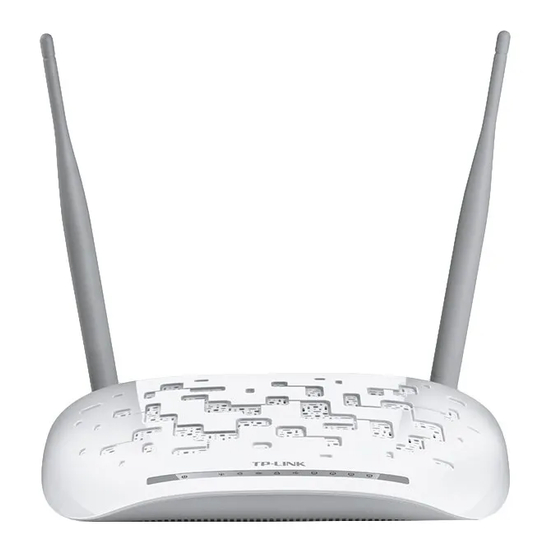
This document is to instruct you how to install the Sharedband firmware on a TP-Link W8968
Note: This guide assumes that the TP-Link has stock firmware Installed.
Preparation
Make sure you have the current Sharedband Firmware (Available from the NOC or the Support
Team).
The Procedure
Step 1: Throw the TP-Link CD in the Bin as this is no longer needed, and remove the "Run CD
First" Label from the LAN Ports
Step 2: Ensure that your PC/Laptop has a static IP of 192.168.1.10
Step 3: Ensure the power button is OFF and plug the router in to the mains.
Step 4: Using a pin, depress the reset button. Keeping the reset button depressed, turn on the
power. Ensure that the reset button is depressed for a minimum of 10 seconds.
Step 5: Plug your PC/Laptop into one of the LAN ports on the router.
Sharedband Bonded Broadband
TP-Link W8968 Flashing Guide
Advertisement
Table of Contents

Summary of Contents for TP-Link W8968
- Page 1 Team). The Procedure Step 1: Throw the TP-Link CD in the Bin as this is no longer needed, and remove the “Run CD First” Label from the LAN Ports Step 2: Ensure that your PC/Laptop has a static IP of 192.168.1.10 Step 3: Ensure the power button is OFF and plug the router in to the mains.
- Page 2 Step 6: Log onto the Web interface of the router (192.168.1.1) Step 7: Browse to the firmware file (Sharedband_V2.33_TP_Link_W8968.bin). Once selected, click Update Software Step 8: When you see the “New software is being programmed” message, wait 3 minutes. Step 9: Reset your PC/Laptop IP settings to detect automatically, and then check the success by logging onto the newly flashed router (http://192.168.3.17) username: admin password: Bonding123 and click “Sharedband”...


Need help?
Do you have a question about the W8968 and is the answer not in the manual?
Questions and answers