Table of Contents
Advertisement
Quick Links
Advertisement
Table of Contents

Subscribe to Our Youtube Channel
Related Manuals for Jamara 404603


Summary of Contents for Jamara 404603
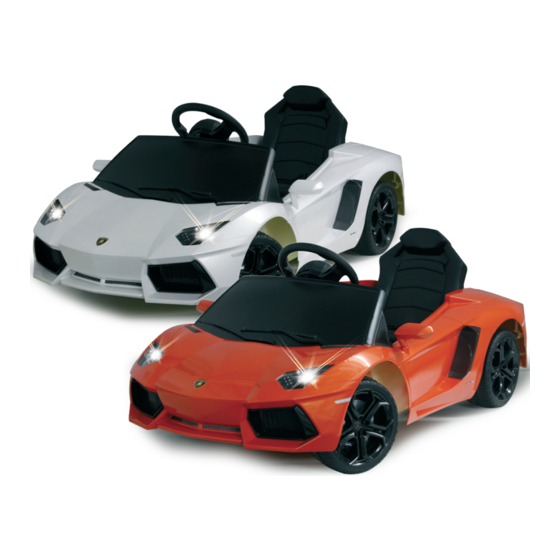
- Page 1 Frei verwendbar in | Permitted in: Utilisable en | Omologato in: Autorizado en: EU/CH Lamborghini Aventador LP 700-4 Instruction Ord. No. white 404603 40 MHz orange | orange | orange | arancione | naranja 404605 27 MHz LADEZEIT CHARGING TIME ~ 8-12 h...
-
Page 2: Table Of Contents
Safety Information General Information Certificate of Conformity As the company JAMARA e. K. has no influence over the use, JAMARA e.K. hereby declares that the model‚ „Lamborghini maintenance or conditions under which our products will opera- Aventador LP 700-4, No. 404603, No. 404605, No. 404615“ fol-... -
Page 3: Safety Information
IMPORTANT - Security instructions - Please keep after reading Suitable for ages 3 - 6 years. • The Ride On Car should not be used in rooms or halls with high (Assuming a normal development of motoric skills and sensory humidity, in the rain or on wet surfaces. -
Page 4: Technical Data | Box Contents | Highlights
Box contents: Accessories: Highlights: • Model • Transmitter: • Forwards/reverse • Transmitter 1 x 9 V battery • Left/right • Battery pack Ord. No. 14 0004 • Stop • Charger 230 V • Connecting external audio sources • 2 Keys •... - Page 5 Description Picture Pieces Description Picture Pieces Steering wheel Chassis No. 404668 Rearview mirror Windshield No. 404697 Wheel Wheel cap No. 404696 No. 404646 Seat Audio Cable...
- Page 6 Picture Description Pieces Description Picture Pieces Charger Battery No. 404677 No. 404620 Battery cover No. 404649 Clip Wheel drive No. 404651 No. 404650 Washer Battery backup No. 404652 No. 404674 Safety pin Screw No. 404654 No. 404653 Transmitter No. 404675, 27 MHz No.
-
Page 7: Assembly
Assembly To put in on the axis press the clip ends together. Cut through the cable strap and dispose of. Mounting the wheels 1. Remove the safety cover (22) from the front axle. 2. Place the washers (15), wheel hub (14), wheels (5), clips (13) and the hub caps (6) as shown together and press it firmly on the axle. - Page 8 Battery position Akku Battery Voltage Jack Motor interface Mounting the battery 1. Place the battery (10) into the battery position. 2. Secure the battery fuse (16) with two screws (18). 3. Connect the battery with the connectors. Connect only connectors of the same kind. The plugs have to be put together without much effort.
- Page 9 Assembly of seat 1. Place the seat (7) in the mounting position, hook the front pins into the grooves. 2. To lock the seat, push down vertically and press the button behind the seat. To remove the seat, work the opposite way. Note: The seat is equipped with a belt, this is intended only for decorative purposes and may not be used to protect a child.
- Page 10 Fully assembled Placing the battery in the transmitter Open the battery cover on the back of the transmitter and put the 9 V battery making sure that it is corectly put in. Then close the cover. 1. Battery 2. On- Off switch Charging 1.
- Page 11 Storage compartment Key hole Gear shift Light on/off Spare switch is under the dashboard Radio controlled/Manual mode switch Volume switch Audio Socket Pedal switch Insert the key into the ignition lock and turn it around until it locks. slide down a turn on. The vehicle can be operated either when Forward: the ignition lock or the on-off switch is turned on.
-
Page 12: Troubleshooting
All rights reserved. Copyright JAMARA e.K. 2013 Copying or reproduction in whole or part, only with the expressed permission of JAMARA e.K. 1 Blown fuse 2 Self-recovery fuse Overvoltage Protection Note: The fuse must not be bridged. 1. The overvoltage protection is placed under the driver‘s seat.
Need help?
Do you have a question about the 404603 and is the answer not in the manual?
Questions and answers