Advertisement
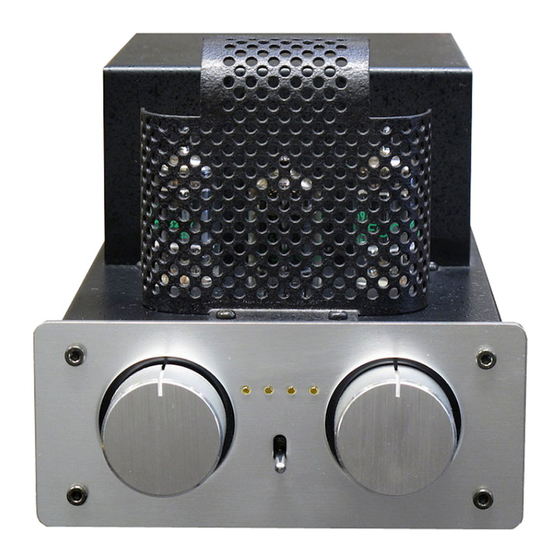
Hybrid Stereo Pre-amplifier
TU - 875
Assembly Instruction Manual
Features
This is a simple preamplifier without tone control. The pre- amplifier has a volume and
balance control, a phono equalizer and a MC head amp. It is also compatible with /
a MM/MC cartridge.
A hybrid construction using J-FET with a MC head amp and equalizer to give a low
noise effect without compensating the quality of music produced by the tubes.
An AC adapter (DC 7V stabilized power outlet) is separate and is used as a power
supply. A secondary power for the vacuum tubes is supplied by a steady DC 200V
from the DC-DC converter of a sealed box. With the main body and power supply
separated, the electromagnetic hum-noise is reduced.
The pop noise muting circuit uses a relay method rather than an analog switch to
prevent sudden large amplitude response of the tubes. The LED light, which indicates
power input, will blink from power on to muting cancellation.
LINE-1 and LINE-2 are compatible with monophonic sources. When plugged into the
L-side alone, the R-side will be automatically turned on.
A printed circuit board is included f or easy assembly .
Content
Cautions
Necessary Tools
3.Wiring, assembly, operation check,
and usage
CAUTIONS
Do not work near any source of w ater or allow any components to get wet which may cause fire and electric shock.
Do not put containers with w ater on the work table such as v ases, cups, cosmetics, and drugs. Spilling water on components
will cause fire and electric shock.
Keep out of reach of small children during assembly, usage and storage. Please discard packing waste and any waste from
assembling the kit according to social standard for safety and protection of the en viroment.
Read the "Assembly Instruction Manual" carefully and be sure to f ully understand the instructions bef ore assembling.
Be careful when handling tools; diagonal cut ters, pen knives, and other sharp tools in particular.
Do not work near y oung children due to safety concerns. Children must not play with tools, plastic bags and electronic parts as they
may cause harm.
Some essential pieces in this kit include small and sharp objects that are made of glass or metal. Be extremely careful. If by
an y chance a child has swallowed any of these items, immediately consult a medical doctor.
This product and its components may differ without notice.
Please k eep this instruction manual handy at all times.
ƒ
NECESSARY TOOLS
Soldering iron(15~30W)
Screwdriver
(No.2)
EK JAPAN 1999
has a volume and
compatible with /
lizer to give a low
ced by the tubes.
s used as a power
a steady DC 200V
and power supply
n analog switch to
ht, which indicates
n plugged into t he
1
1
2
3
6
14
16
For your own safety, please read the "Assembly Instruction Manual" carefully
before you begin assembing this preamp kit.
Please follow the instruction step by step for correct assembly.
Solder
(
0.8~1.0mm)
Pen Knife
Scissors
EK JAPAN CO . , LTD.
Diagonal-Cutter
Solder Stand
Hexagonal wrench (1.5mm E2.5mm)
2-19-30, Tofuro-Minami, Dazaifu City, Fukuoka, 818-0105, Japan
1
Lot.No.
www.cnamusic.com
Long Nose Pliers
Multimeter
EK JAPAN's homepage: www.elekit.co.jp
E-mail: info@elekit.co.jp
875-06
Advertisement
Table of Contents

Related Manuals for Elekit TU-875

Summary of Contents for Elekit TU-875
- Page 1 Soldering iron(15~30W) Solder Solder Stand Long Nose Pliers 0.8~1.0mm) Multimeter Hexagonal wrench (1.5mm E2.5mm) Pen Knife Scissors Screwdriver (No.2) EK JAPAN CO . , LTD. 2-19-30, Tofuro-Minami, Dazaifu City, Fukuoka, 818-0105, Japan EK JAPAN 1999 EK JAPAN's homepage: www.elekit.co.jp E-mail: info@elekit.co.jp...
- Page 2 2. Circuit Board Assembly * The double-sided circuit bard is a through-hole circuit board. be very careful when assembling the parts and make sure they are in the cirrect marked position. Once a component has been soldered, it is very difficult to remove. If it is necessary to remove a soldered component, be sure to use a solder wick or a solder sucker.
Need help?
Do you have a question about the TU-875 and is the answer not in the manual?
Questions and answers