Table of Contents
Advertisement
Quick Links
Instruction
#
1001966B
Assembly and Usage Instructions
NOT WARRANTEED AGAINST MISUSE, ABUSE, OR COMMERCIAL USE.
Limited Warranty
Every Caldwell product is warrantied to be free of defects in materials and workmanship for a period of one (1) year from the date of original purchase.
Caldwell will, at its option, repair or replace without charge, except for transportation costs, parts that fail under normal use and service when operated and
maintained in accordance with our Instructions.This warranty does not apply to normal wear or to items whose life is dependent upon their use and care.
This warranty is in lieu of all other warranties, expressed or implied and releases Caldwell, its affiliates, and its vendors from all other obligations and liabilities.
STOP! If you have a problem with your Shootin' Gallery, DON'T RETURN THIS PRODUCT TO
THE STORE WHERE YOU PURCHASED IT. Contact customer service for assistance at...
Battenfeld Technologies, Inc. / 5885 W. Van Horn Tavern Rd. / Columbia, MO 65203
573-445-9200 / www.caldwellshooting.com / Email: sales@battenfeldtechnologies.com
Advertisement
Table of Contents

Related Manuals for Caldwell Shootin' Gallery

Summary of Contents for Caldwell Shootin' Gallery
- Page 1 Limited Warranty Every Caldwell product is warrantied to be free of defects in materials and workmanship for a period of one (1) year from the date of original purchase. Caldwell will, at its option, repair or replace without charge, except for transportation costs, parts that fail under normal use and service when operated and maintained in accordance with our Instructions.This warranty does not apply to normal wear or to items whose life is dependent upon their use and care.
- Page 2 SAFETY PRECAUTIONS Instructions read left to right, top to bottom. WARNING! READ THESE INSTRUCTIONS IN THEIR ENTIRETY BEFORE USING THIS PRODUCT. FIREARMS SAFETY Always follow the four fundamental rules of firearms safety: 1.Assume every gun is loaded. 2.Never let your muzzle cross anything you are not willing to destroy. 3.Know your target and what’s beyond it.
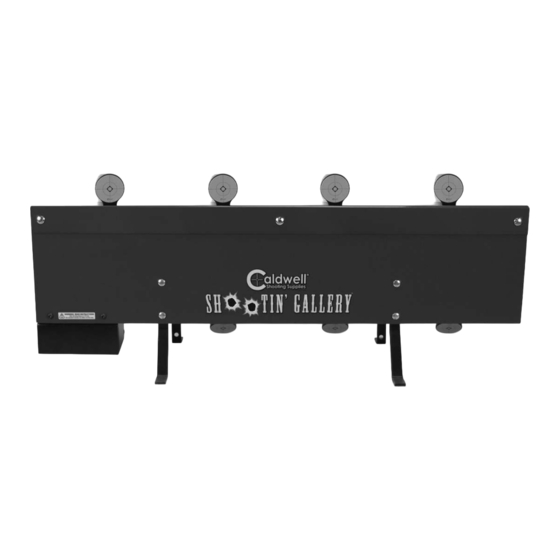
- Page 3 IDENTIFYING ALL THE COMPONENTS Thank you for purchasing a Caldwell Shootin’ Gallery. Please take a moment to locate all of the parts shown in the photos below. Be careful not to damage parts as they are removed from the packaging. Avoid damage to the leads on the electric motor.
- Page 4 ASSEMBLY Place the Drive System next to the Motor Cover as shown in Photos D, E, F, and G. Avoid damage to the motor leads when installing the Drive System. Assemble Note: A clean workbench or old table will make four M6 Button Head Screws and Lock Nuts.
- Page 5 PHOTO G PHOTO I STEP 5: P-Clamp Assembly and STEP 3: Assembling the Back Cover Wire Harness Routing Assemble the Back Cover (986231) to the Legs as There are three P-clamps (1000750) to organize the shown in Photo H. If the holes are not aligned well, motor wires as shown in Photo J.
- Page 6 STEP 7: Assembling the PHOTO N Battery Box to the Front Wall Assemble the Battery Box (1000374) to the Front Wall using two M6 Button Head Screws(1000741) and two M6 Lock Nuts (1000743). Tighten nuts. Photo L. PHOTO L Connect one end of the Fuse Holder (1000521) to one of the connectors on the switch.
- Page 7 Make sure the switch is turned OFF. Carefully PHOTO P connect the Red Wire to the Red battery ter- minal and the black wire to the black battery terminal. Place the Battery in the Battery Box and replace the access panel and secure with the wing bolt. Make sure wires are not pinched when replacing the access panel.
- Page 8 of the Shootin’ Gallery. (If not, check the battery connections.) 5. Return to the firing line, and when it is safe to do Tab A so, fire at the targets. As a round strikes the target, it will tip back out of sight. As the targets return to their starting position, they will automatically reset.
Need help?
Do you have a question about the Shootin' Gallery and is the answer not in the manual?
Questions and answers