Table of Contents
Advertisement
Quick Links
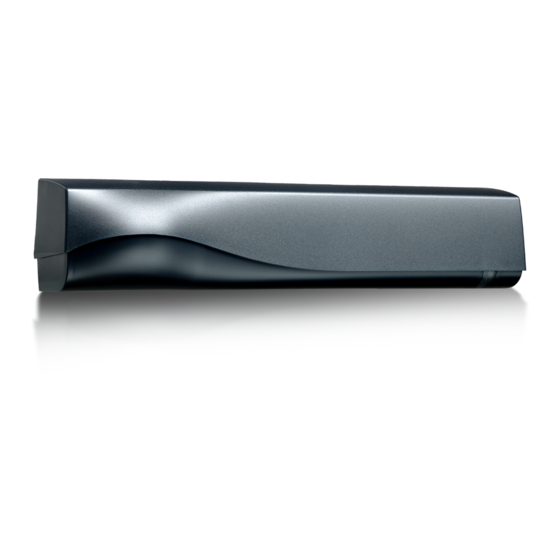
DESCRIPTION
1
2
3
4
ACCESSORIES
BA: Bracket accessory
1.
radar antenna (narrow field)
2.
radar antenna (wide field)
3.
IR-curtain width adjustment
4.
IR-lenses
5.
cover
CA: Ceiling accessory
RA: Rain accessory
IXIO-D CAN
OPENING & SAFETY SENSOR
FOR AUTOMATIC SLIDING DOORS
(according to EN 16005 and DIN 18650,
including emergency exits)
User's Guide for product version 0202 and higher
See product label for serial number
6.
main connectors
7.
push button
8.
DIP-switch
9.
IR-curtain angle adjustment knob
5
6
7
8
9
CDA: Curved door
accessory
Advertisement
Table of Contents

Related Manuals for BEA IXIO-D CAN

Summary of Contents for BEA IXIO-D CAN
- Page 1 IXIO-D CAN OPENING & SAFETY SENSOR FOR AUTOMATIC SLIDING DOORS (according to EN 16005 and DIN 18650, including emergency exits) User’s Guide for product version 0202 and higher See product label for serial number DESCRIPTION radar antenna (narrow field) main connectors...
- Page 2 LED-SIGNAL Presence Motion detection detection LED flashes LED flashes LED flashes LED flashes LED is off quickly red-green x times INSTALLATION The sensor should be Do not cover the sensor. Avoid moving objects Avoid highly fixed firmly to avoid and light sources in reflective objects in extreme vibrations.
- Page 3 IXIO-D CAN: INSTALLATION GUIDE MOUNTING & WIRING GREEN POWER SUPPLY BROWN YELLOW CAN HIGH WHITE CAN LOW Plug the connector with the WHITE and GREEN wires on top towards the sensor cover. RADAR OPENING IMPULSE FIELD field size: 9 field size: 9...
- Page 4 INFRARED SAFETY FIELD DOOR CLOSER max. 9 cm** AWAY If necessary, adjust the IR-curtain Activate the visible* spots to verify angle (from -7° to 4°, default 0°). the position of the IR-curtain. * Visibility depends on external conditions. When spots are not visible, use the Spotfinder to locate the curtains. ** The distance between the inner curtain of the inside door sensor and the inner curtain of the outside door sensor should always be smaller than 20 cm.
- Page 5 On the last sensor of the chain, adjust DIP-switch 5 to ON. The orange LED next to the DIP-switch will be on permanently. SENSOR 1 SENSOR 2 SENSOR 3 DOOR CONTROLLER BEA REMOTE CONTROL Select value Lock Select parameter Unlock PRESETTINGS...
- Page 6 SETUP / FACTORY RESET STEP OUT OF THE INFRARED FIELD! SETUP 1 (QUICK) reference picture SETUP 2 (ASSISTED) test of full door cycle + reference picture complete reset to factory values FACTORY RESET OVERVIEW OF SETTINGS small > > > >...
-
Page 7: Troubleshooting
TROUBLESHOOTING The ORANGE LED flashes DIP-switch setting awaiting Cut and restore power to confirm the DIP-switch setting quickly. confirmation. The sensor signals ORANGE LED flashes 1 x. Replace sensor. an internal fault. ORANGE LED flashes 2 x. The power supply is too Check power supply low or too high. -
Page 8: Technical Specifications
All values measured in specific conditions and in a temperature of 25°C. BEA SA | LIEGE Science Park | ALLÉE DES NOISETIERS 5 - 4031 ANGLEUR [BELGIUM] | T +32 4 361 65 65 | F +32 4 361 28 58 | INFO@BEA.BE | WWW.BEA-SENSORS.COM BEA hereby declares that the IXIO-D CAN is in conformity with the basic requirements and the other relevant provisions of the directives 2014/53/EU, 2006/42/EC and 2011/65/EU.
Need help?
Do you have a question about the IXIO-D CAN and is the answer not in the manual?
Questions and answers