Advertisement
Advertisement
Table of Contents

Summary of Contents for LewanSoul LX-16A
- Page 1 LX-16A Bus Servo User Manual...
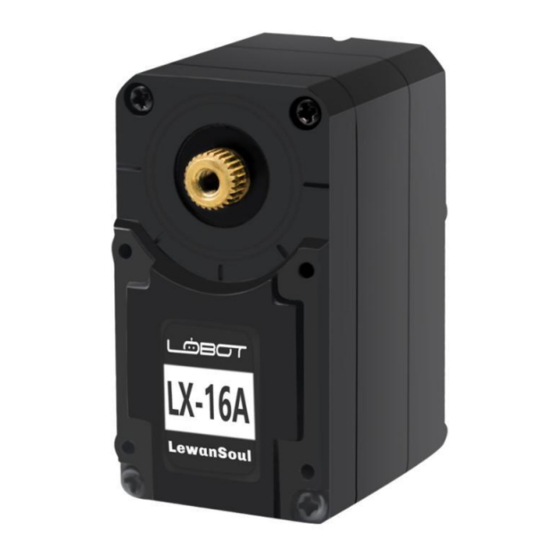
- Page 2 Overview LX-16A serial bus intelligent servo is the integrated servo which is a set of motor, servo drive, serial bus communication interface and sensor, it is mainly used for micro-robot joints, wheels, crawler drive, it can also be used for other simple control occasions.
-
Page 3: Table Of Contents
Catalog Catalog............................... 3 Main function introduction......................... 4 Structure diagram..........................5 TTL/USB Debug Board........................6 1.Brief introduction........................6 2.Install driver..........................6 3.The introduction of the debug board..................7 4.Connection diagram......................... 8 Bus Servo Debug System........................9 1. Brief introduction........................9 2. Installation..........................9 3. Function introduction......................10 4. -
Page 4: Main Function Introduction
(2)The servo can be rotated continuously for 360 degrees, you can control the direction and speed of rotation. 7.Compact design Relative to other bus servo on the market, LX-16A with short shell and short body design. The compact structure makes the designed robot more exquisite and makes the robot products more bionic. -
Page 5: Structure Diagram
ball bearing and assistant ball bearing, powered by the servo to drive the rotation of the bracket, so that the robot joint can move steadily. 9.Metal gear The high-speed output of the Internal DC motor , obtain a greater torque through the 5-stage reduction ratio. -
Page 6: Ttl/Usb Debug Board
TTL/USB Debug Board 1. Brief introduction Because the bus servo is using our private protocol, so you need to connect our debug board to control bus servo no matter what single chip you are using(we provide communication protocol). No matter how many bus servos you need to control, all you need to use is a debug board. -
Page 7: The Introduction Of The Debug Board
TXD and RXD of the single chip . (LX-16A servo has three wires, positive, negative and signal wire respectively. This signal wire can receive and send data at the same time. It's too much trouble If we want to use the single chip to control the bus servo. -
Page 8: Connection Diagram
4.Connection diagram... -
Page 9: Bus Servo Debug System
Bus Servo Debug System 1. Brief introduction You can set the ID number, working modes, rotation speed, rotation range,the state of the LED lights (off/on), you can also set the over temperature alarm, over voltage alarm and stall alarm for bus servo. Setting ID number is the necessary step before using each servo. -
Page 10: Function Introduction
3. Function introduction Main Interface Basic operation interface After you connect to the computer, select "COM3" (COM3 will appear when the connection is normal), the baud rate is the default value, and then click "Open Port", the left indicator light turns green, indicating the connection is successful (The blue light on the top of the bus servo will always light, indicating everything is normal). - Page 11 Fill in the ID of the servo you want to control, the default value is 1, range 0 ~ 253, you can only control one servo at the same time. Two modes: servo mode and motor mode In Servo Mode, Position: you can drag the slider to make servo rotates ,the faster you drag, the faster the servo rotates...
-
Page 12: Parameter Setting
4. Parameter setting Switch to the “Parameter” interface by clicking the Parameter icon. Sets the ID number for the currently controlled servo Adjust servo deviation The default value of the servo rotation range is 0 to 240 degrees. Changing this value allows you to adjust the rotation range of the servo. - Page 13 Select whether to turn on the LED When the servo is running normally, the blue light is on and the blue light flashes when over heat, over voltage or locked-rotor occurs. Tick to determine whether the light will alarm the selected status. Set the voltage alarm range, the light will flash alarm...
-
Page 14: Appendix:part Of Communication Protocol
Appendix:Part of communication protocol UART Interface schematic diagram Servo uses the program code to carry on the timing control to the UART asynchronous serial interface, realizes the half-work asynchronous serial bus communication, the communication baud rate is 115200bps, and the interface is simple, the protocol is simplified. -
Page 15: Technical Support
If there is anything that you do not understand, please check the instructions or the accompanying video tutorial, if the problem still can not be solved, please feel free to contact us by email at support@lewansoul.com Please visit the following link or scan the QR codes to get related instructions and video tutorial.
Need help?
Do you have a question about the LX-16A and is the answer not in the manual?
Questions and answers